%20LibraryNo.6.png)

Quick Tip: Right click on an image and press "Open image in new tab" for a larger and clearer picture!
When I was planning this project, I had already planned to use applications that I feel like I would have the most fun using. For a while now, I've been using Roblox's game engine (Roblox Studio) and Minecraft to create sceneries, and I've always wanted to use that knowledge in a school project, and now I finally got that chance!
%20LibraryNo.6.png)
%20LibraryNo.6.png)
%20LibraryNo.6.png)
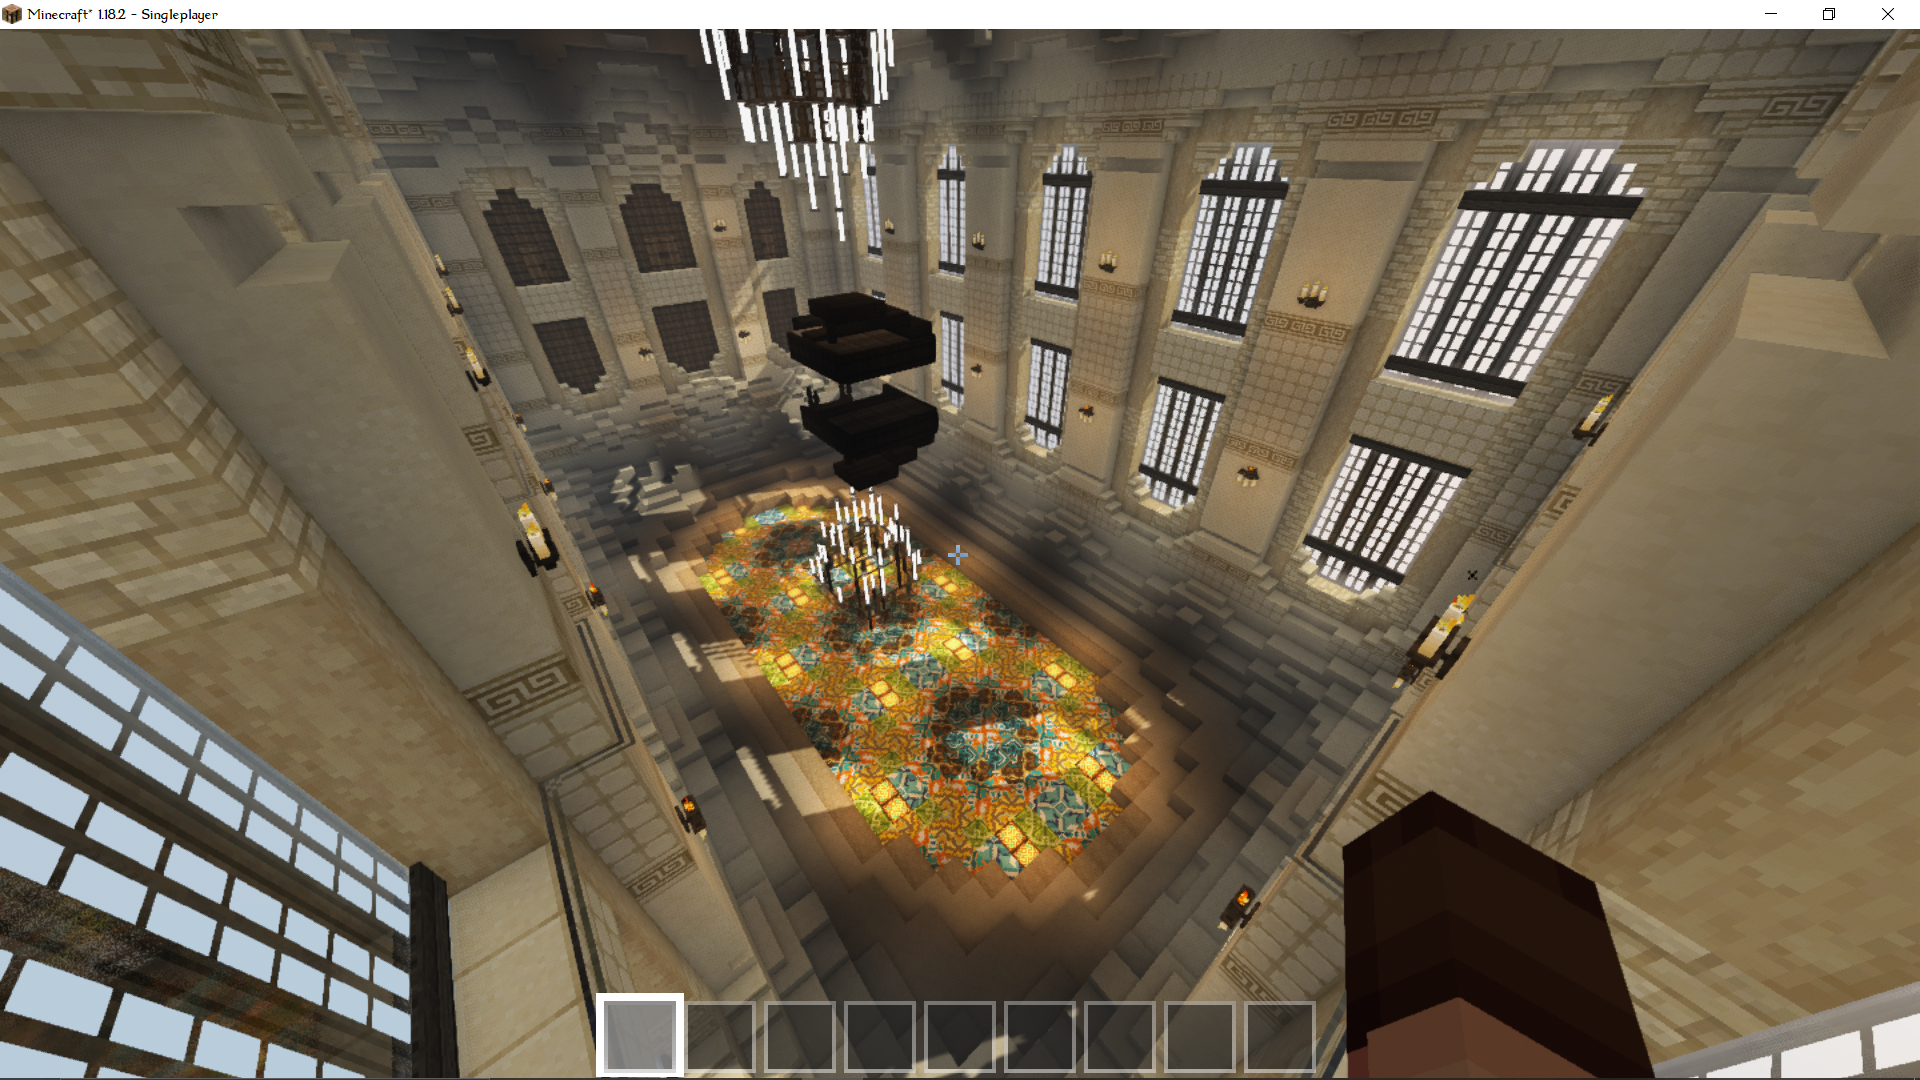
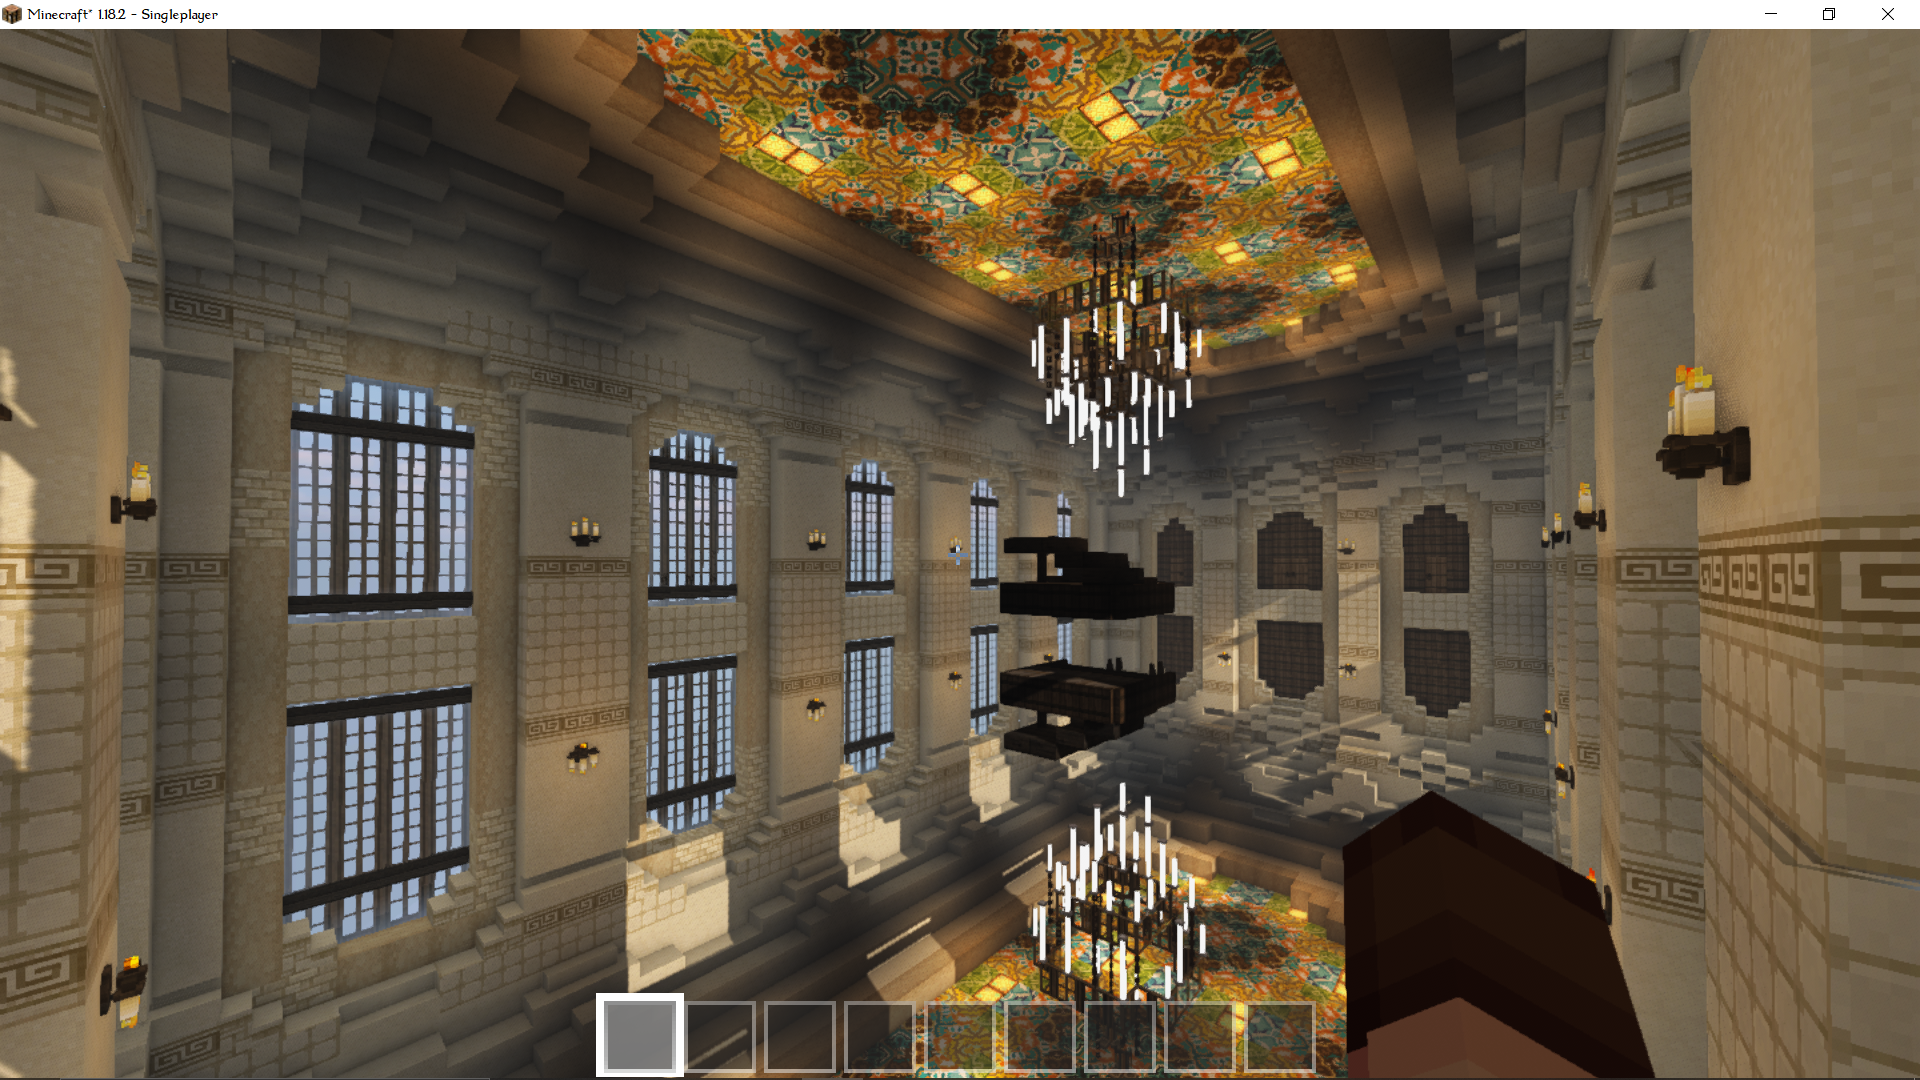
This was the first scene I made. I first planned out the layout using plain gray bricks, and gradually built up detail and color through sections, though I was all over the place since I couldn't focus on one spot. Afterwards, I start making models to furnish the place. From the chandeliers, to the quills and paper stacks on the desks. The books were the most fickle part of this whole scene. I had 20+ textures for the books, and I was insistent on making each stack of books on a shelf be unique, as well as the books on the ground, which took up a lot of my time making this.
%20LibraryNo.6.png)
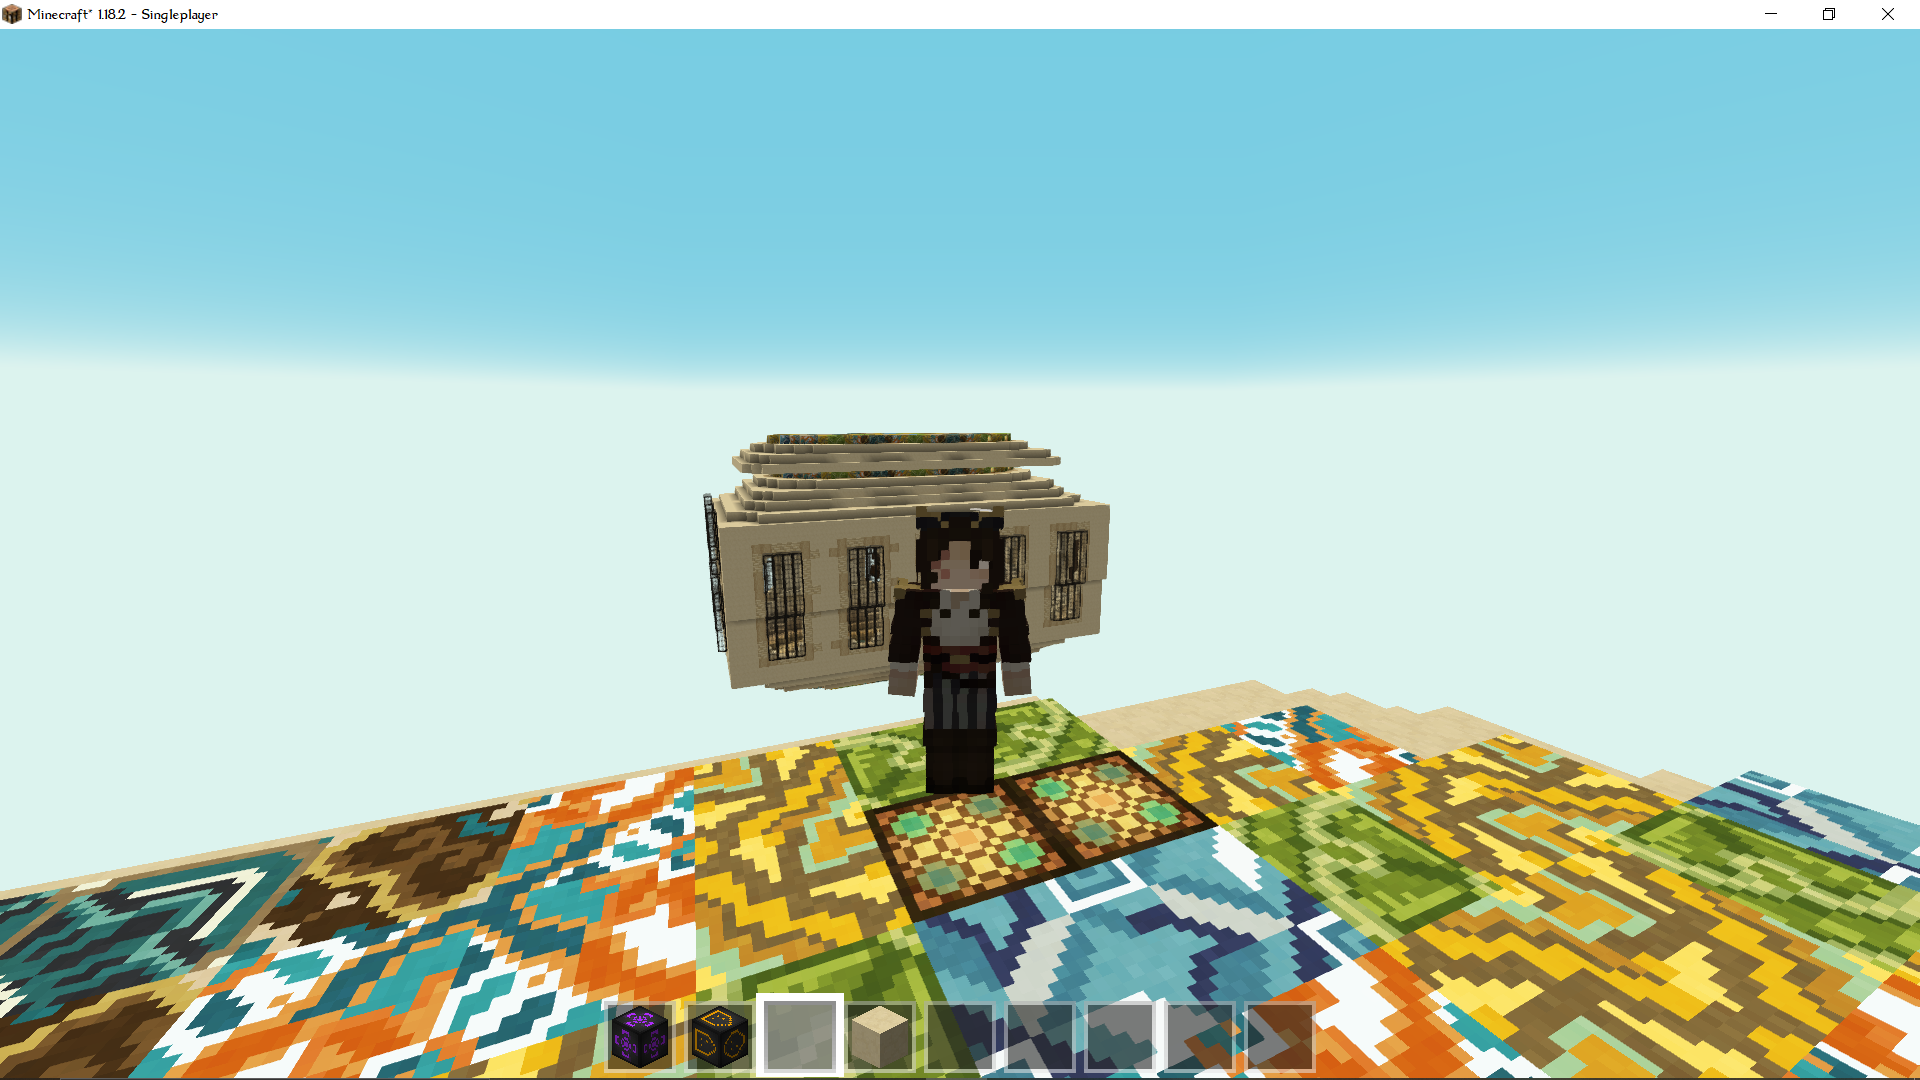
Also here's my Roblox avatar sitting ontop of the room while drinking tea :)
%20TheCenterofNowhere.png)
%20TheCenterofNowhere.png)
%20TheCenterofNowhere.png)
%20TheCenterofNowhere.png)
%20TheCenterofNowhere.png)
For this one, it's the same way of planning, the same ol' gray bricks then gradual build up. This scene actually caused me some real lag problems when making. The model I made for the railings had a very high triangle count, and the fact that it was pasted everywhere made the lag worse. That forced me to learn how to use a bit of Blender when it comes to optimizing my models, so I'm actually happy that it caused me problems.
For this one I tried using animated parts. The water is animated here which is cool, and that big white thing that spans across the third image is actually an ocean. It doesn't look like it, but it shows up as one in rendering. Another new thing I tried was doing foliage
Another new thing I tried was doing foliage. It was tricky to do at first since I'm used to do pinpoint measurements on my scenes (our current math lesson kinda helped me out on some of the structures here, especially that dome), so it put me off doing this for weeks, but I came back with the determination to make it work and I think I managed to do so!
%20Ballpit.png)
%20Ballpit.png)
%20Ballpit.png)
%20Ballpit.png)
This one's the last scene I made in Roblox, also the simplest. I took the same gray brick approach, then comepletely disregarded that rule and started adding the colors and detail immediately. With the new-found knowledge I got from watching blender videos, I started making every single thing in this scene low-poly. I was going for the PS1 style by pairing that with low-res textures, but I'm not sure if it worked, still liked how it turned out.
The balls in the ballpit were a treat to add. I made a row of balls and had to playtest the game so that the physics on the balls would render. I even created a sort of blender to mix them up without having to do it manually. Doing this whole process lagged my computer, but I think that was the best way to even fill the ballpit in without having to add each ball one by one in random orientations.
I also need to mention that for the recordings in Roblox, I used Moon Animator to do a lot of the shots. Except for some scenes in 'The Center of Nowhere' since I had to be in-game to make the water move.
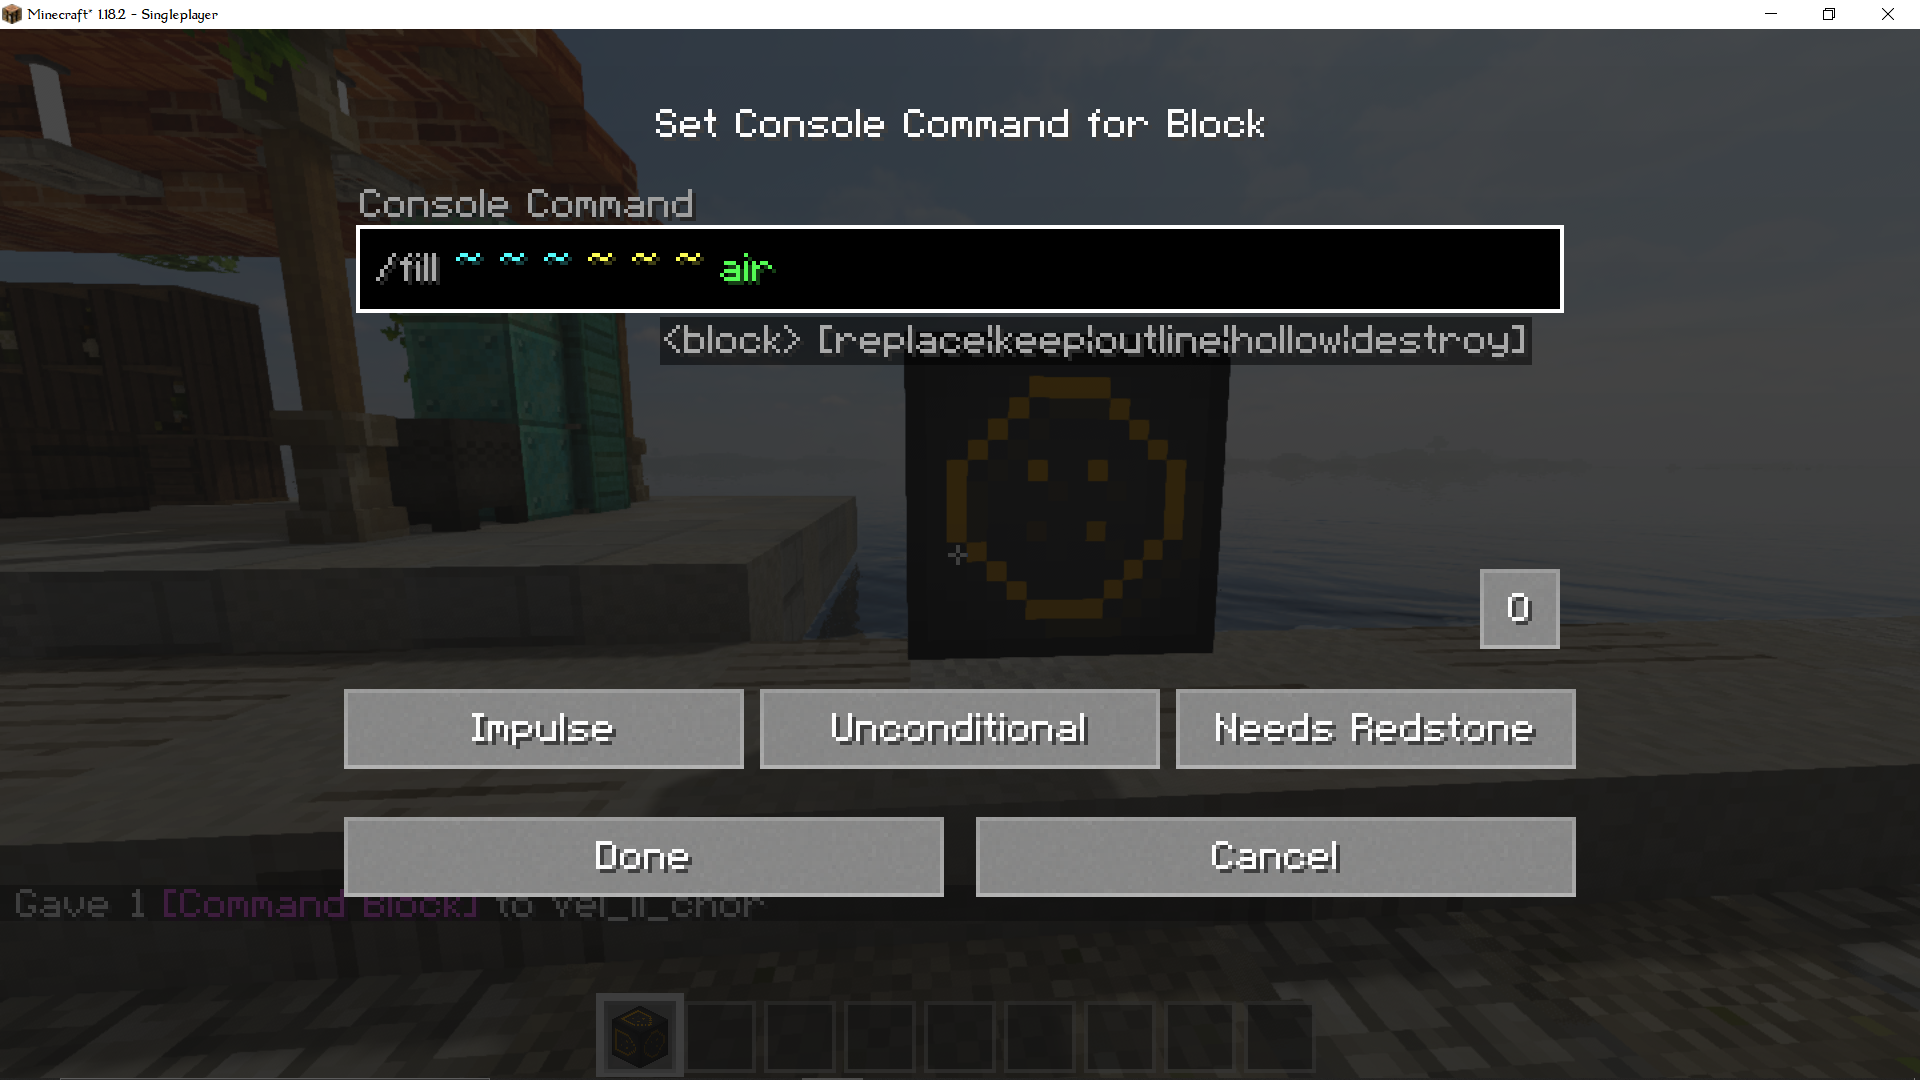
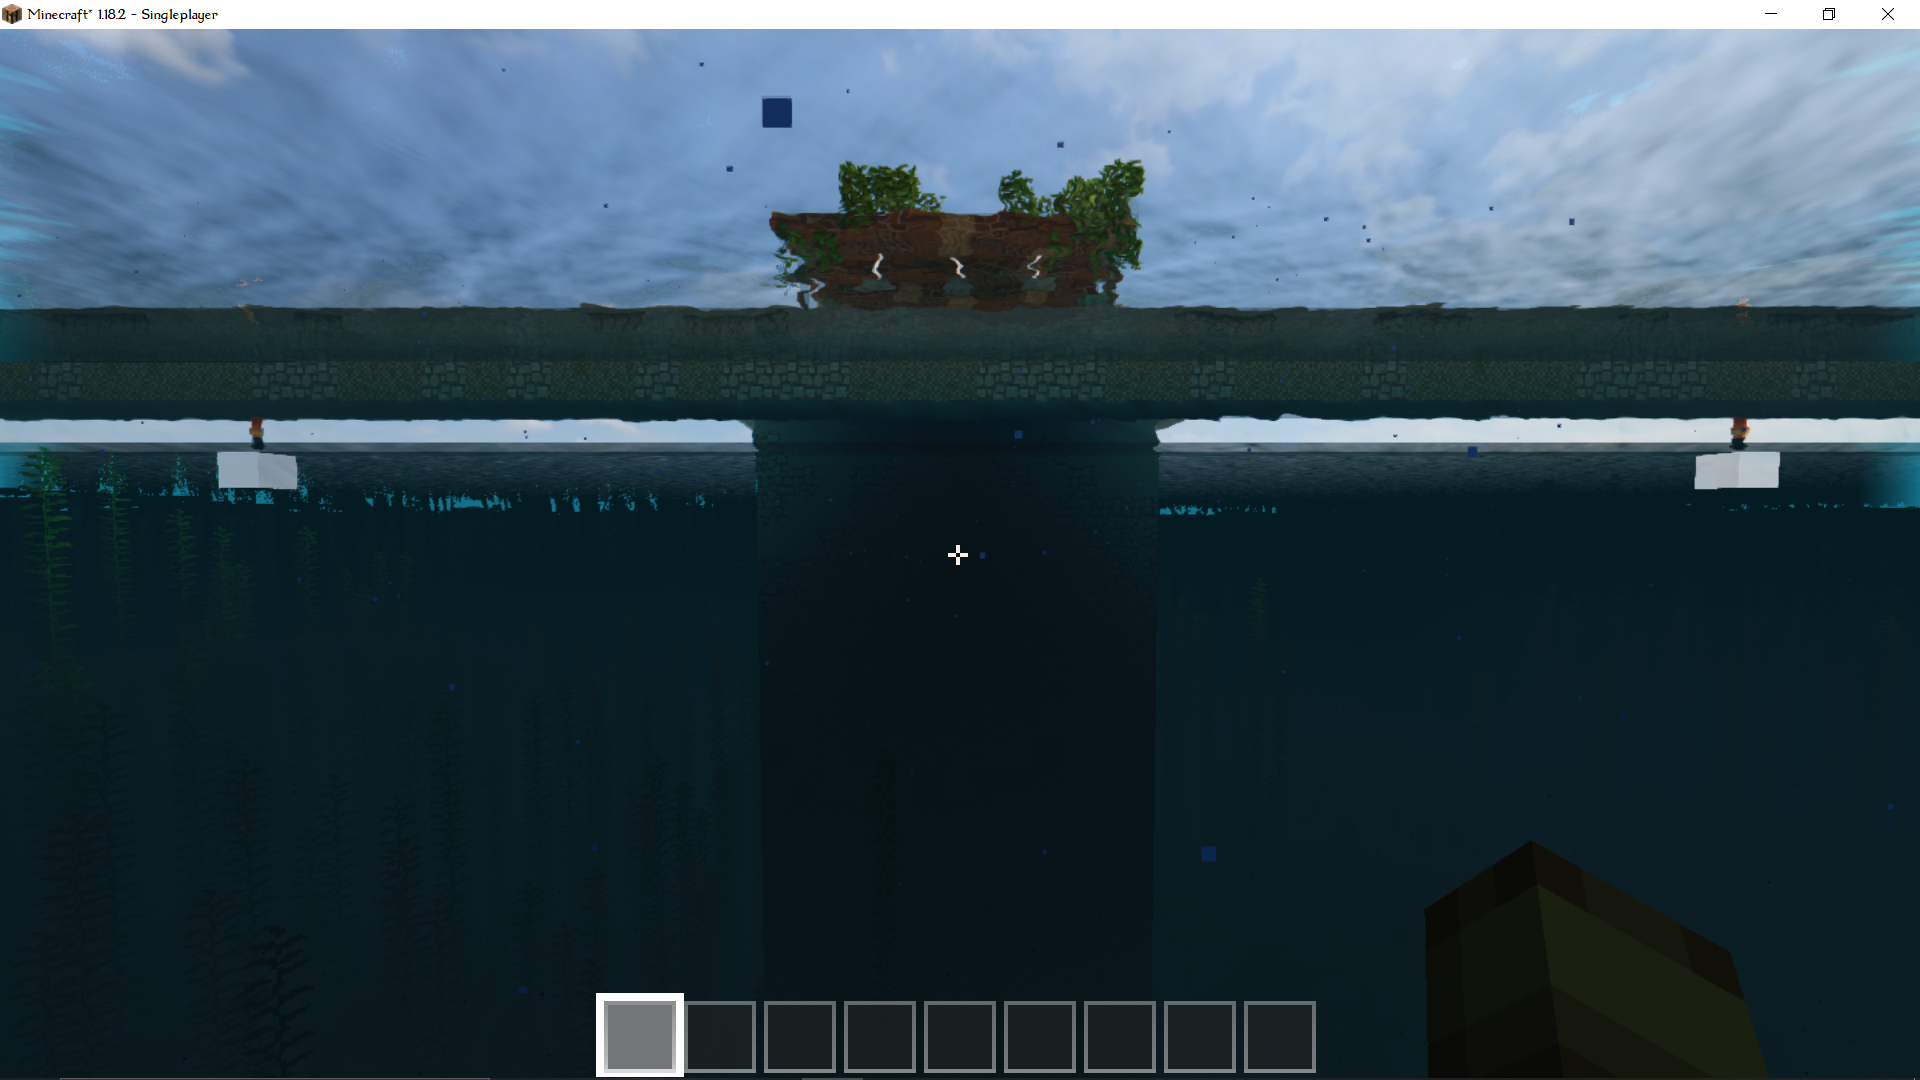
Moving onto Minecraft, it was very different from Roblox Studio (which I was using for about 2 months at this point) so I had a bit of trouble re-adjusting. Ok but anyways, I built the foundation first and used command blocks to fill in the deadspace below, and used it for building the base of the train tracks too. Afterwards, I texture it with various blocks.
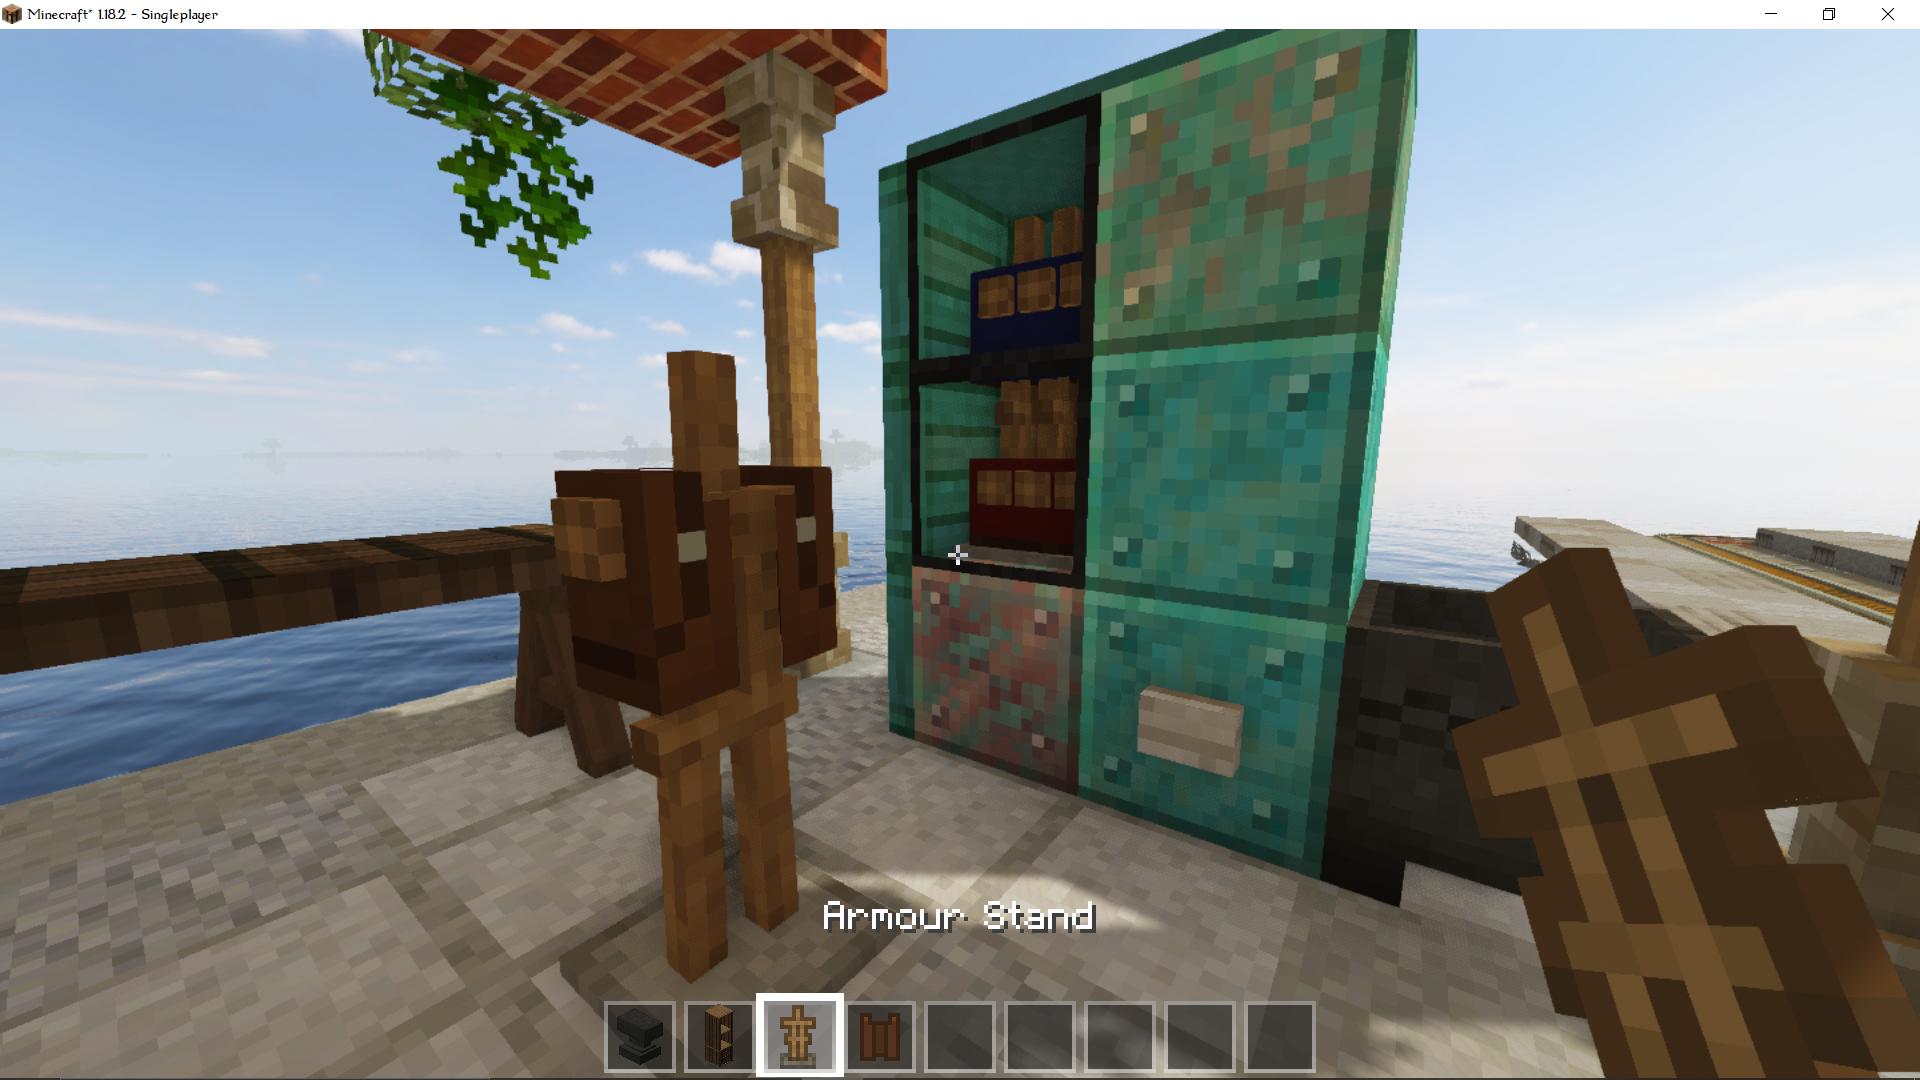
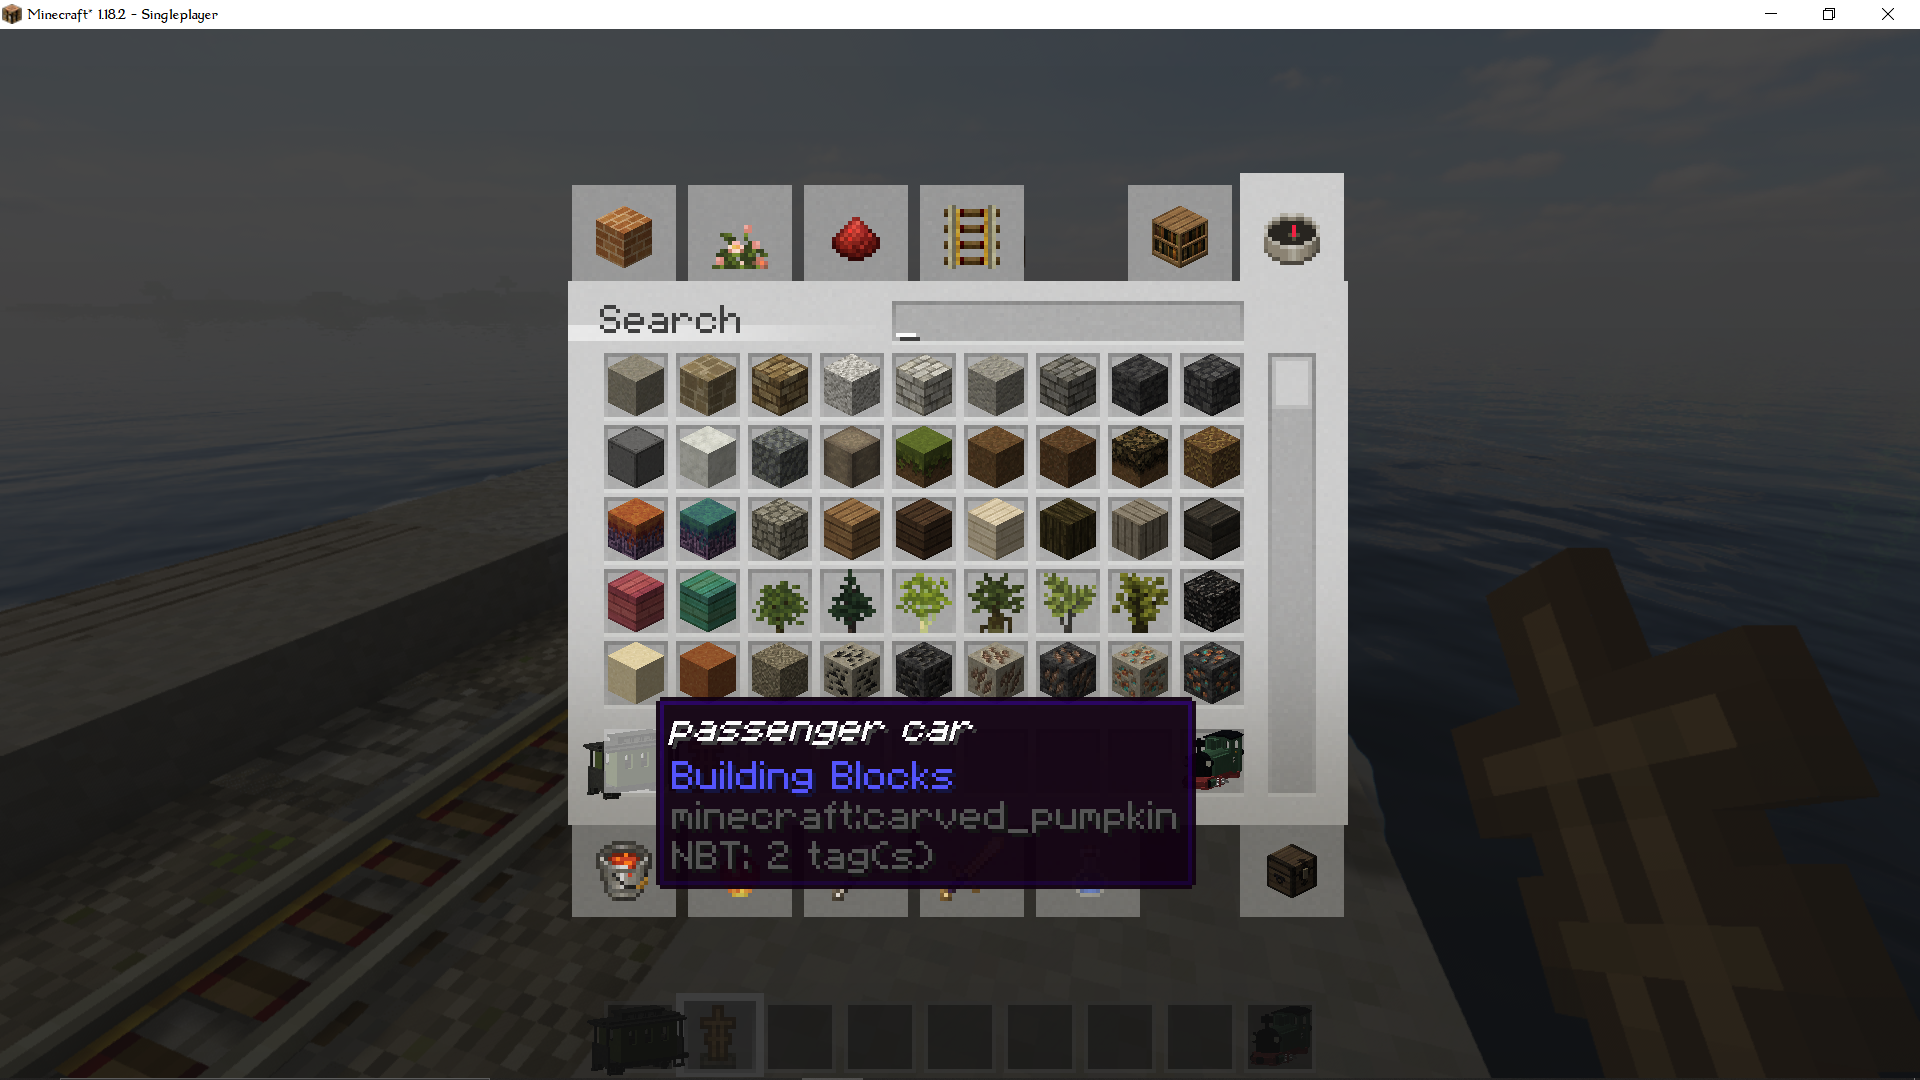
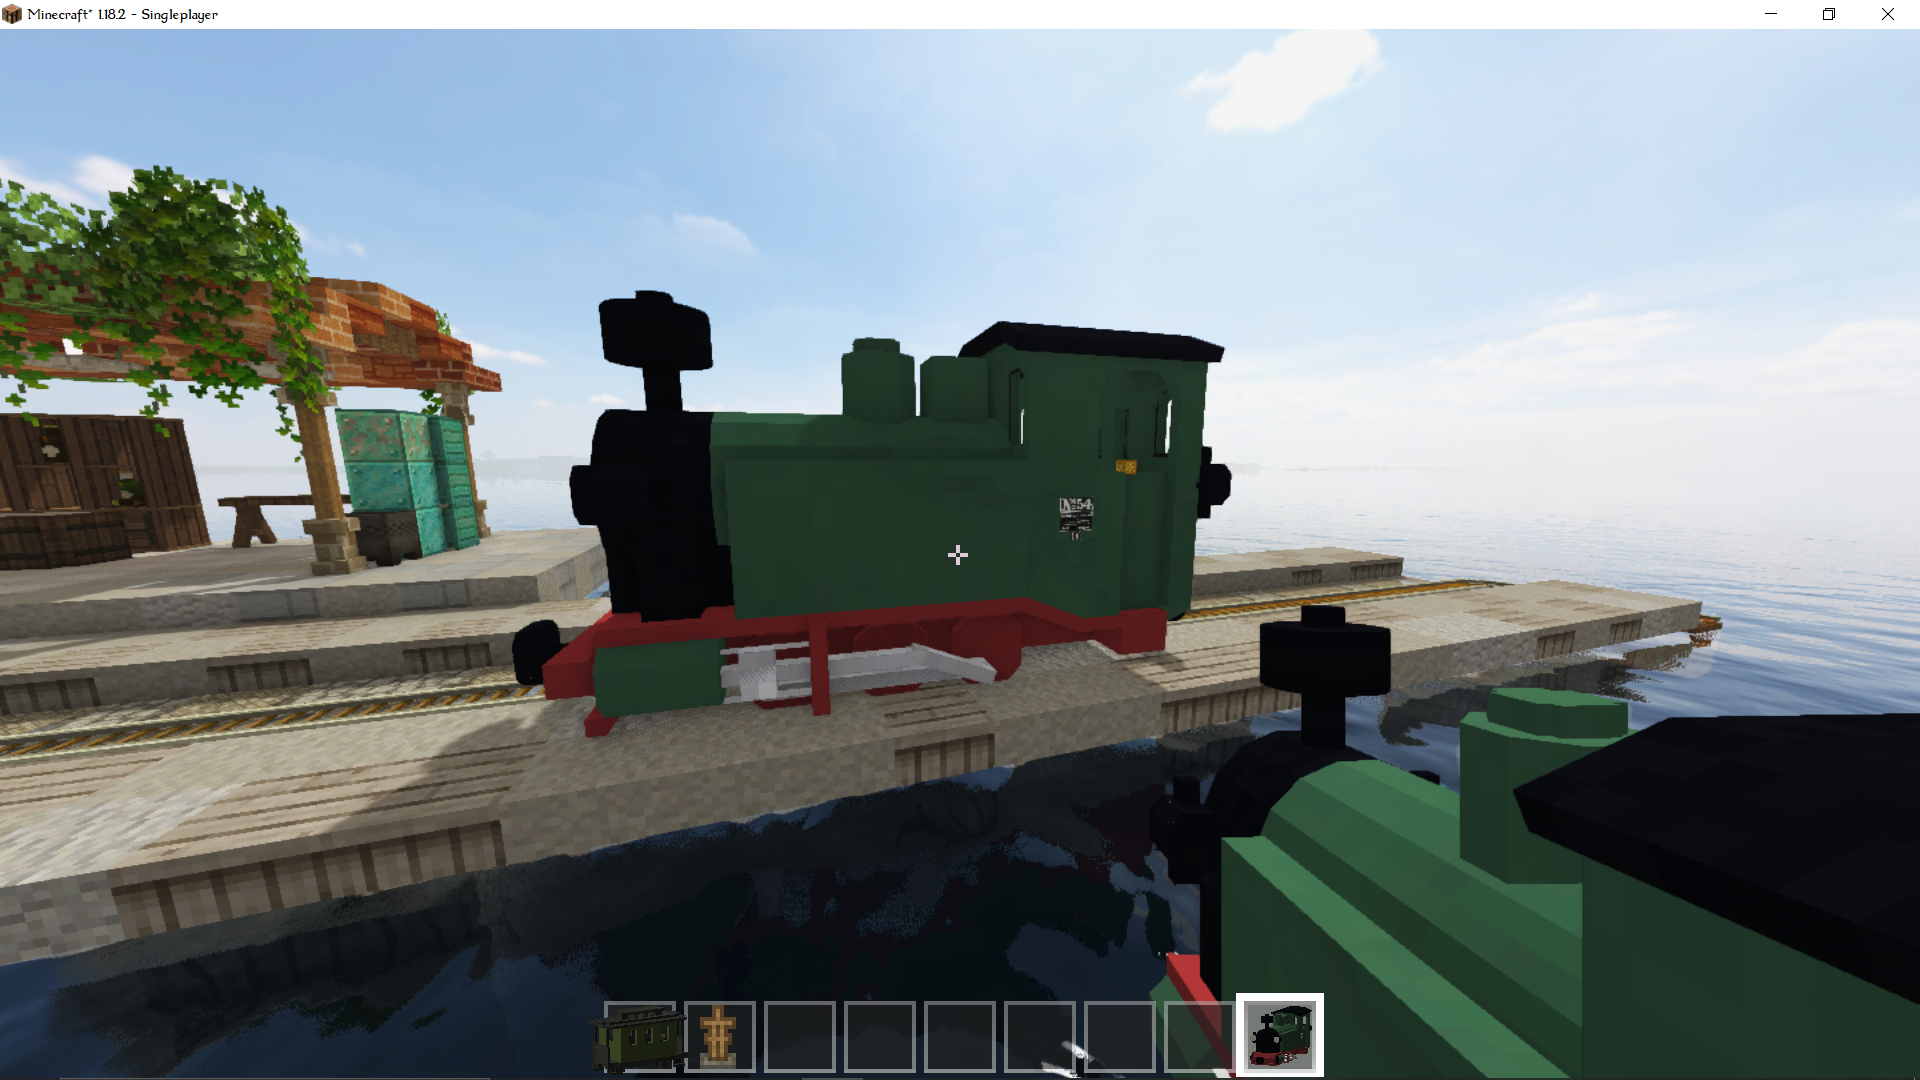
Armor stands for this build were really helpful for me. I used them for the sodas in the vending machine, and the base for the trains. Elaborating on the trains, I added a texture pack to alter the carved pumpkin block into a train. Placing an armor stand in a minecart, I can make the armor stand wear the pumpkin to make it look like it's a train!
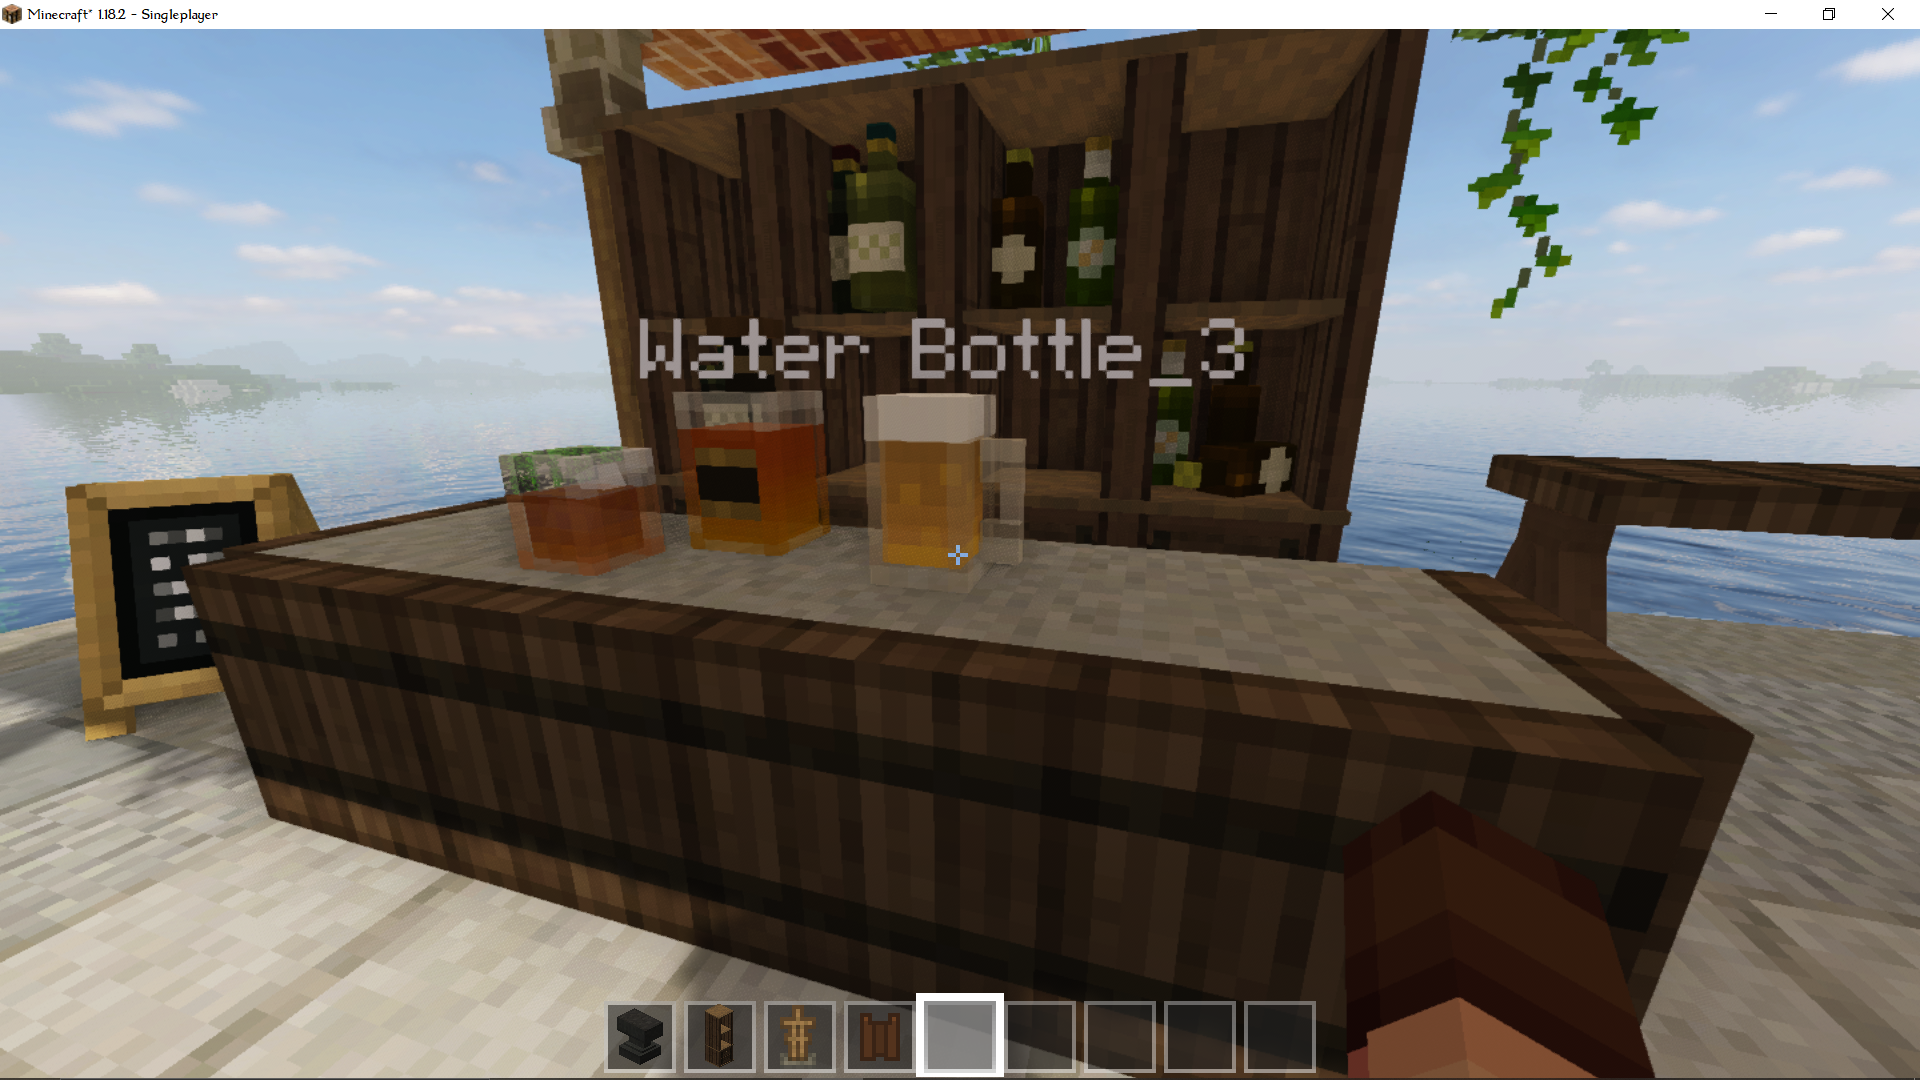
Alongside the train retextures, I added CIT texture packs to make my life easier when furnishing, also they look too good to pass up when making builds.
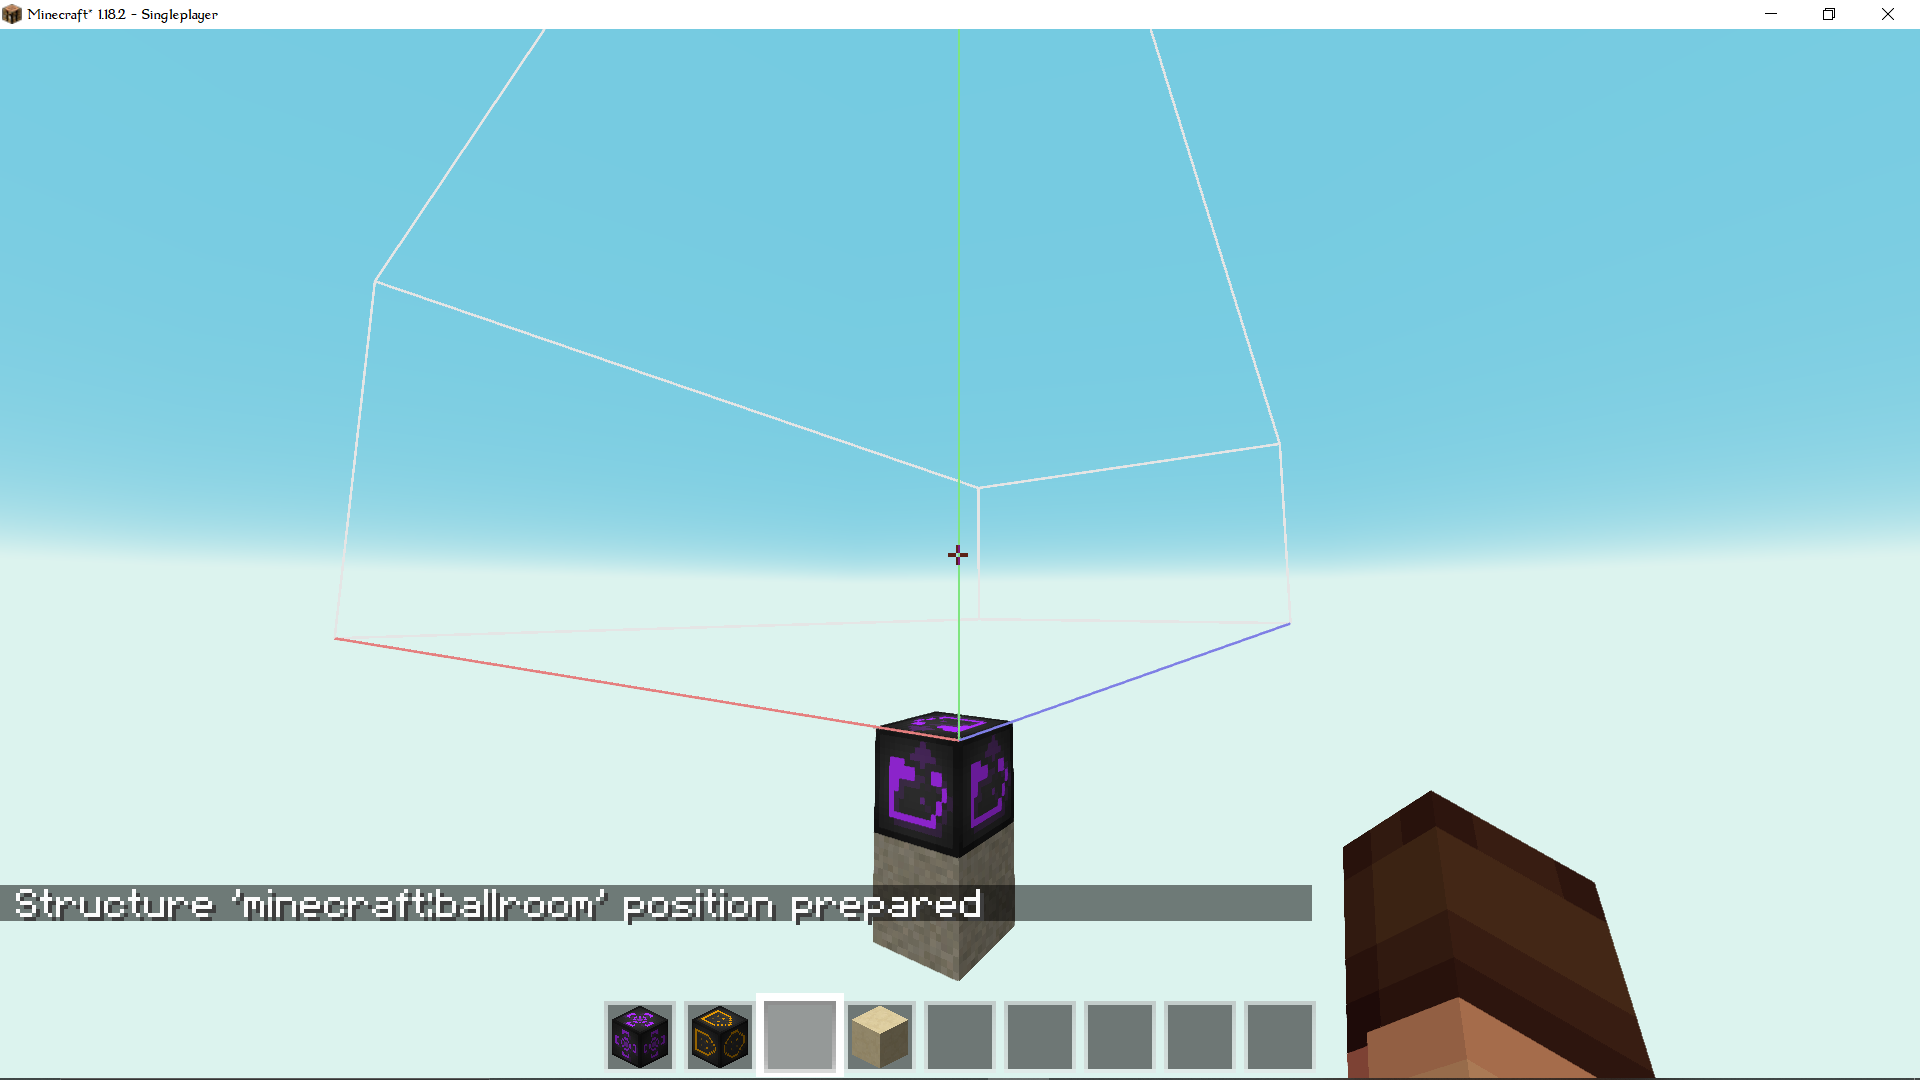
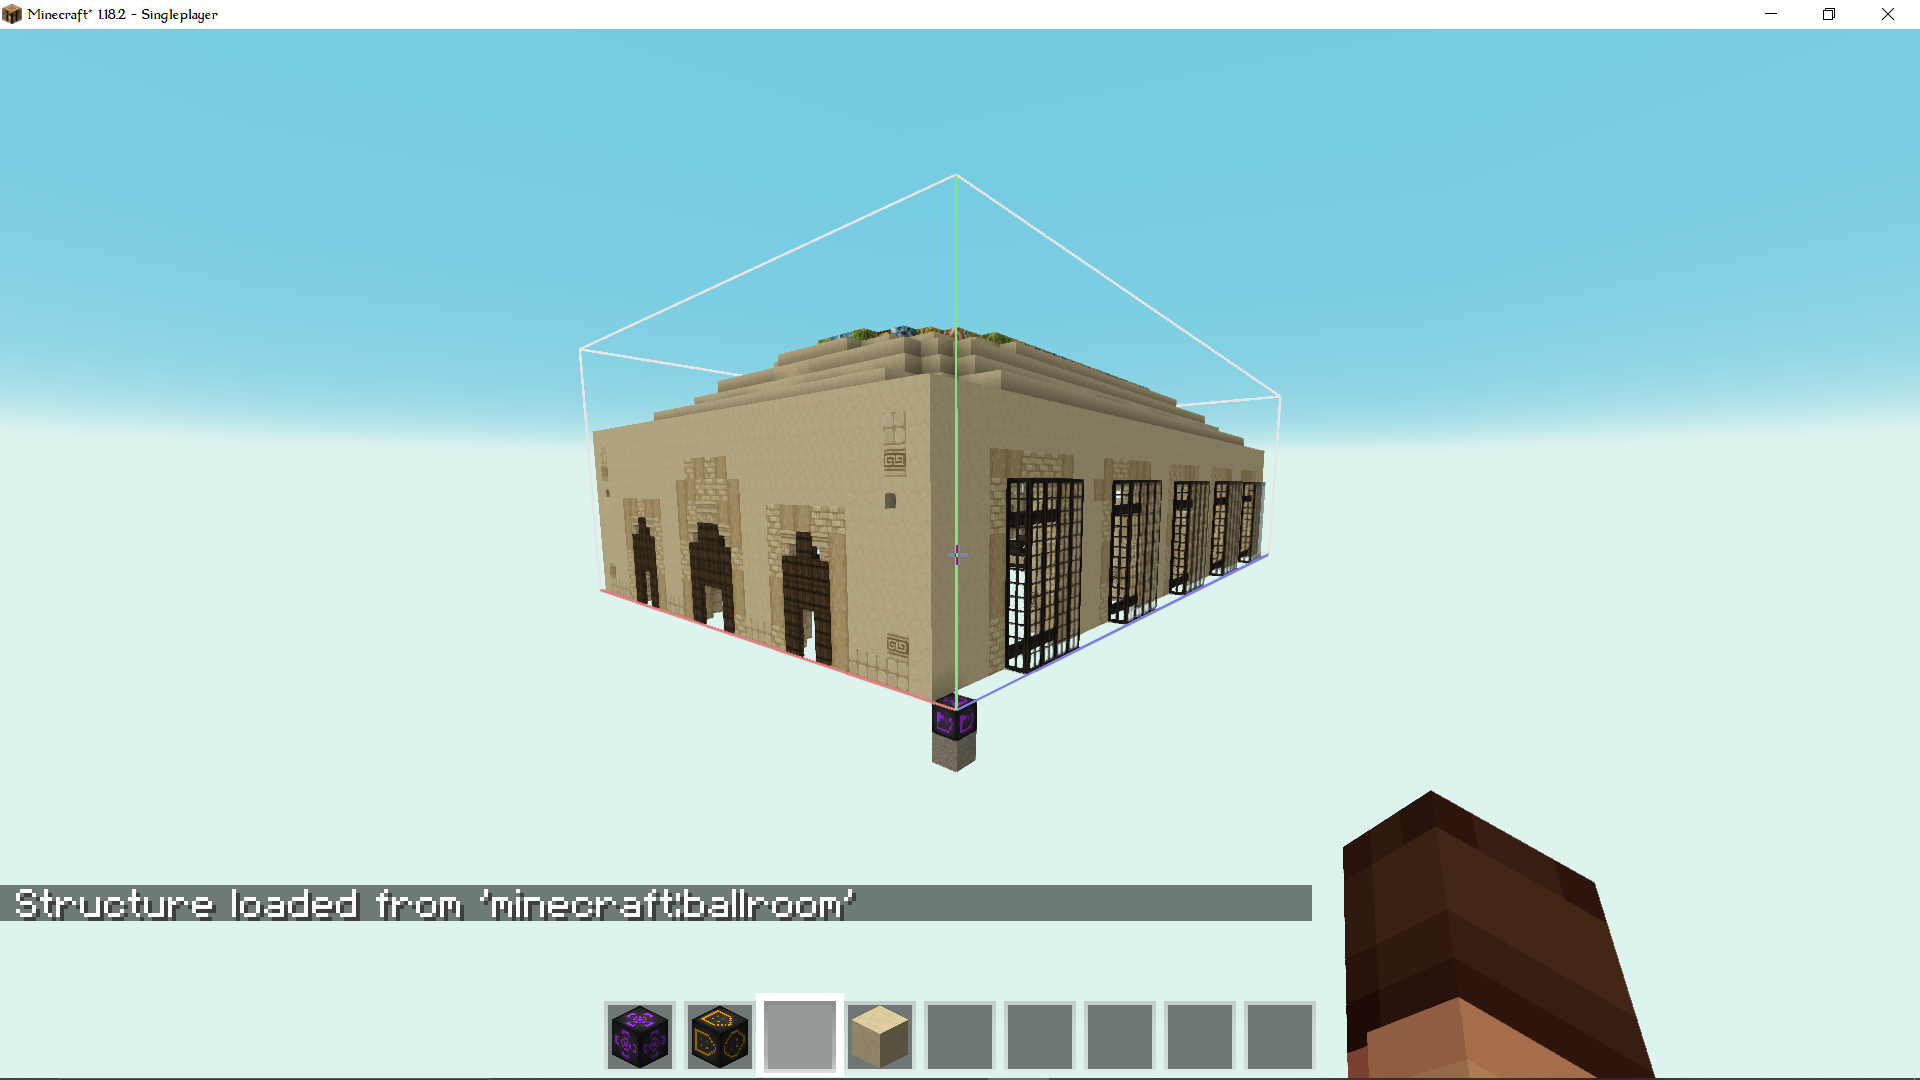
This is the second and last build I made for Minecraft, and for the entire digital section. Earlier I mentioned that I used command blocks to help with my builds, alongside that I used structure blocks plus worldedit to copy, paste, and flip structures easily. Utilized it on mirroring the walls, the ceiling, and especially the reflection effect for the floor. It's just the same structure flipped upside down.
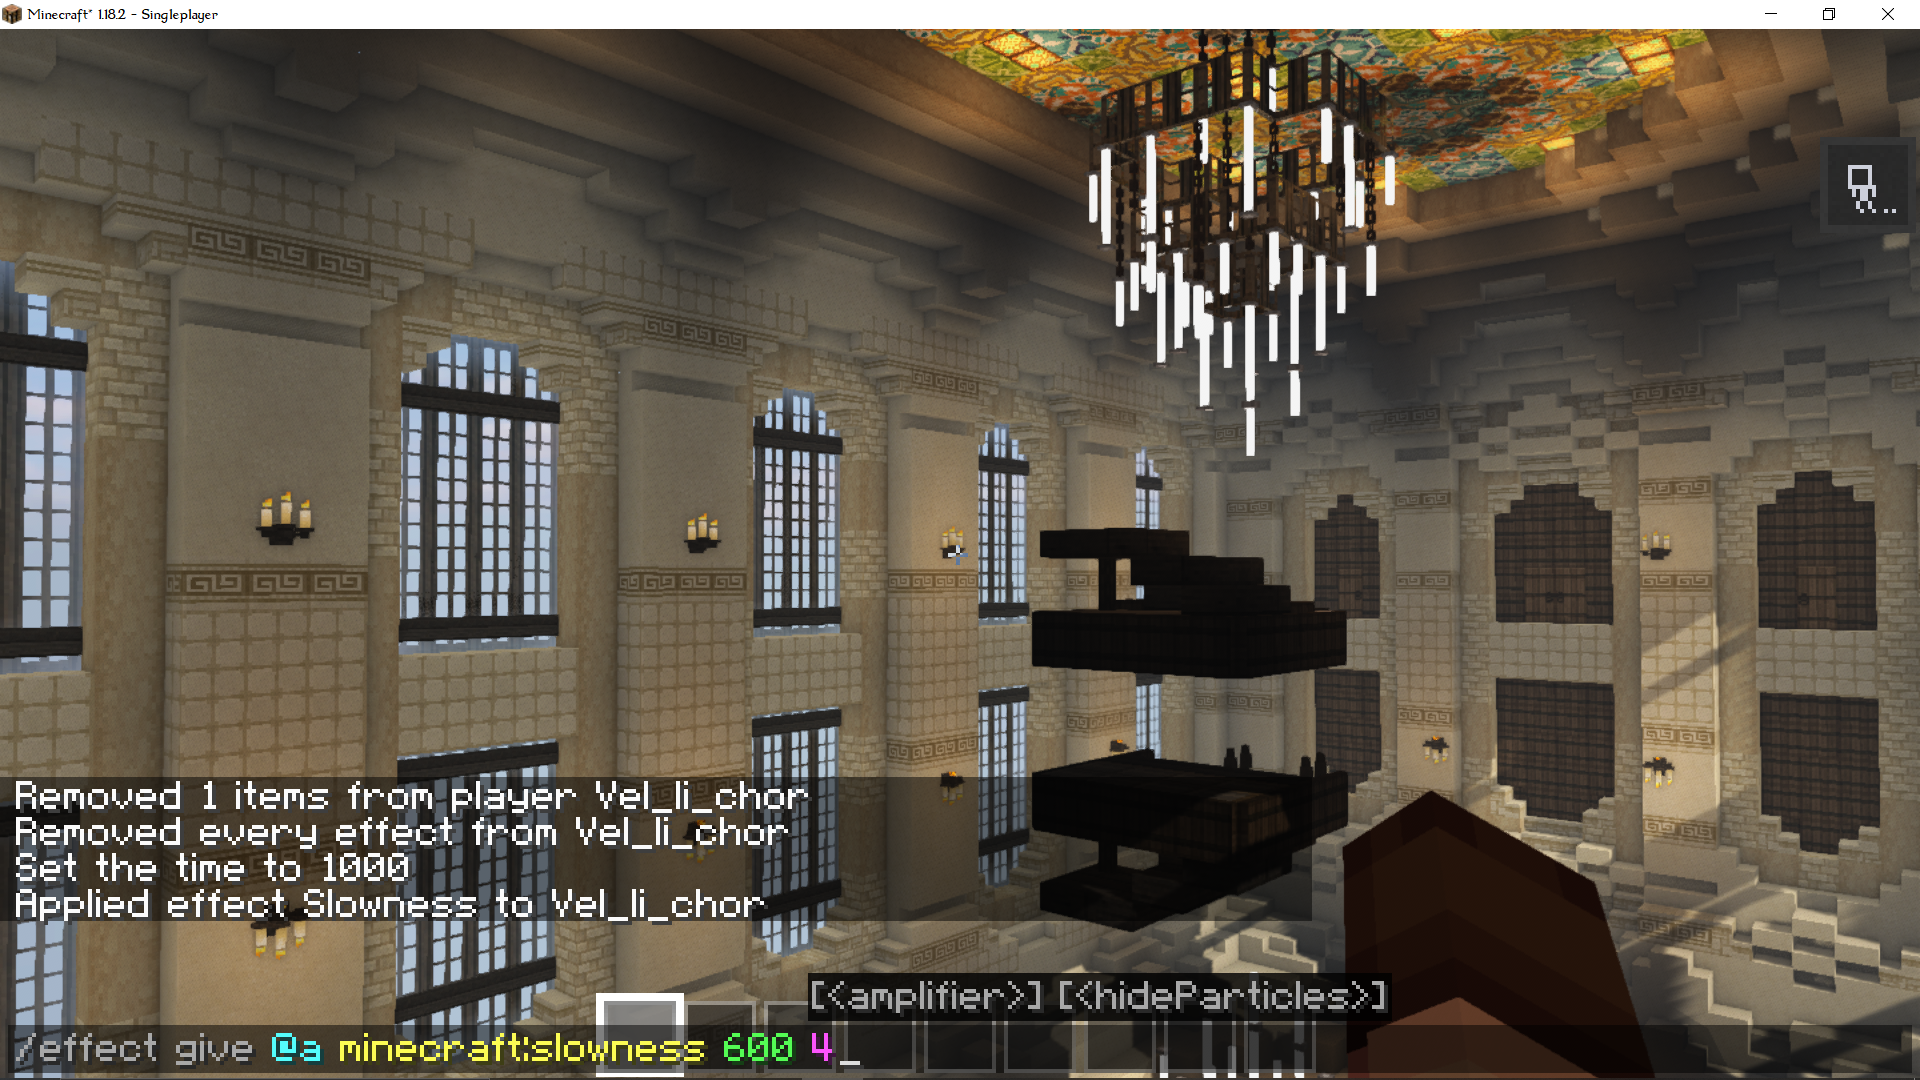
For filming, I used the slowness effect to make it look like a cinematic camera, and so that my movements weren't as janky than it would've been.
And here's me messing up my build by accident after trying to demonstrate the structure block for my document :")
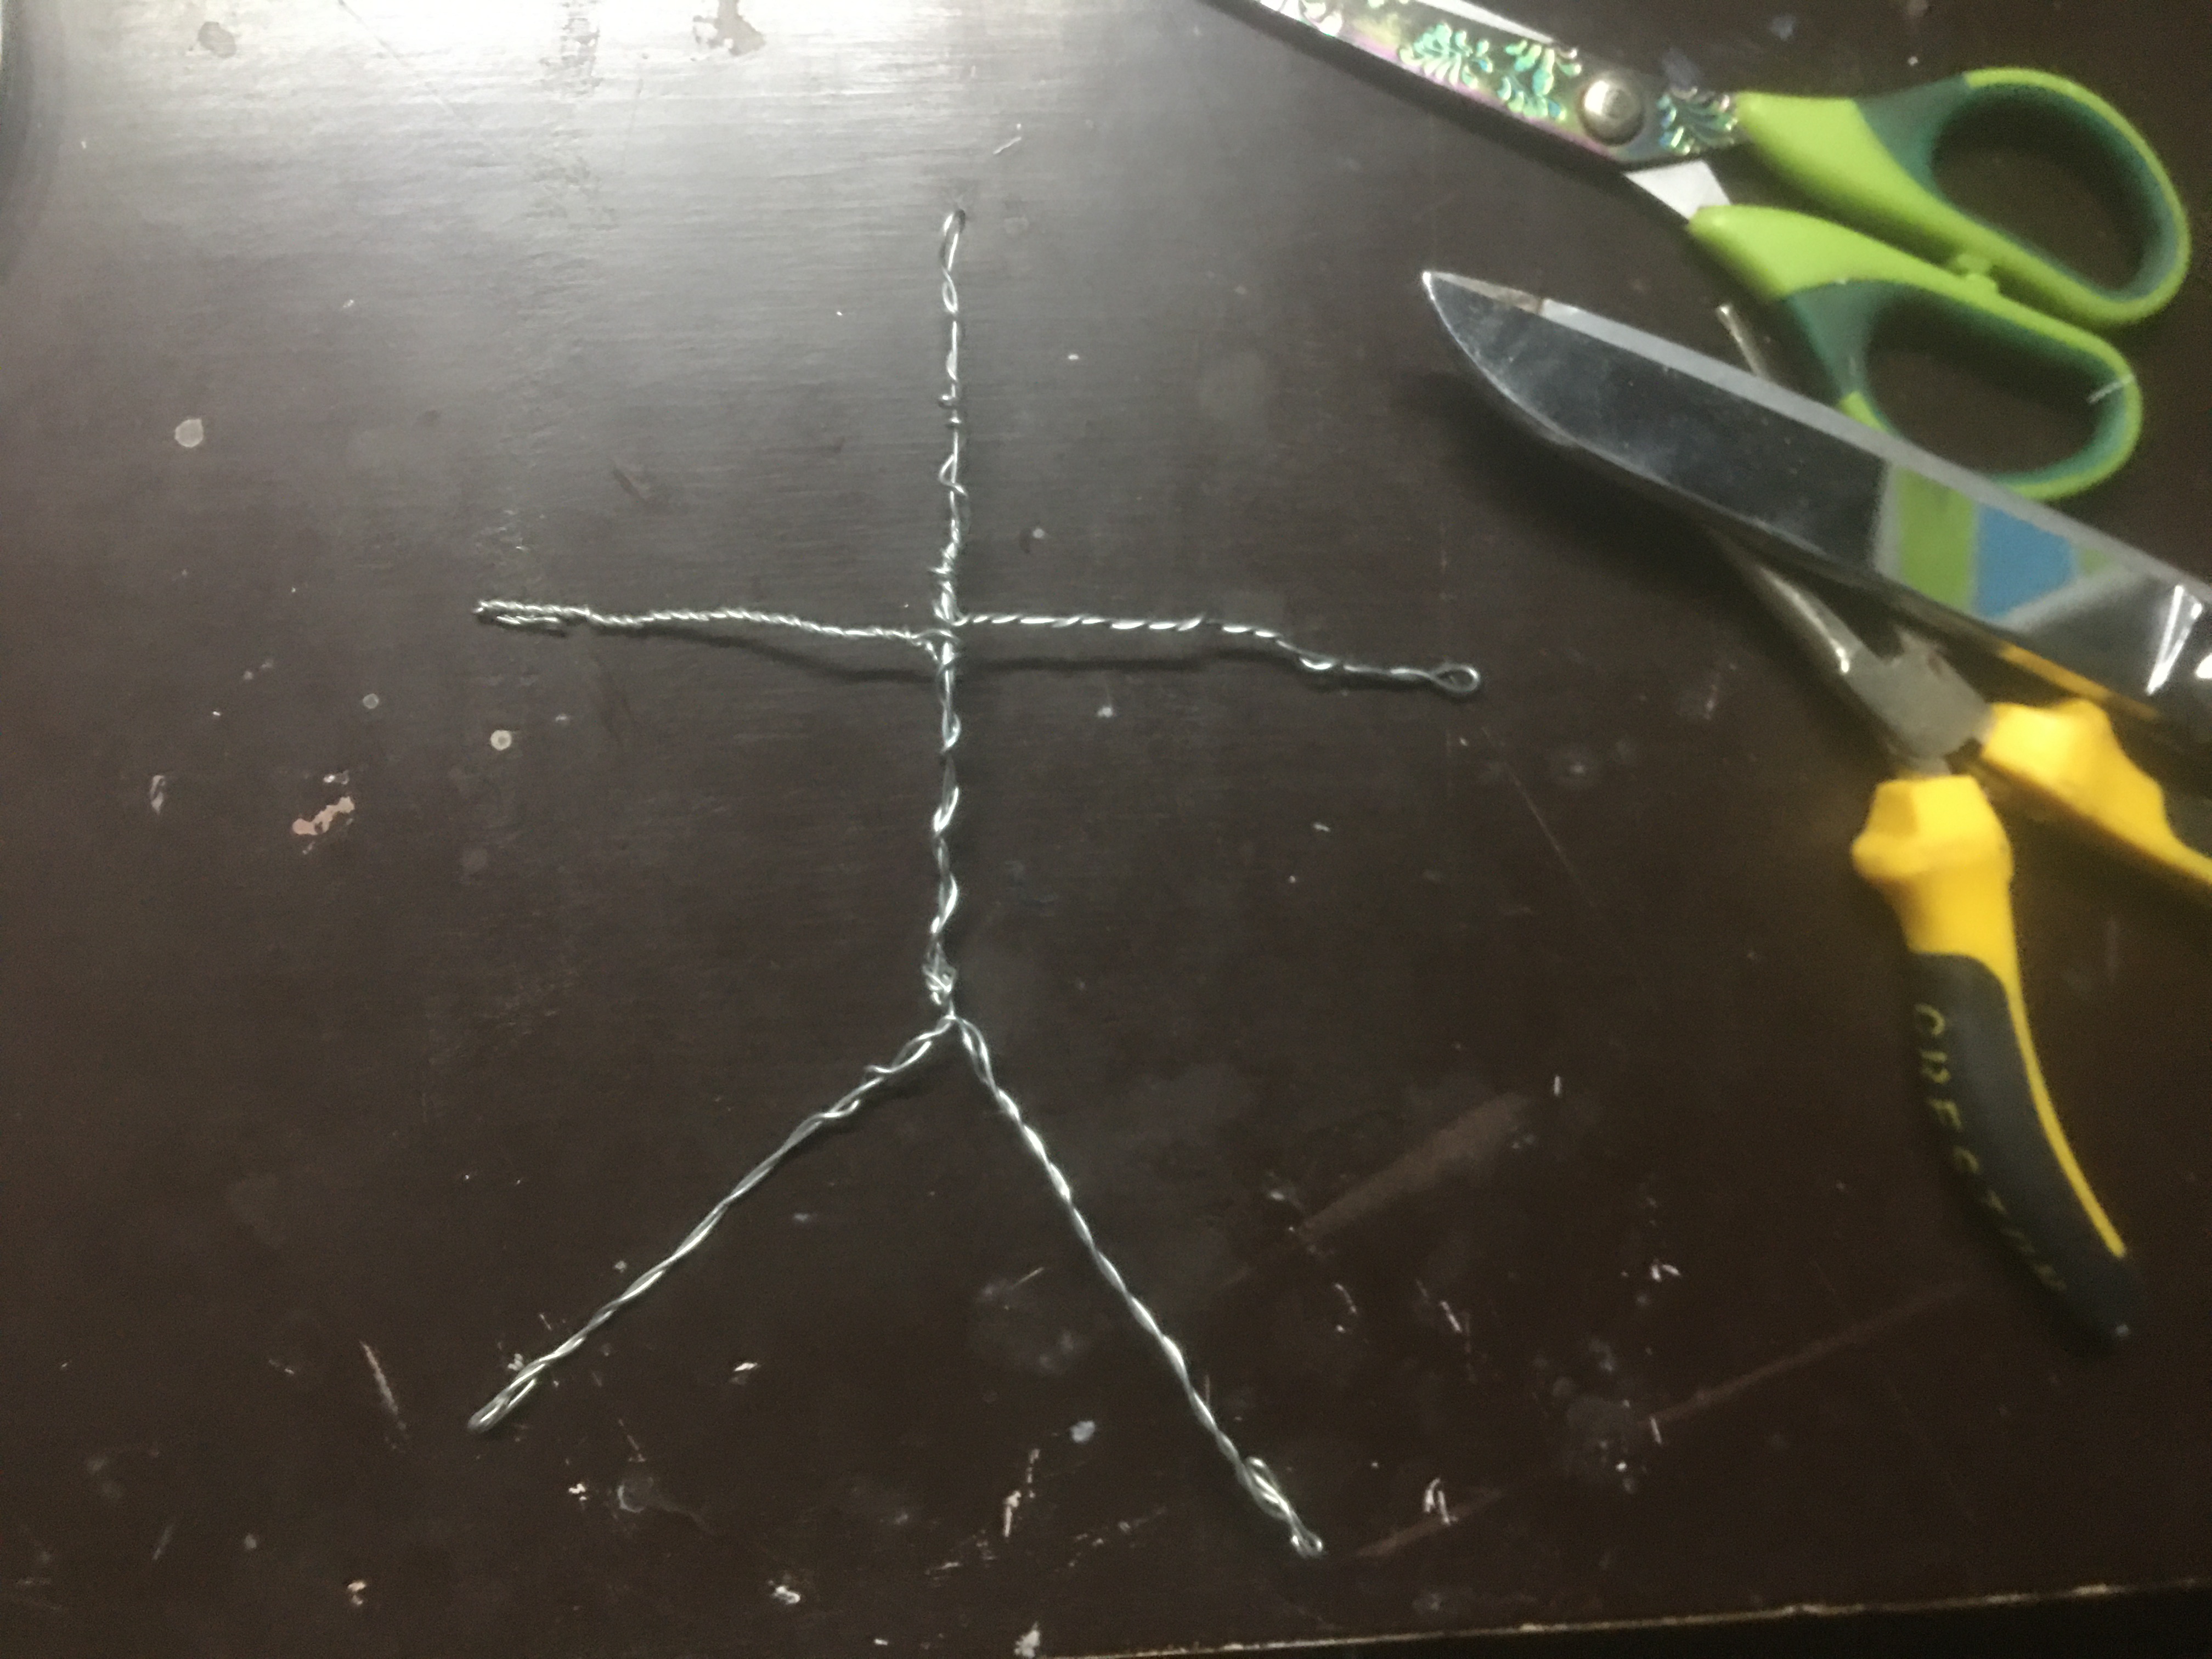
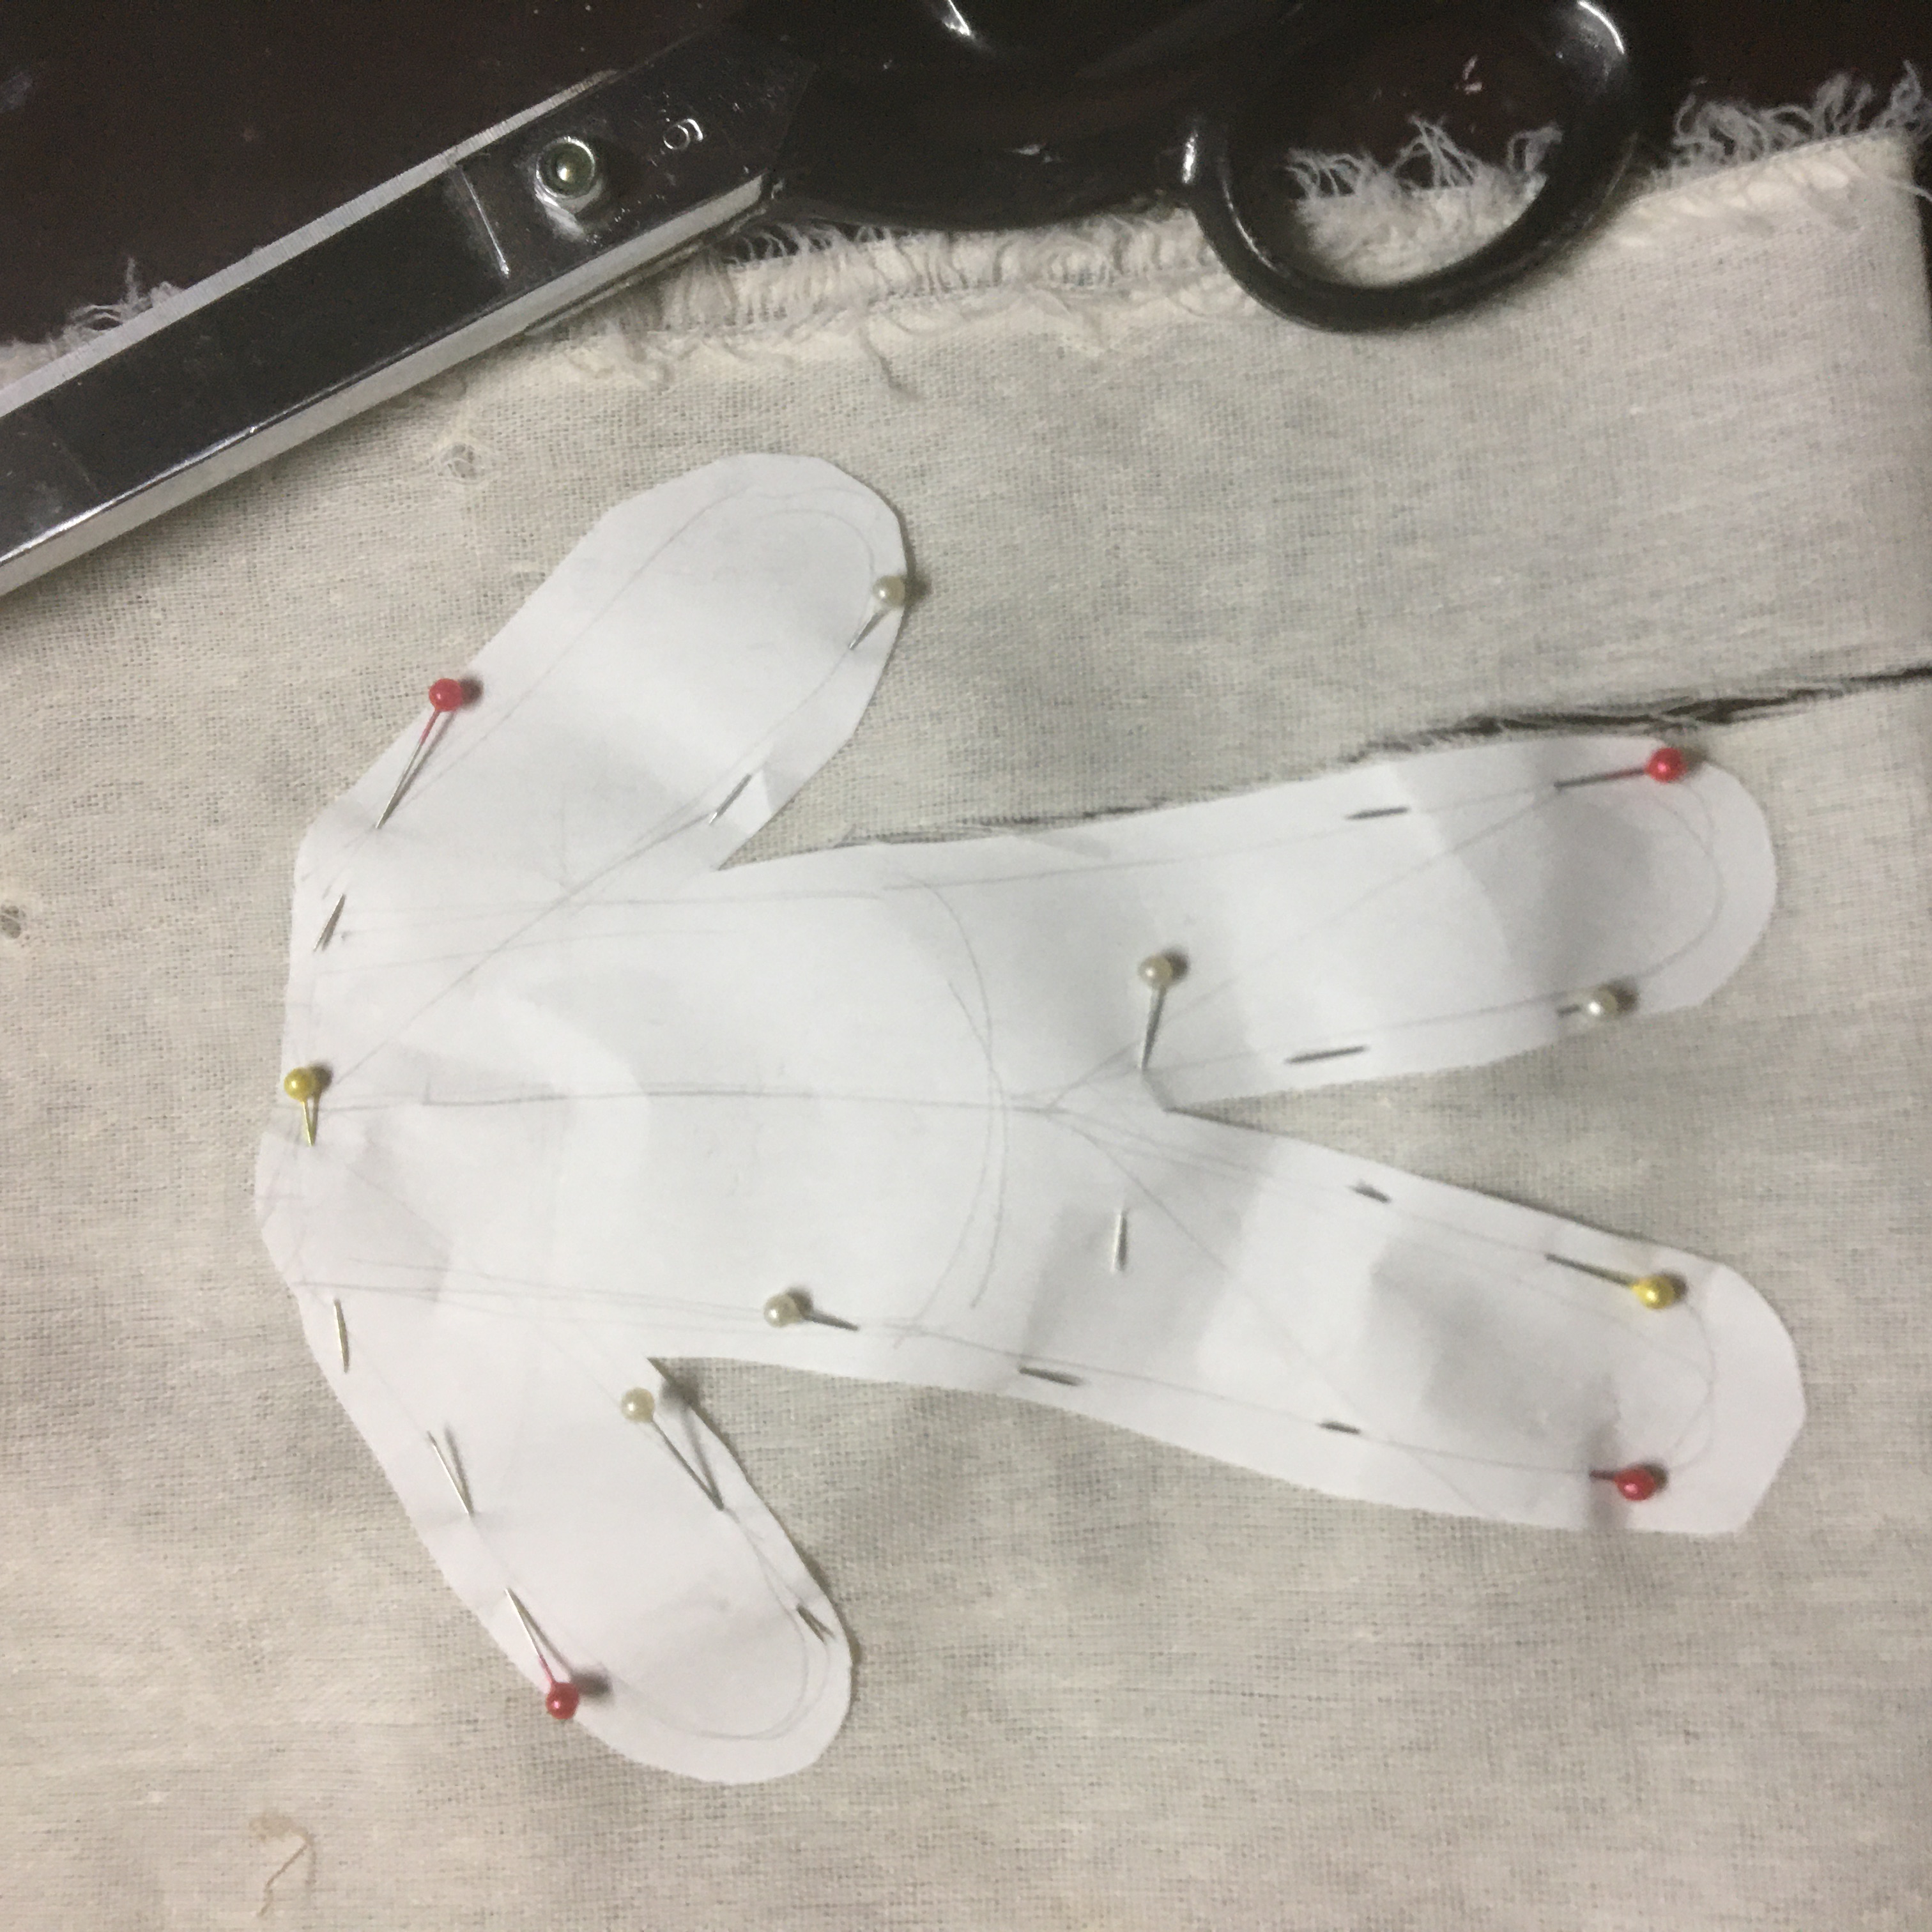

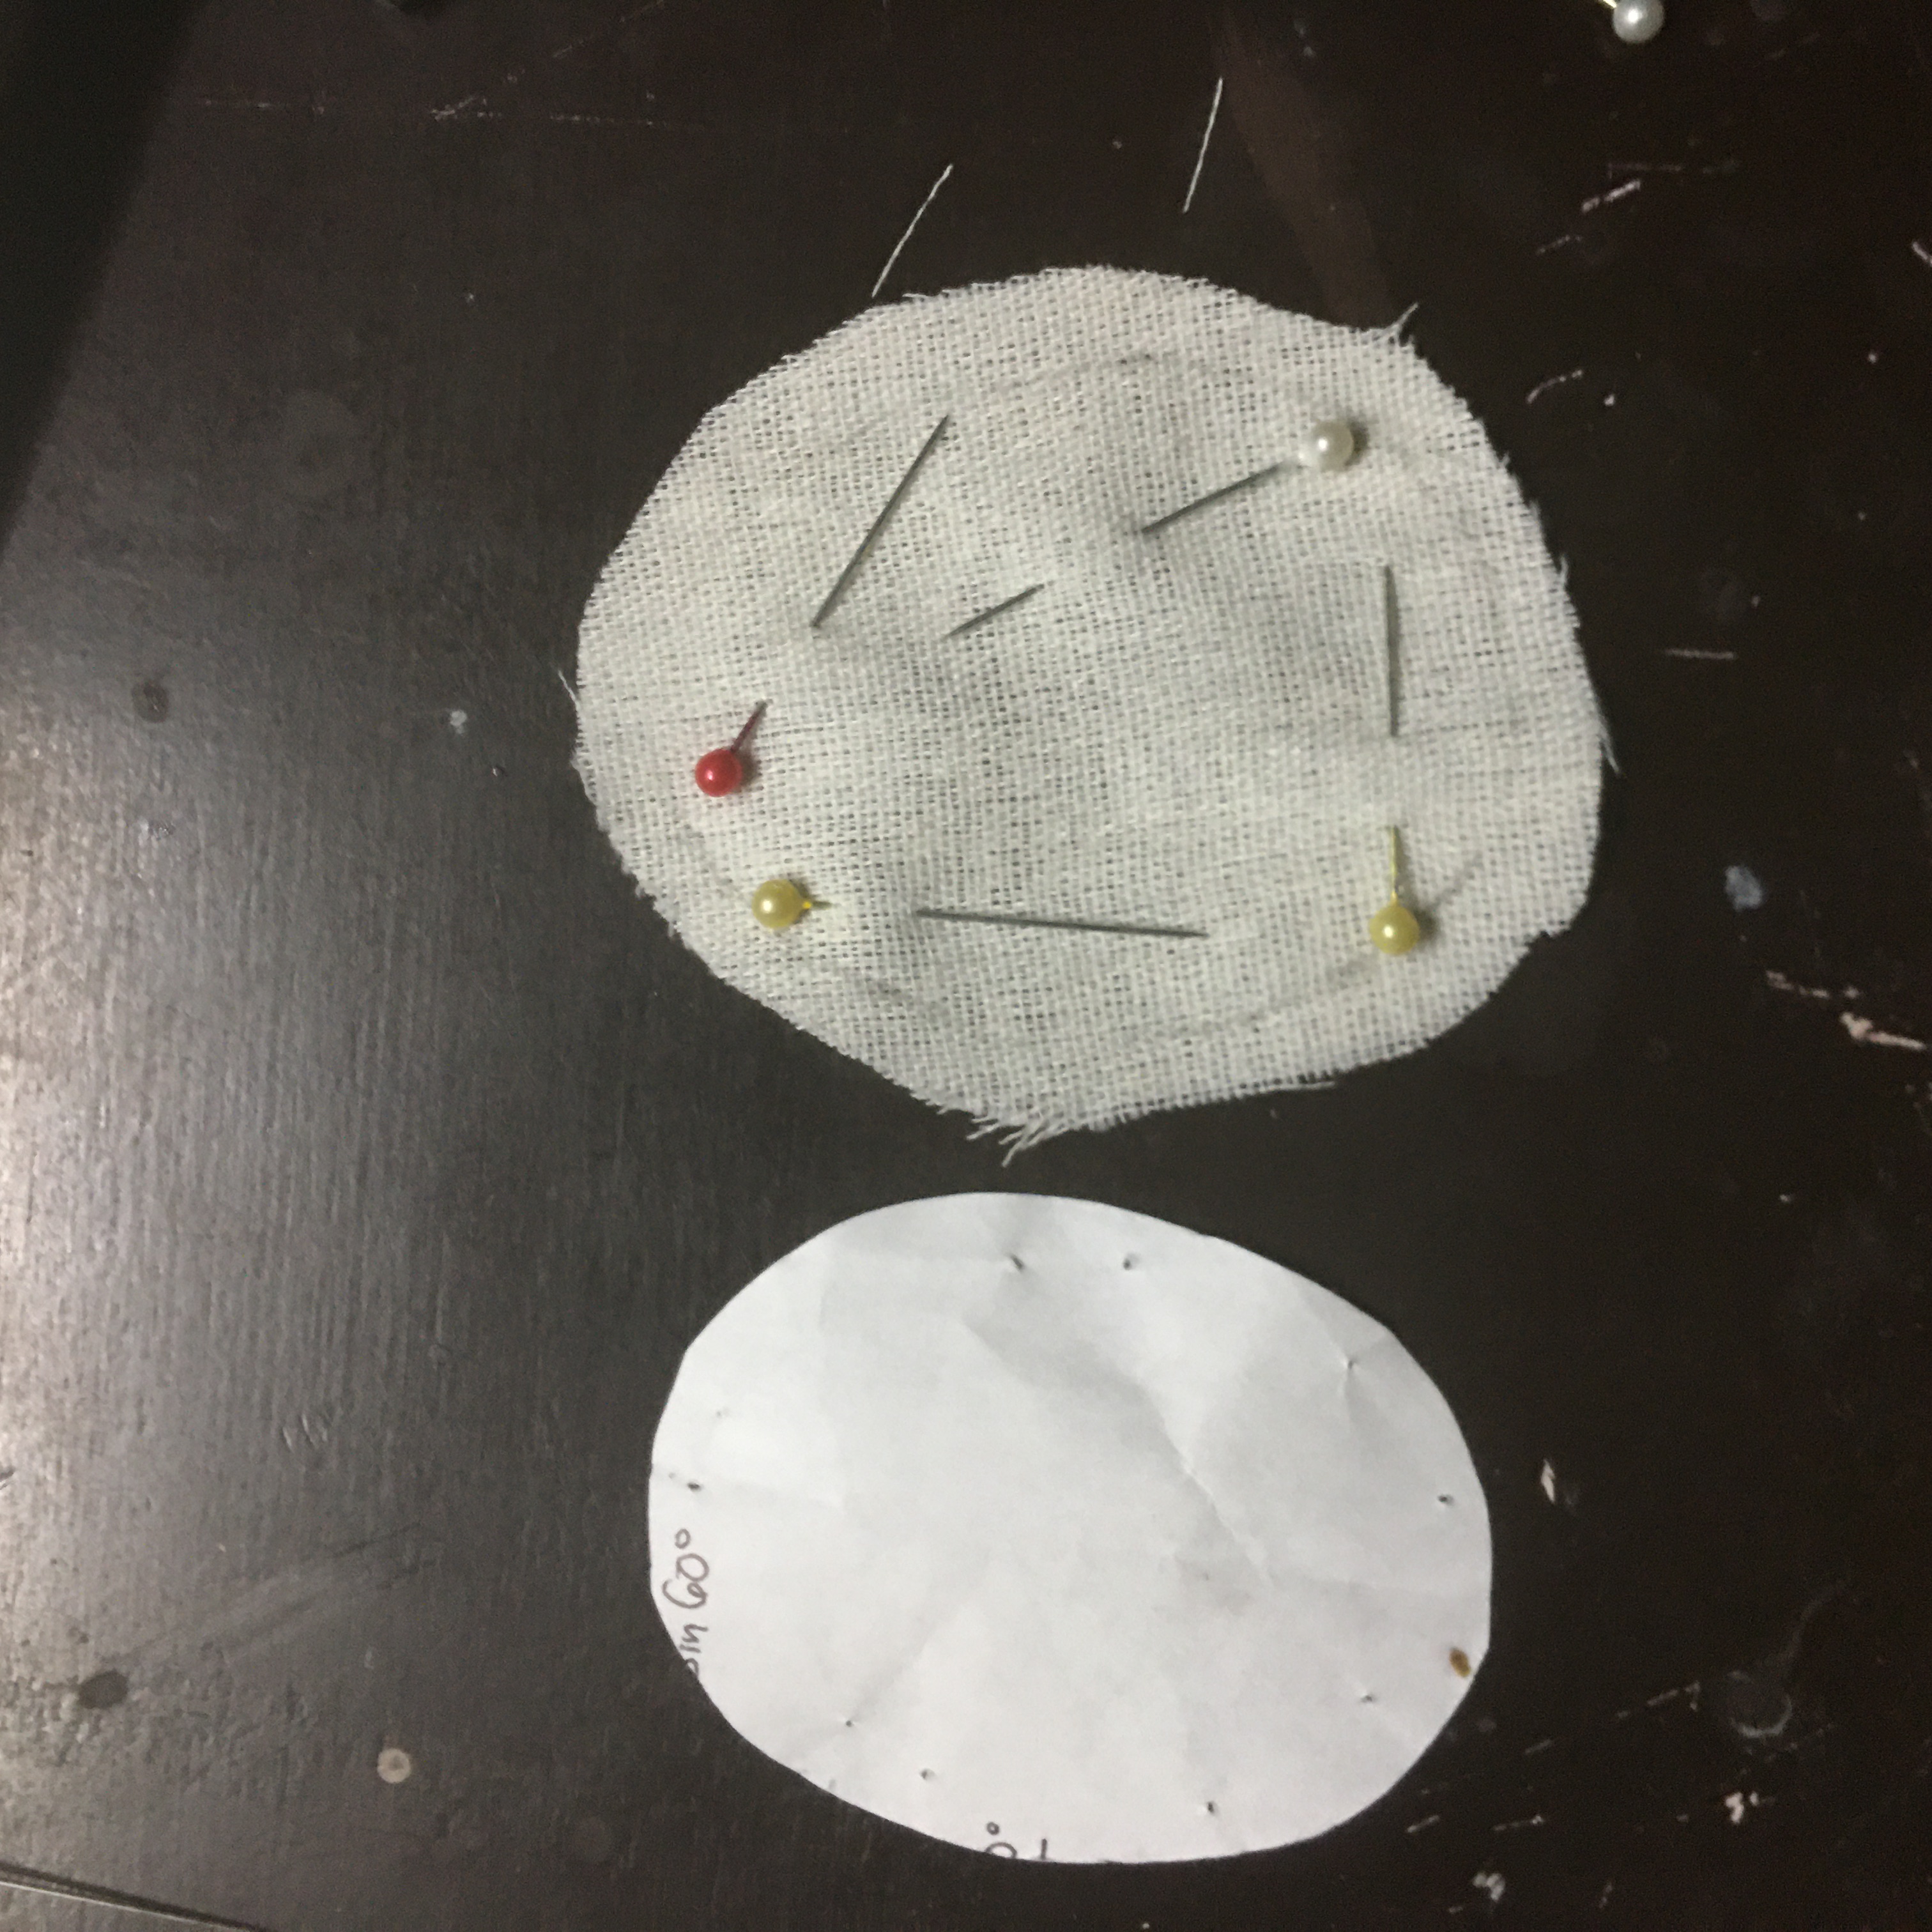
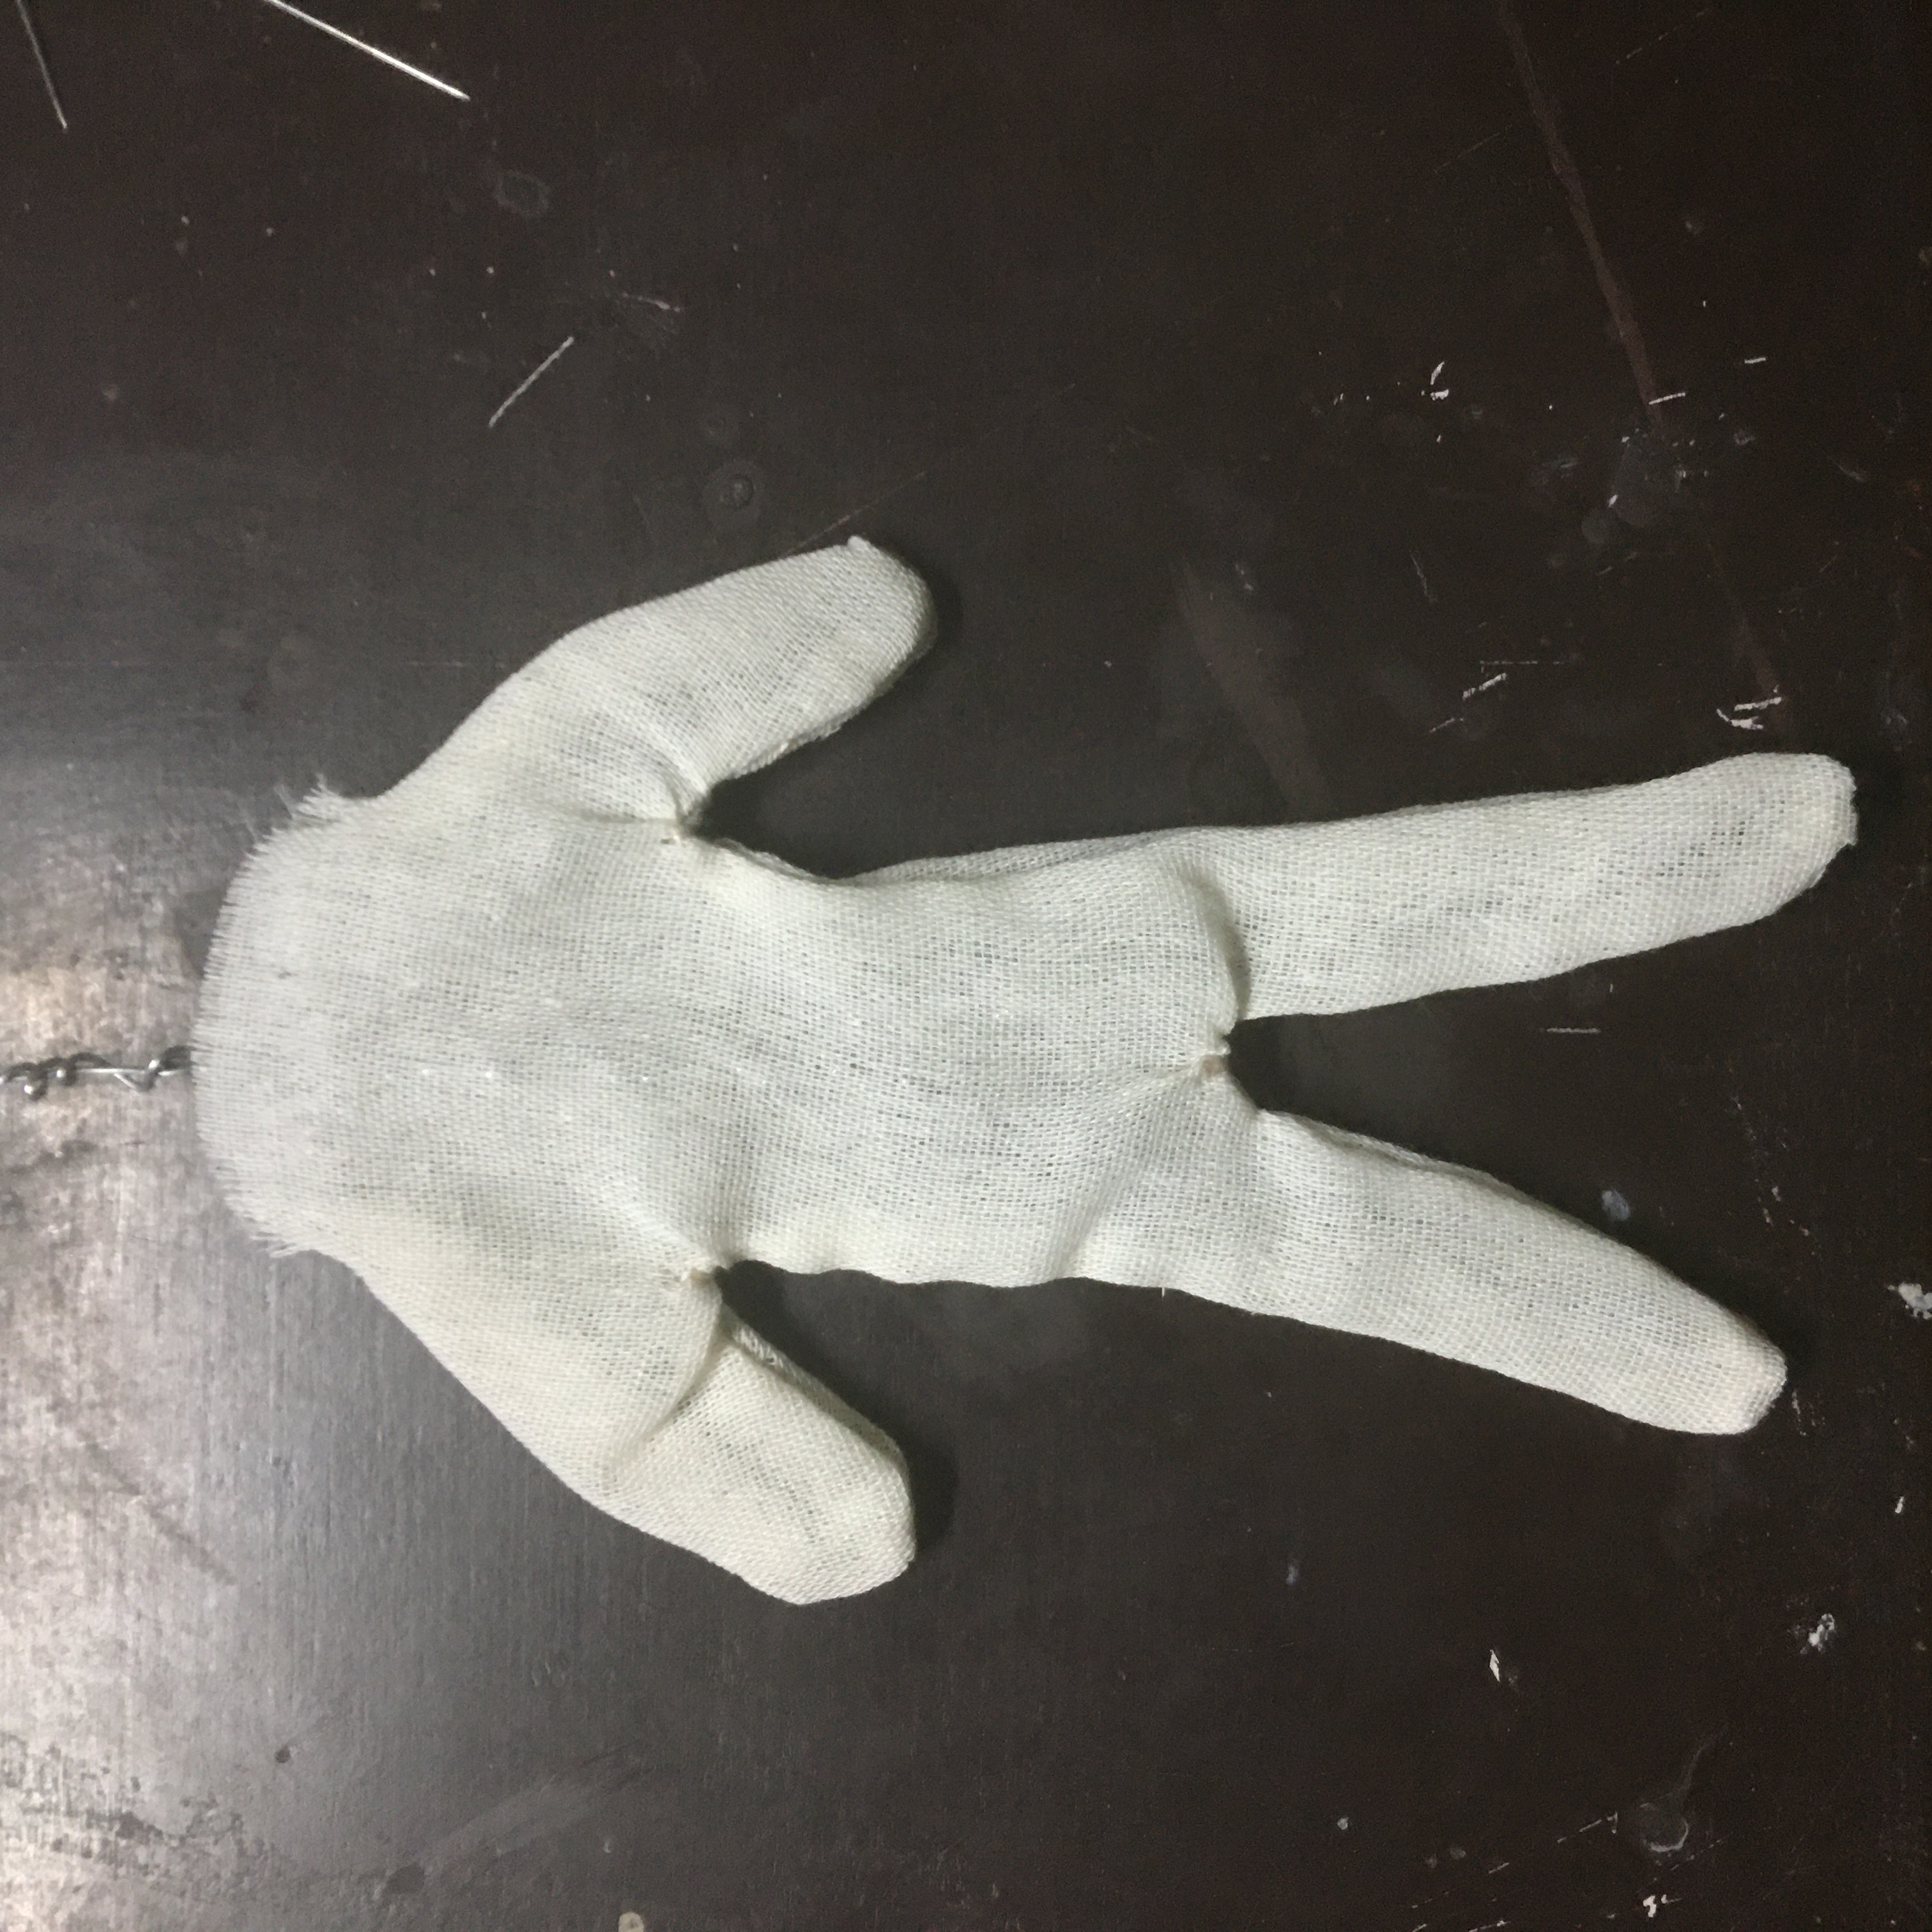

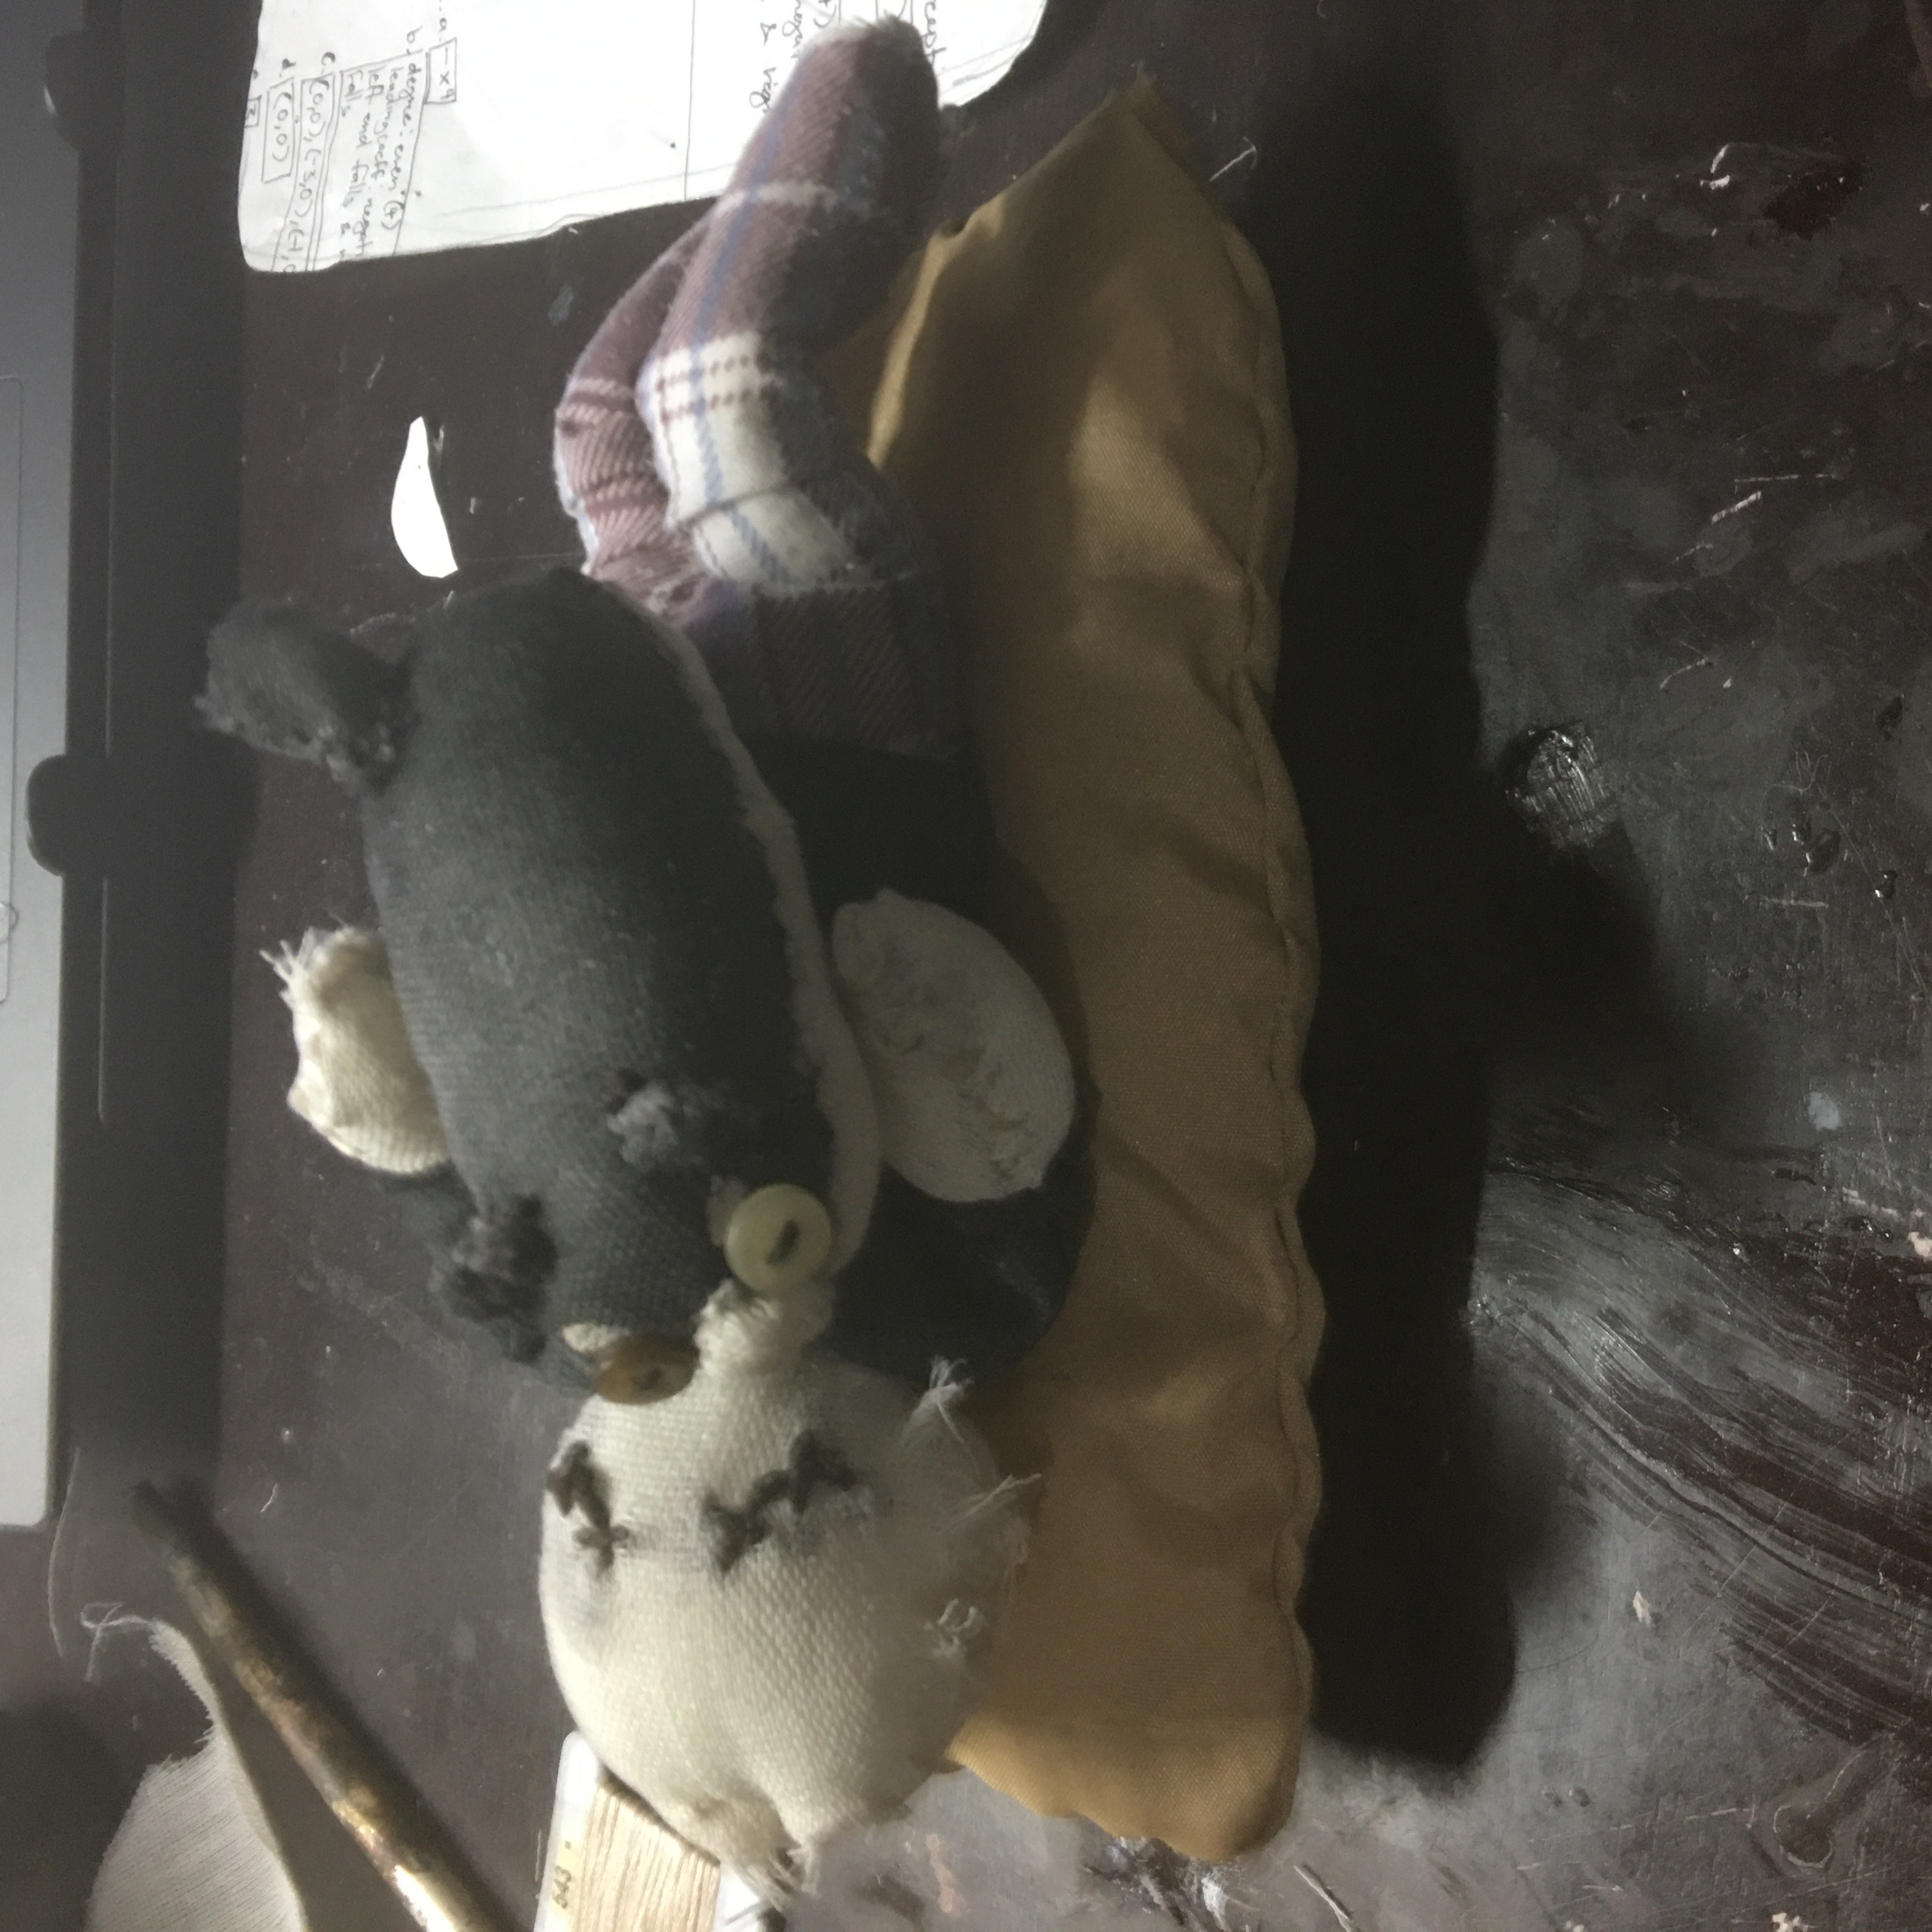
Dolls! So I mean the images tell the process itself, but I'll just explain a bit more. I started with the armature wire so that it's possible for me to move the doll. Then I sketch and cut out templates on paper for the various body parts, pinned them to the cloth, cut, and sew. Leave a hole for the stuffing, stuff 'em, stitch the different parts together, and voila! Done with the base.
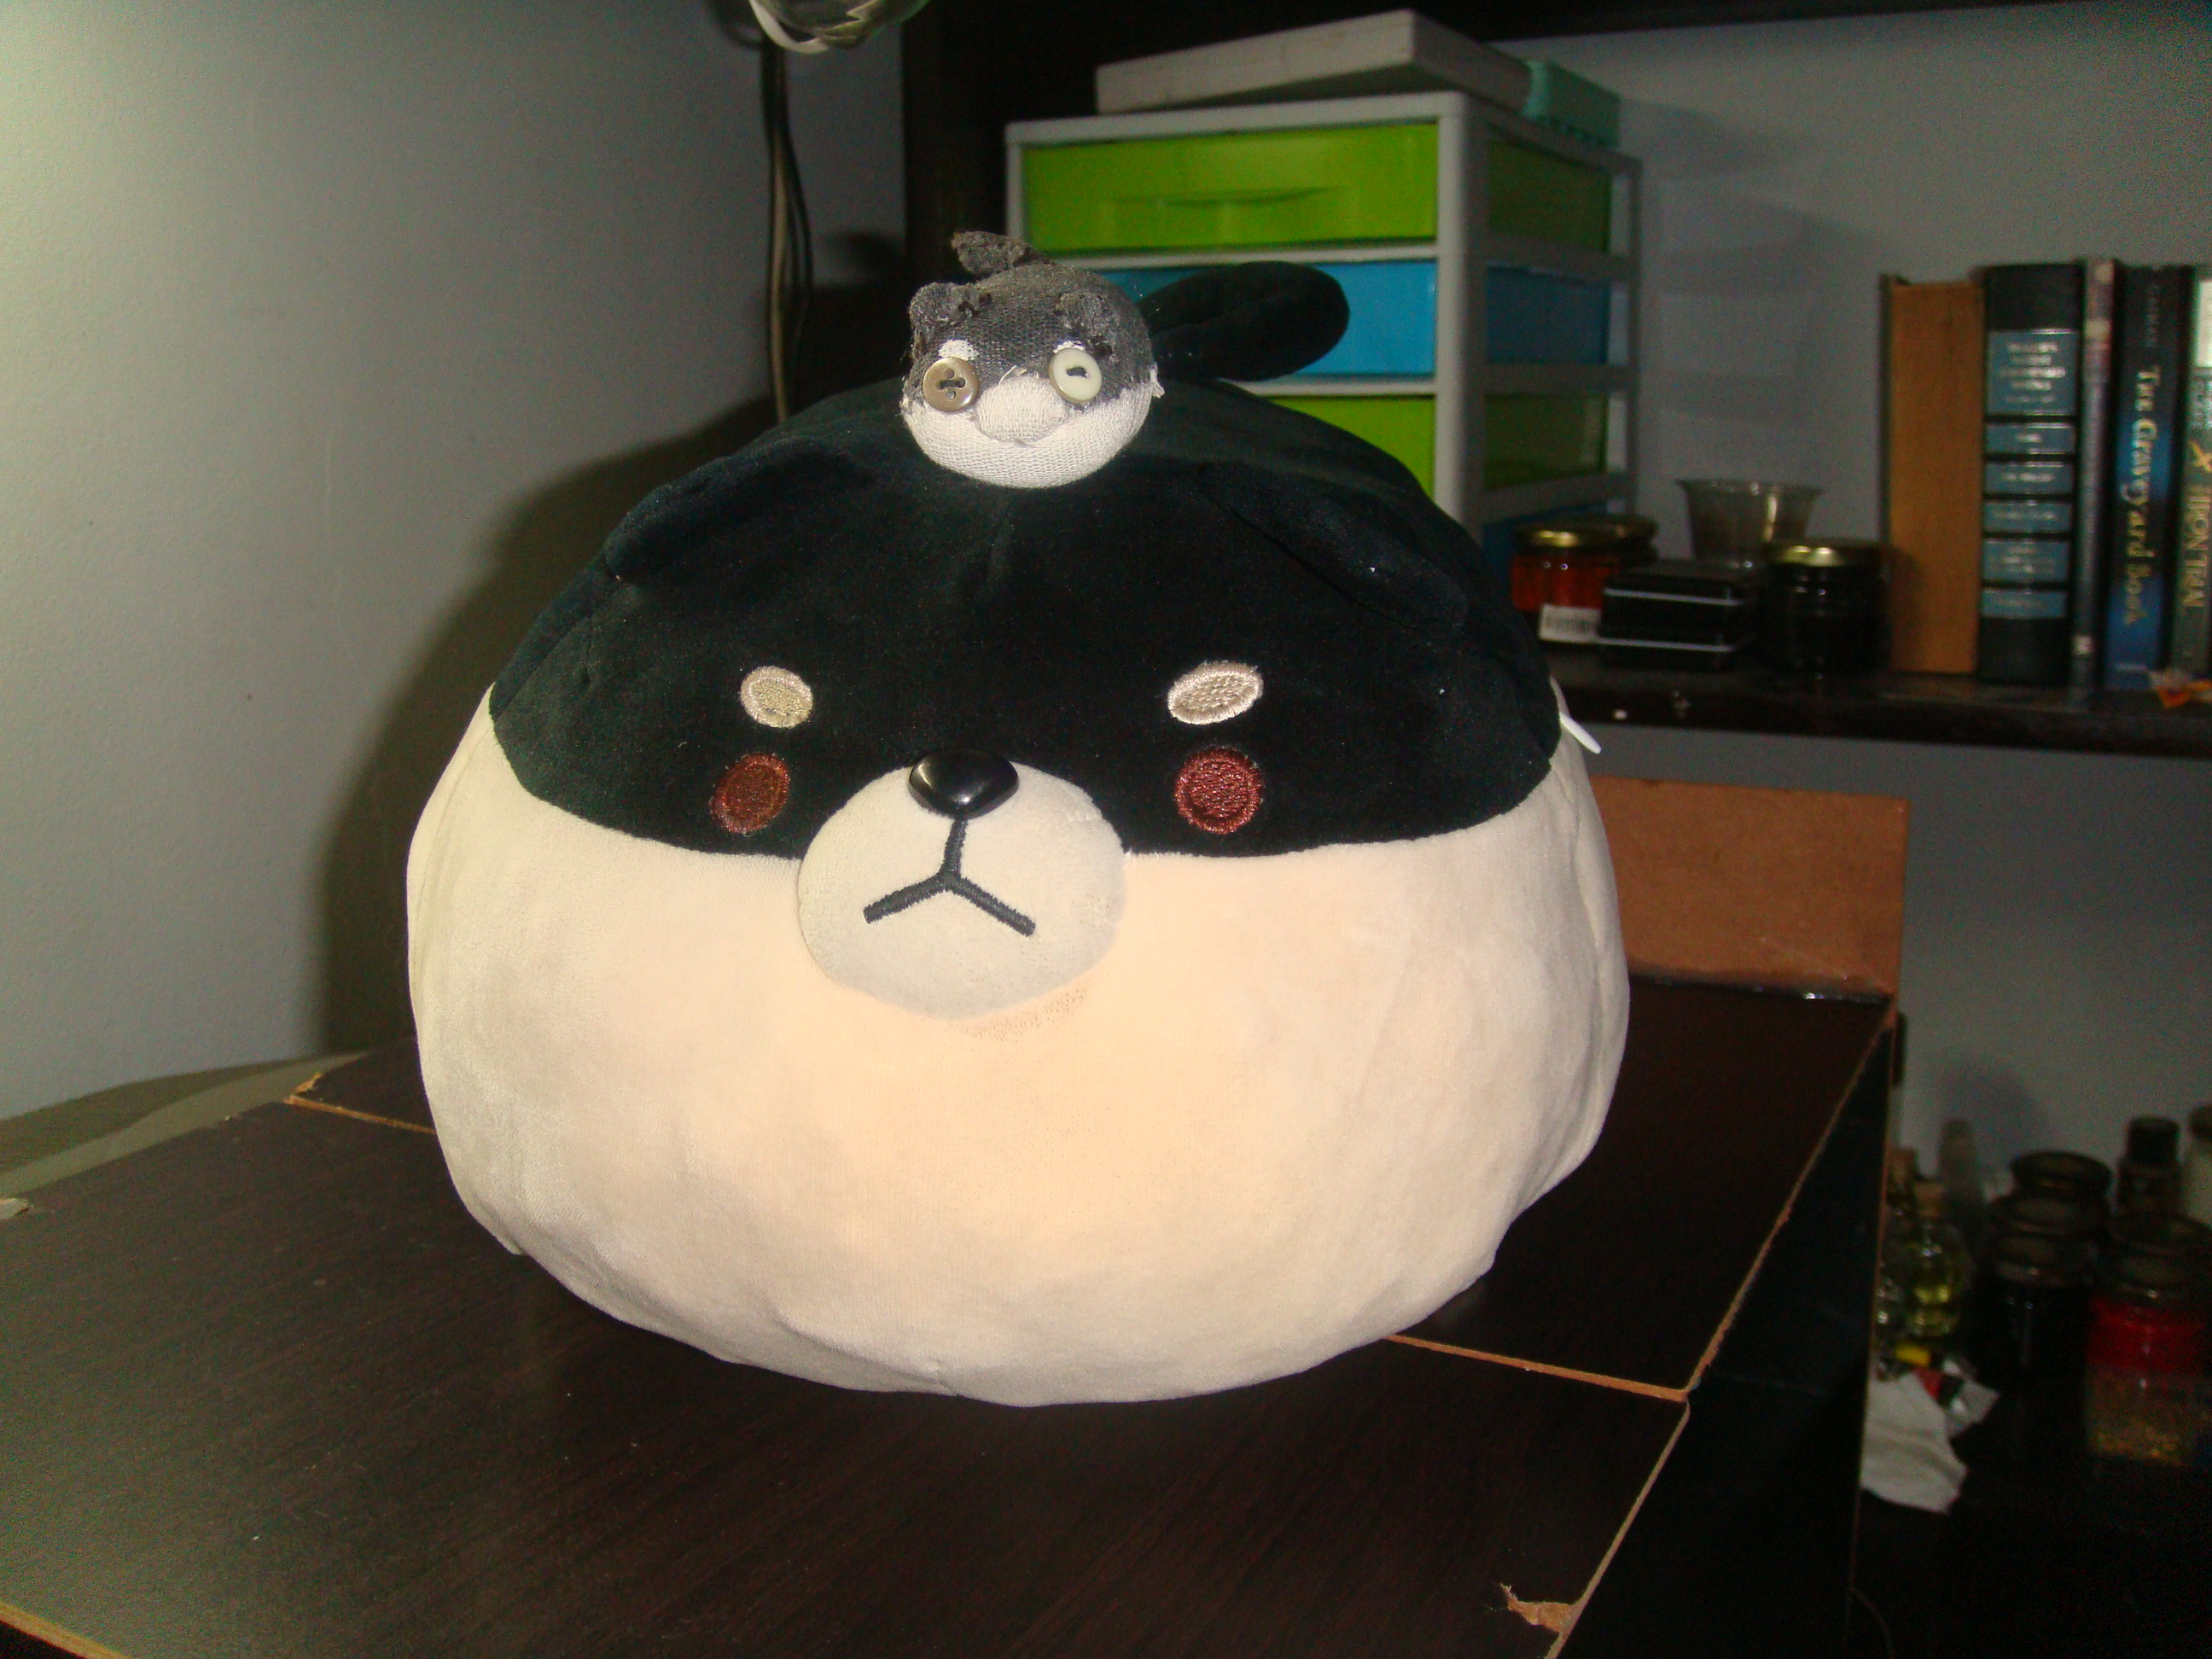
I did the same thing with the dog plush, just on a tinier scale so some parts didnt need stuffing. Alright, so afterwards were just the details and the pillows. My mom helped me on those parts so a big thank you to her! I've also sewn in the hair, but it's only present in the final result photos.
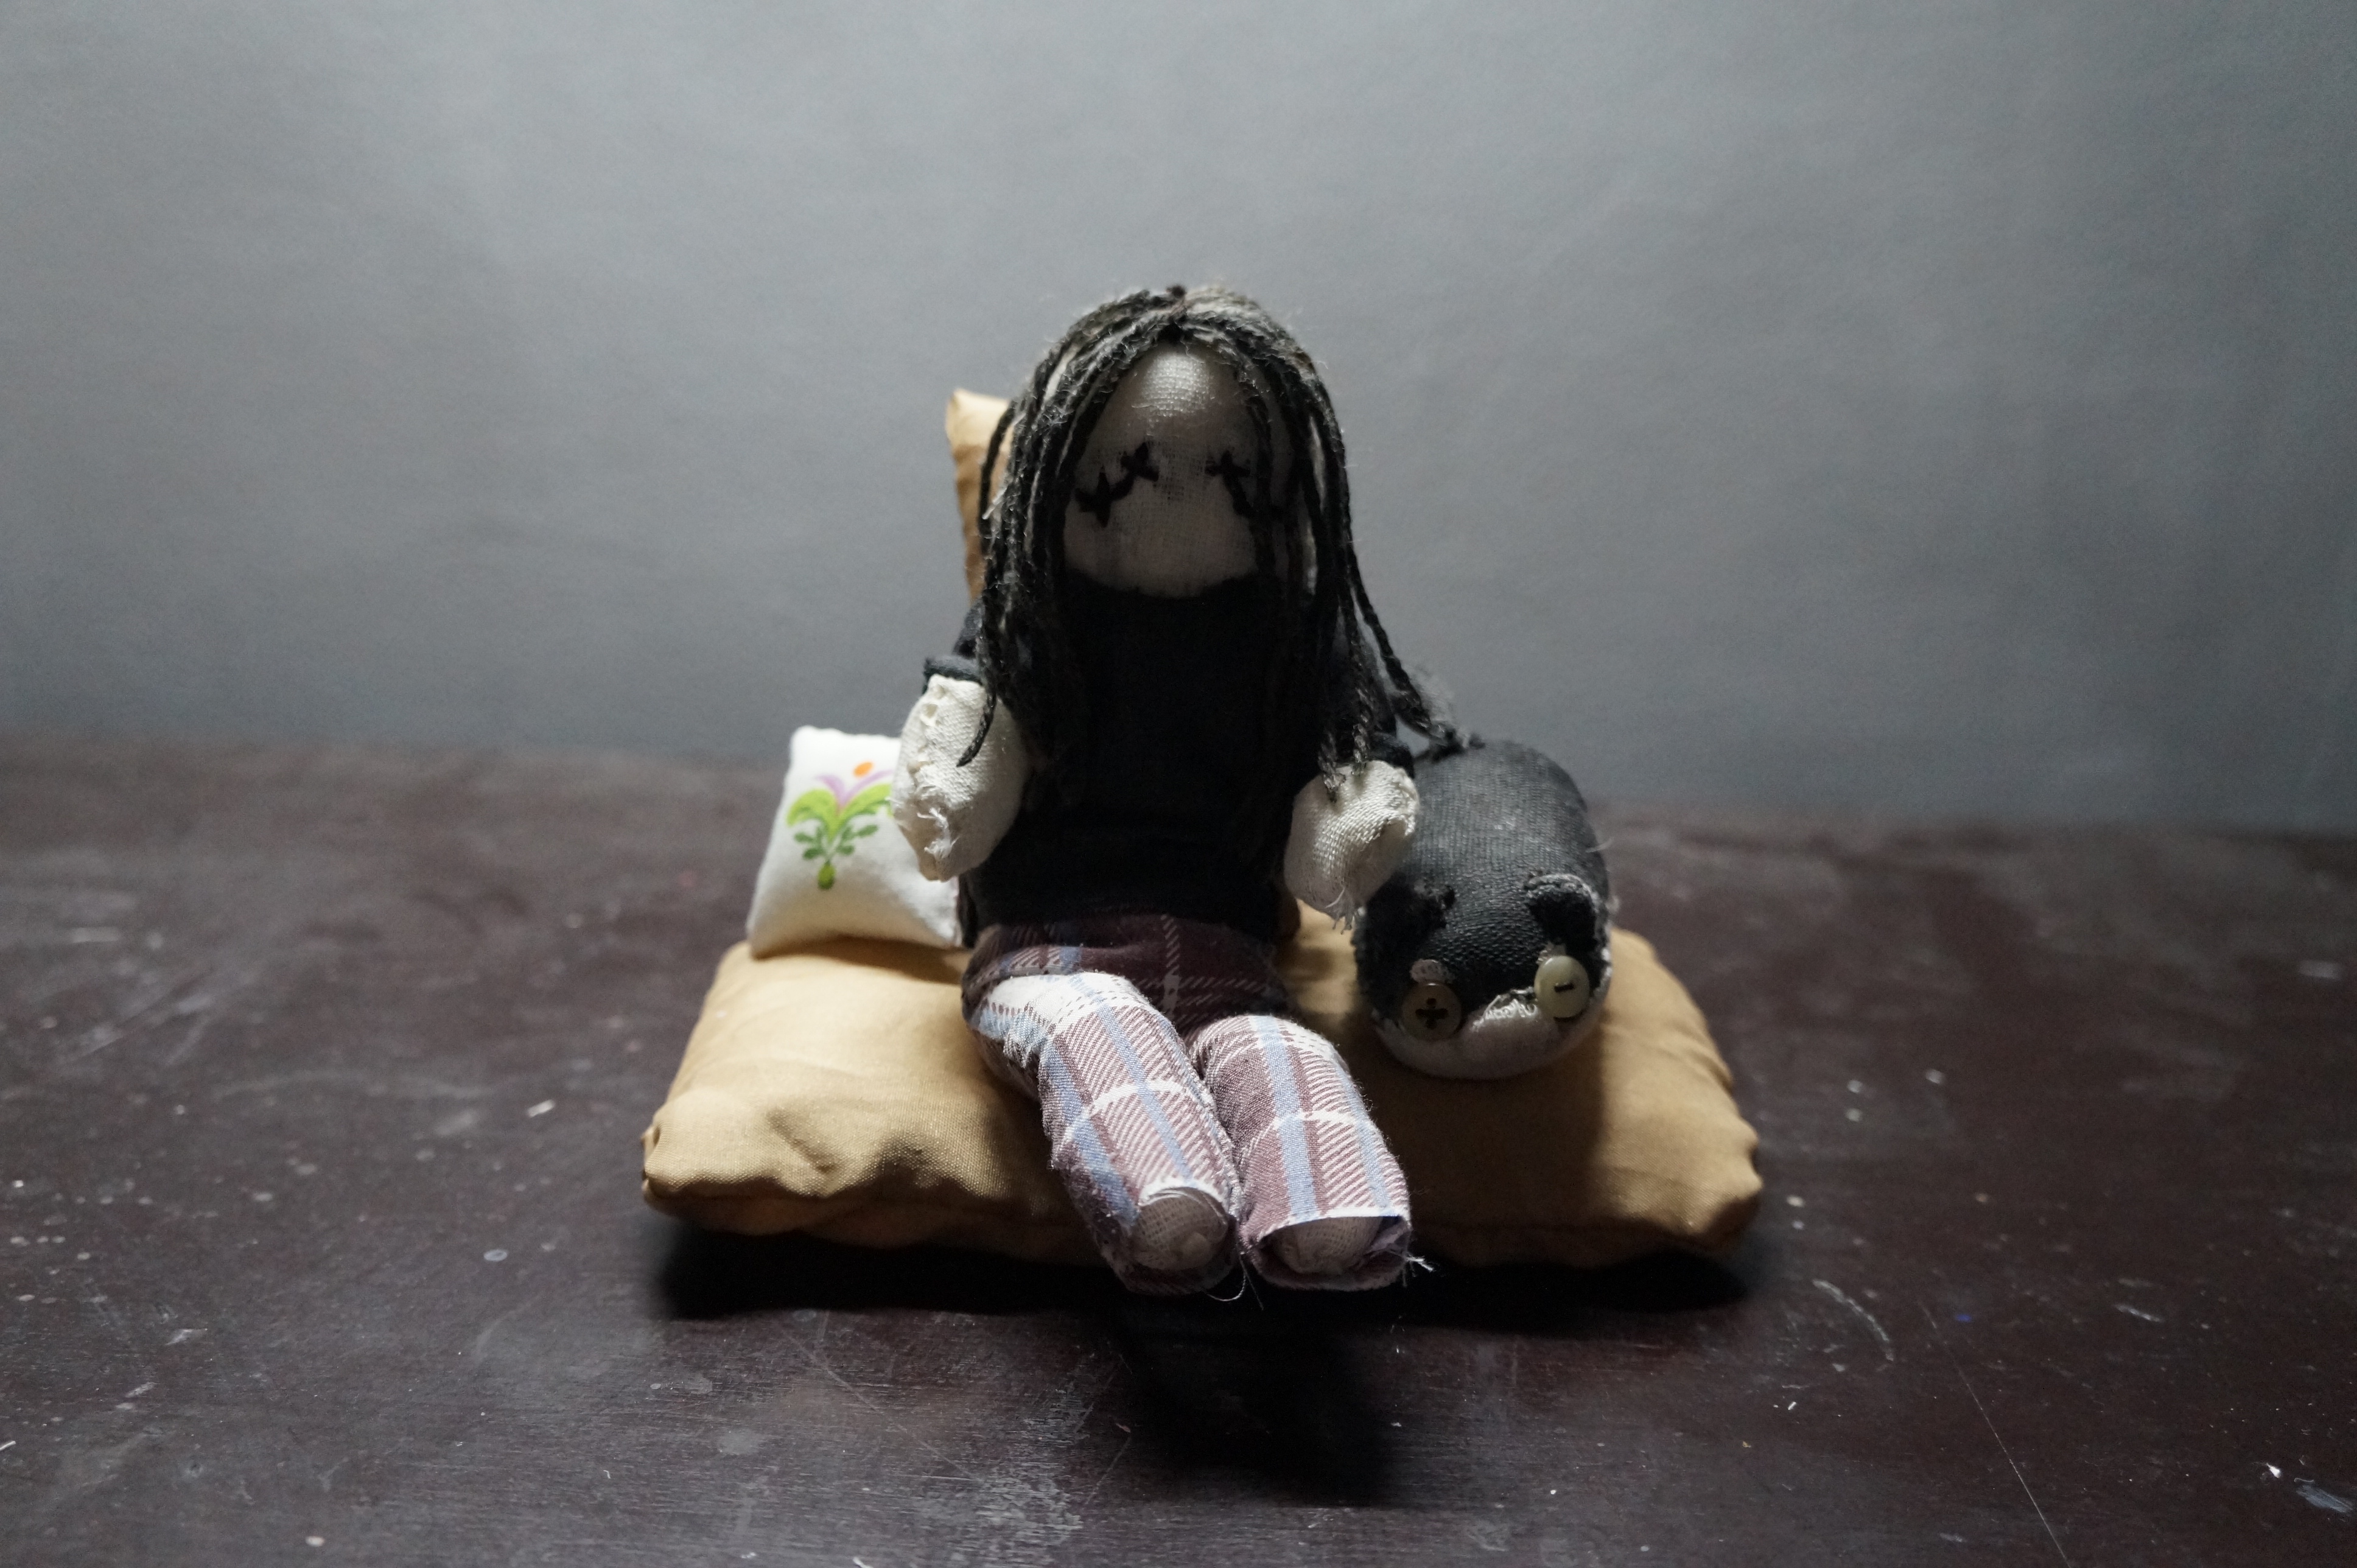
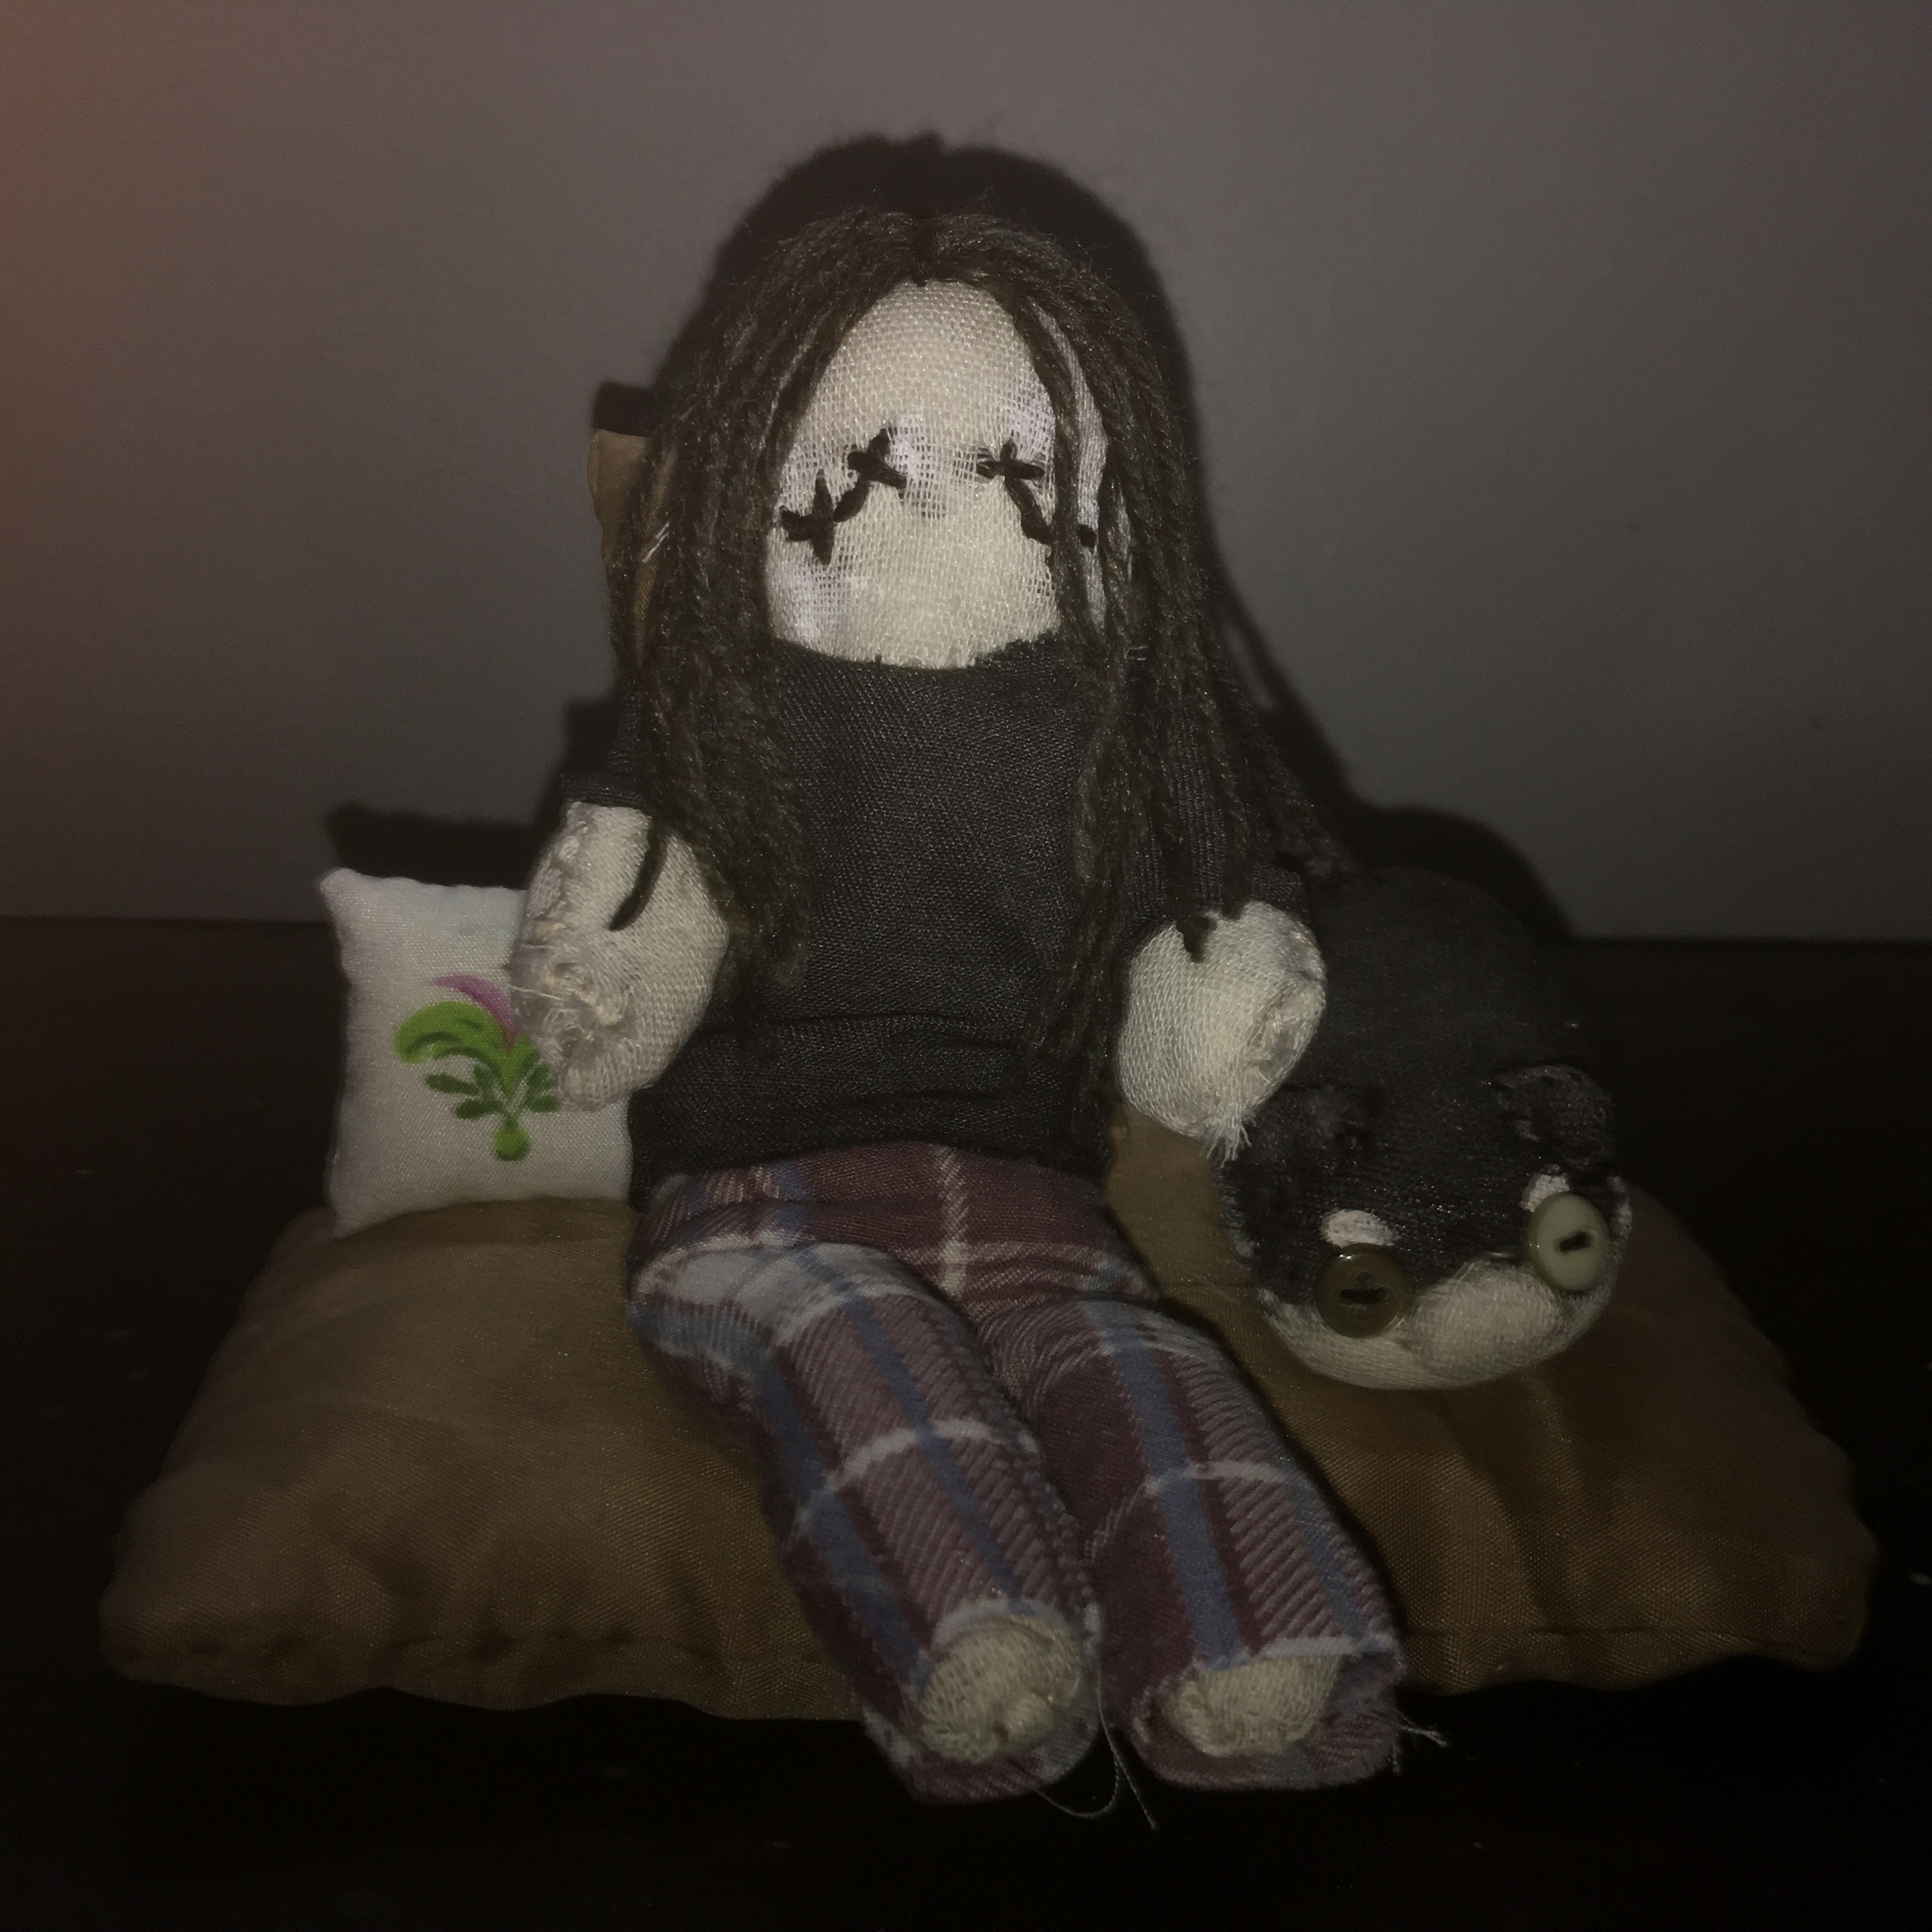
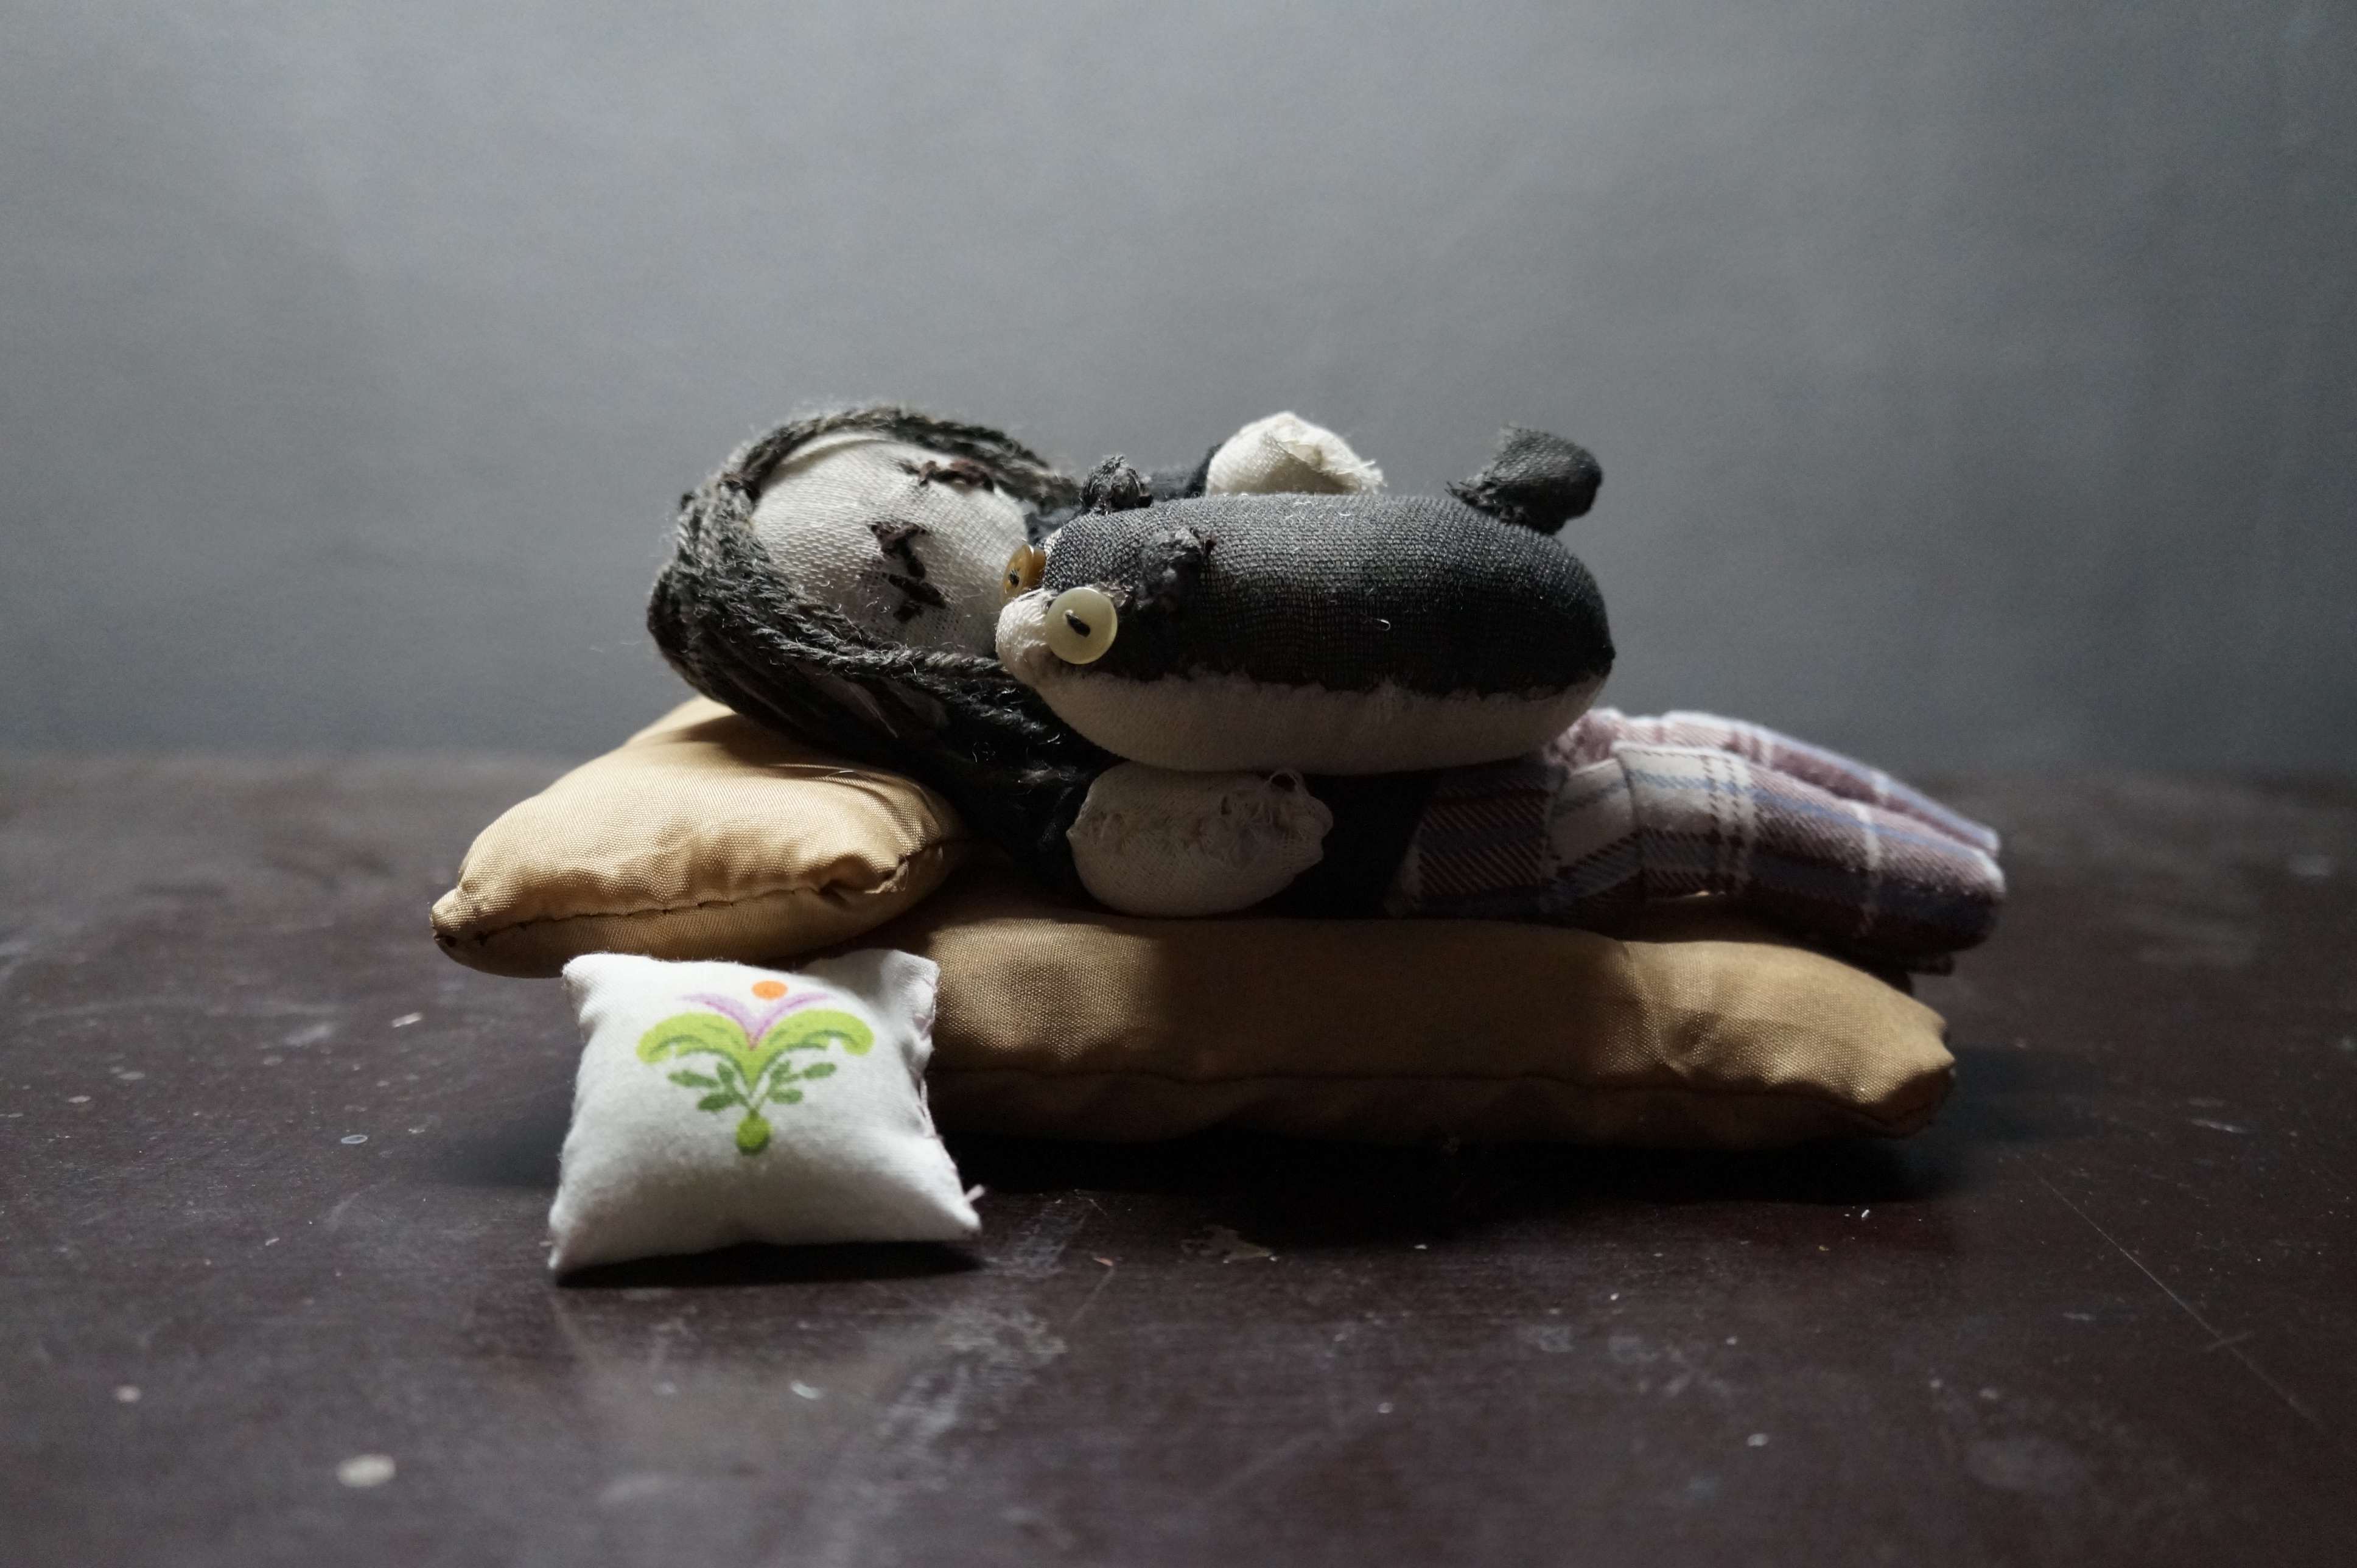
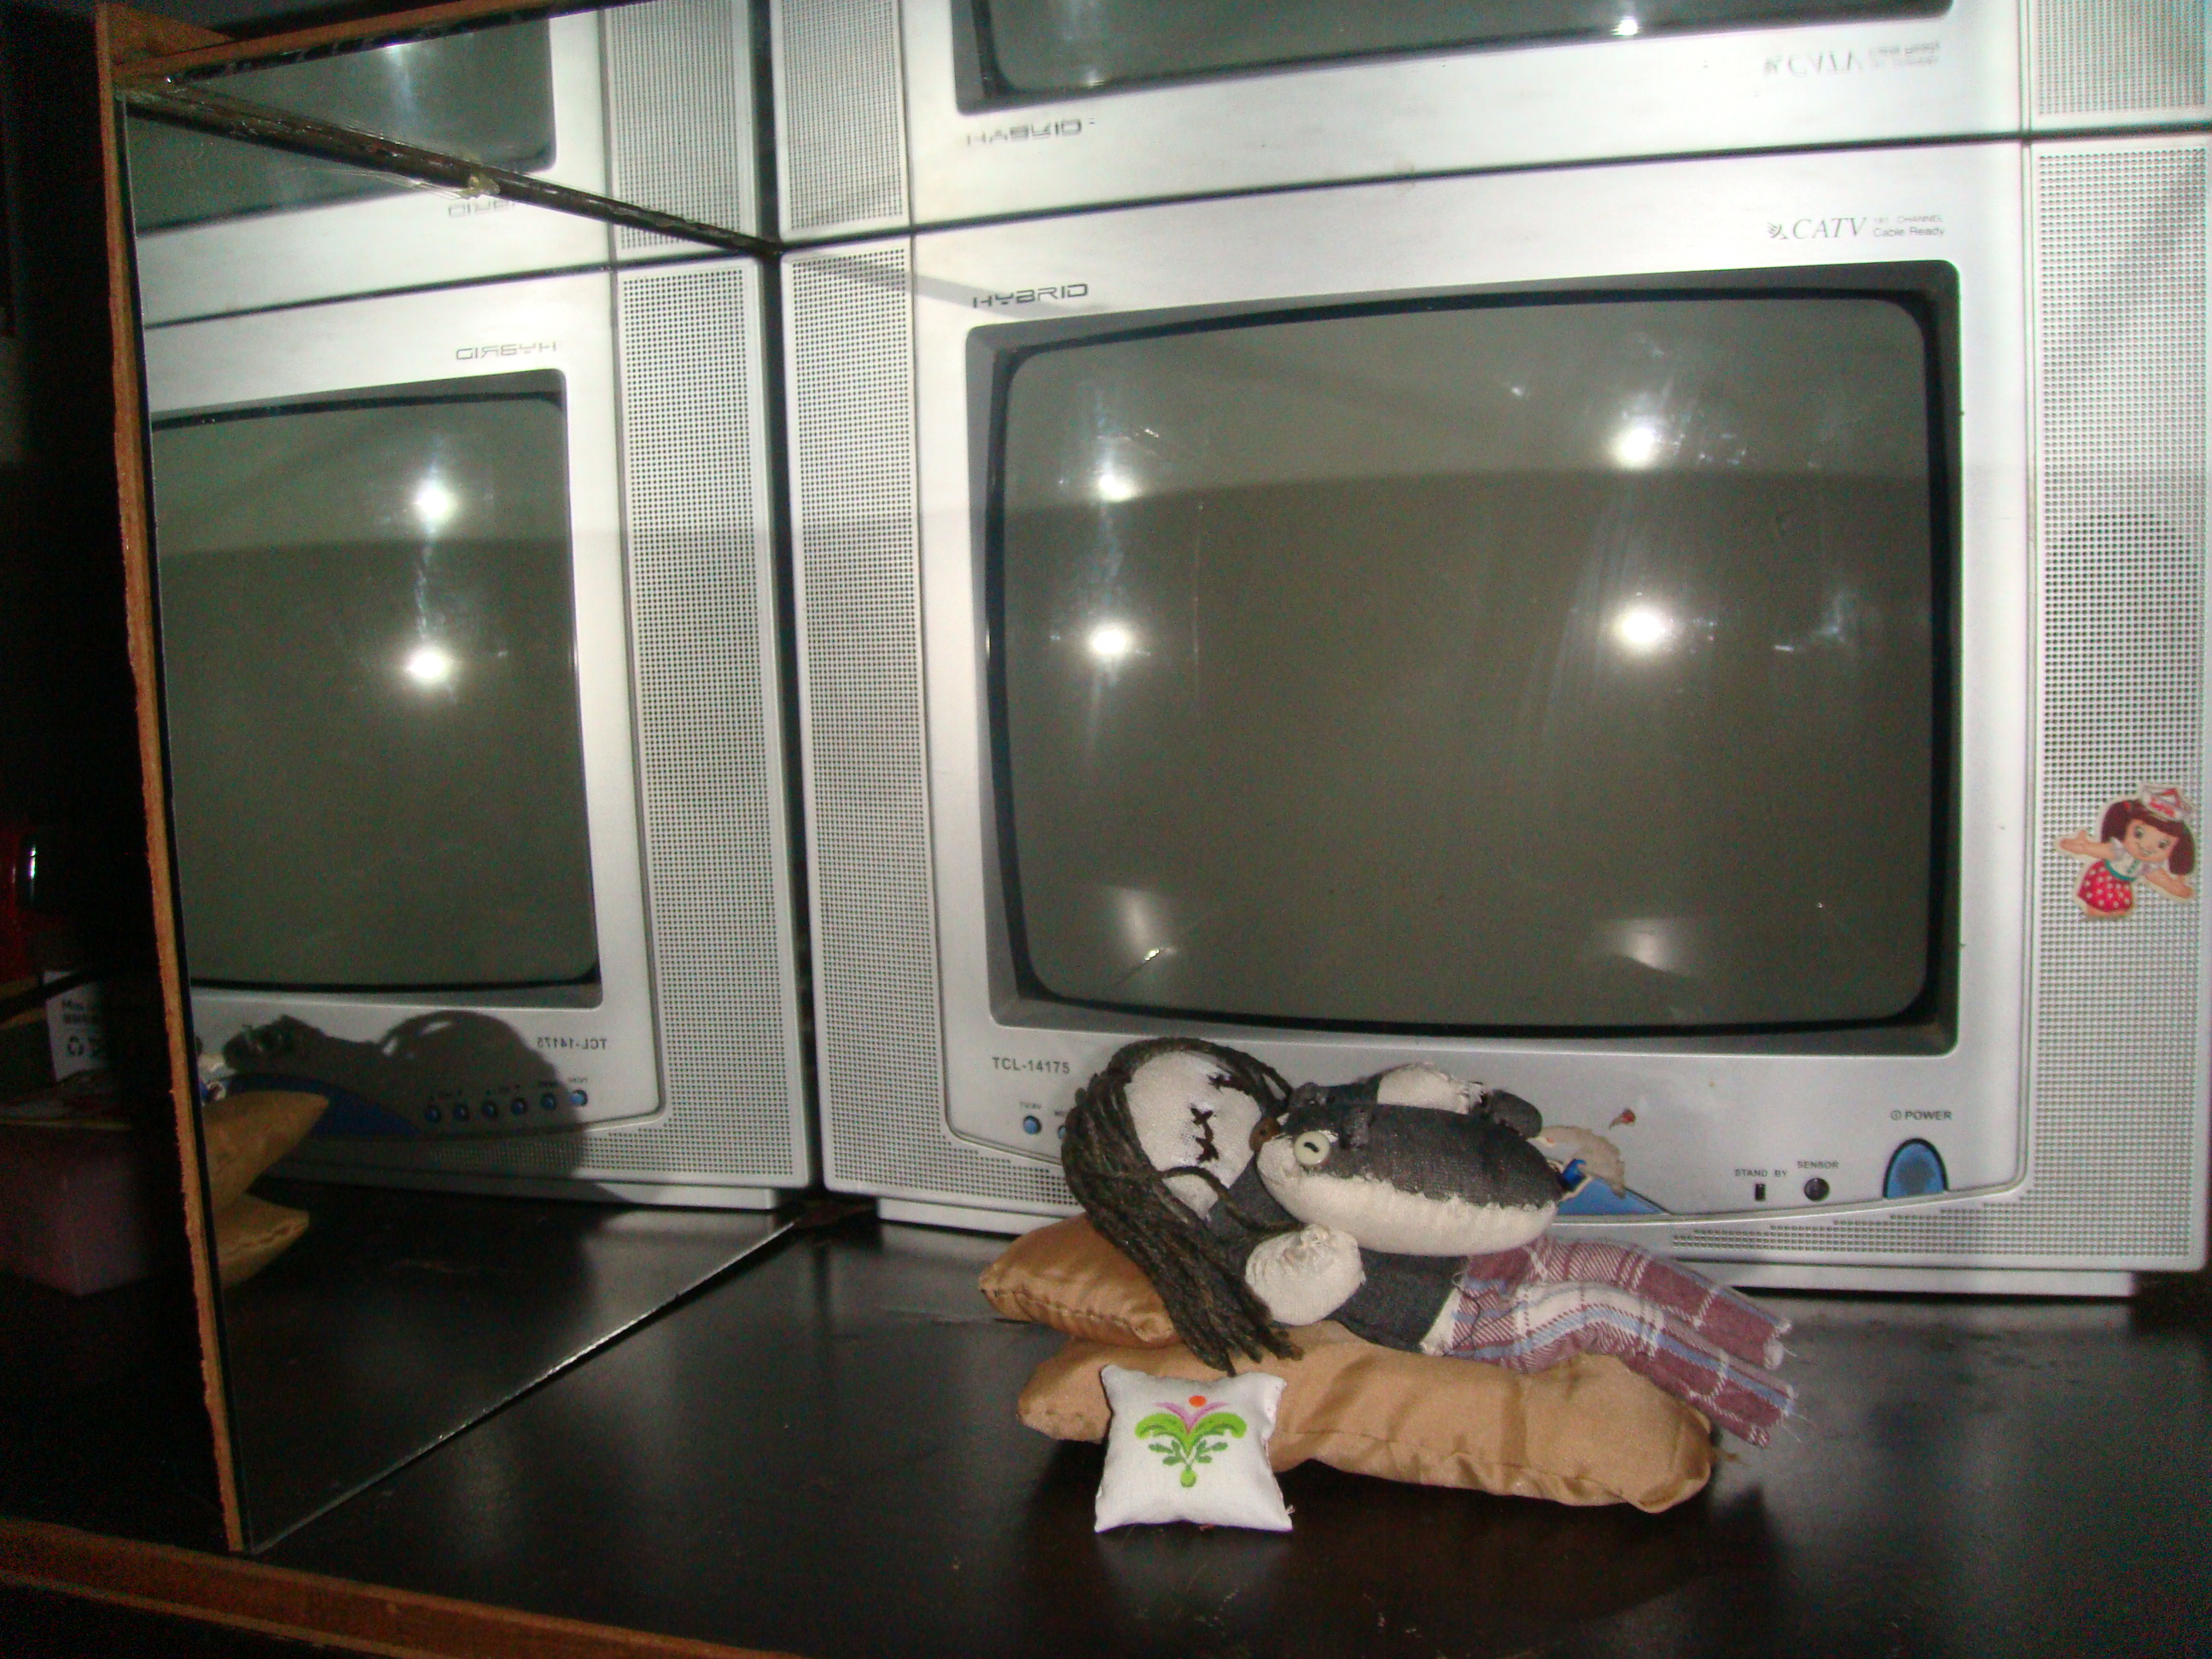
Dolls with the matress and pillows. I really liked how it turned out!
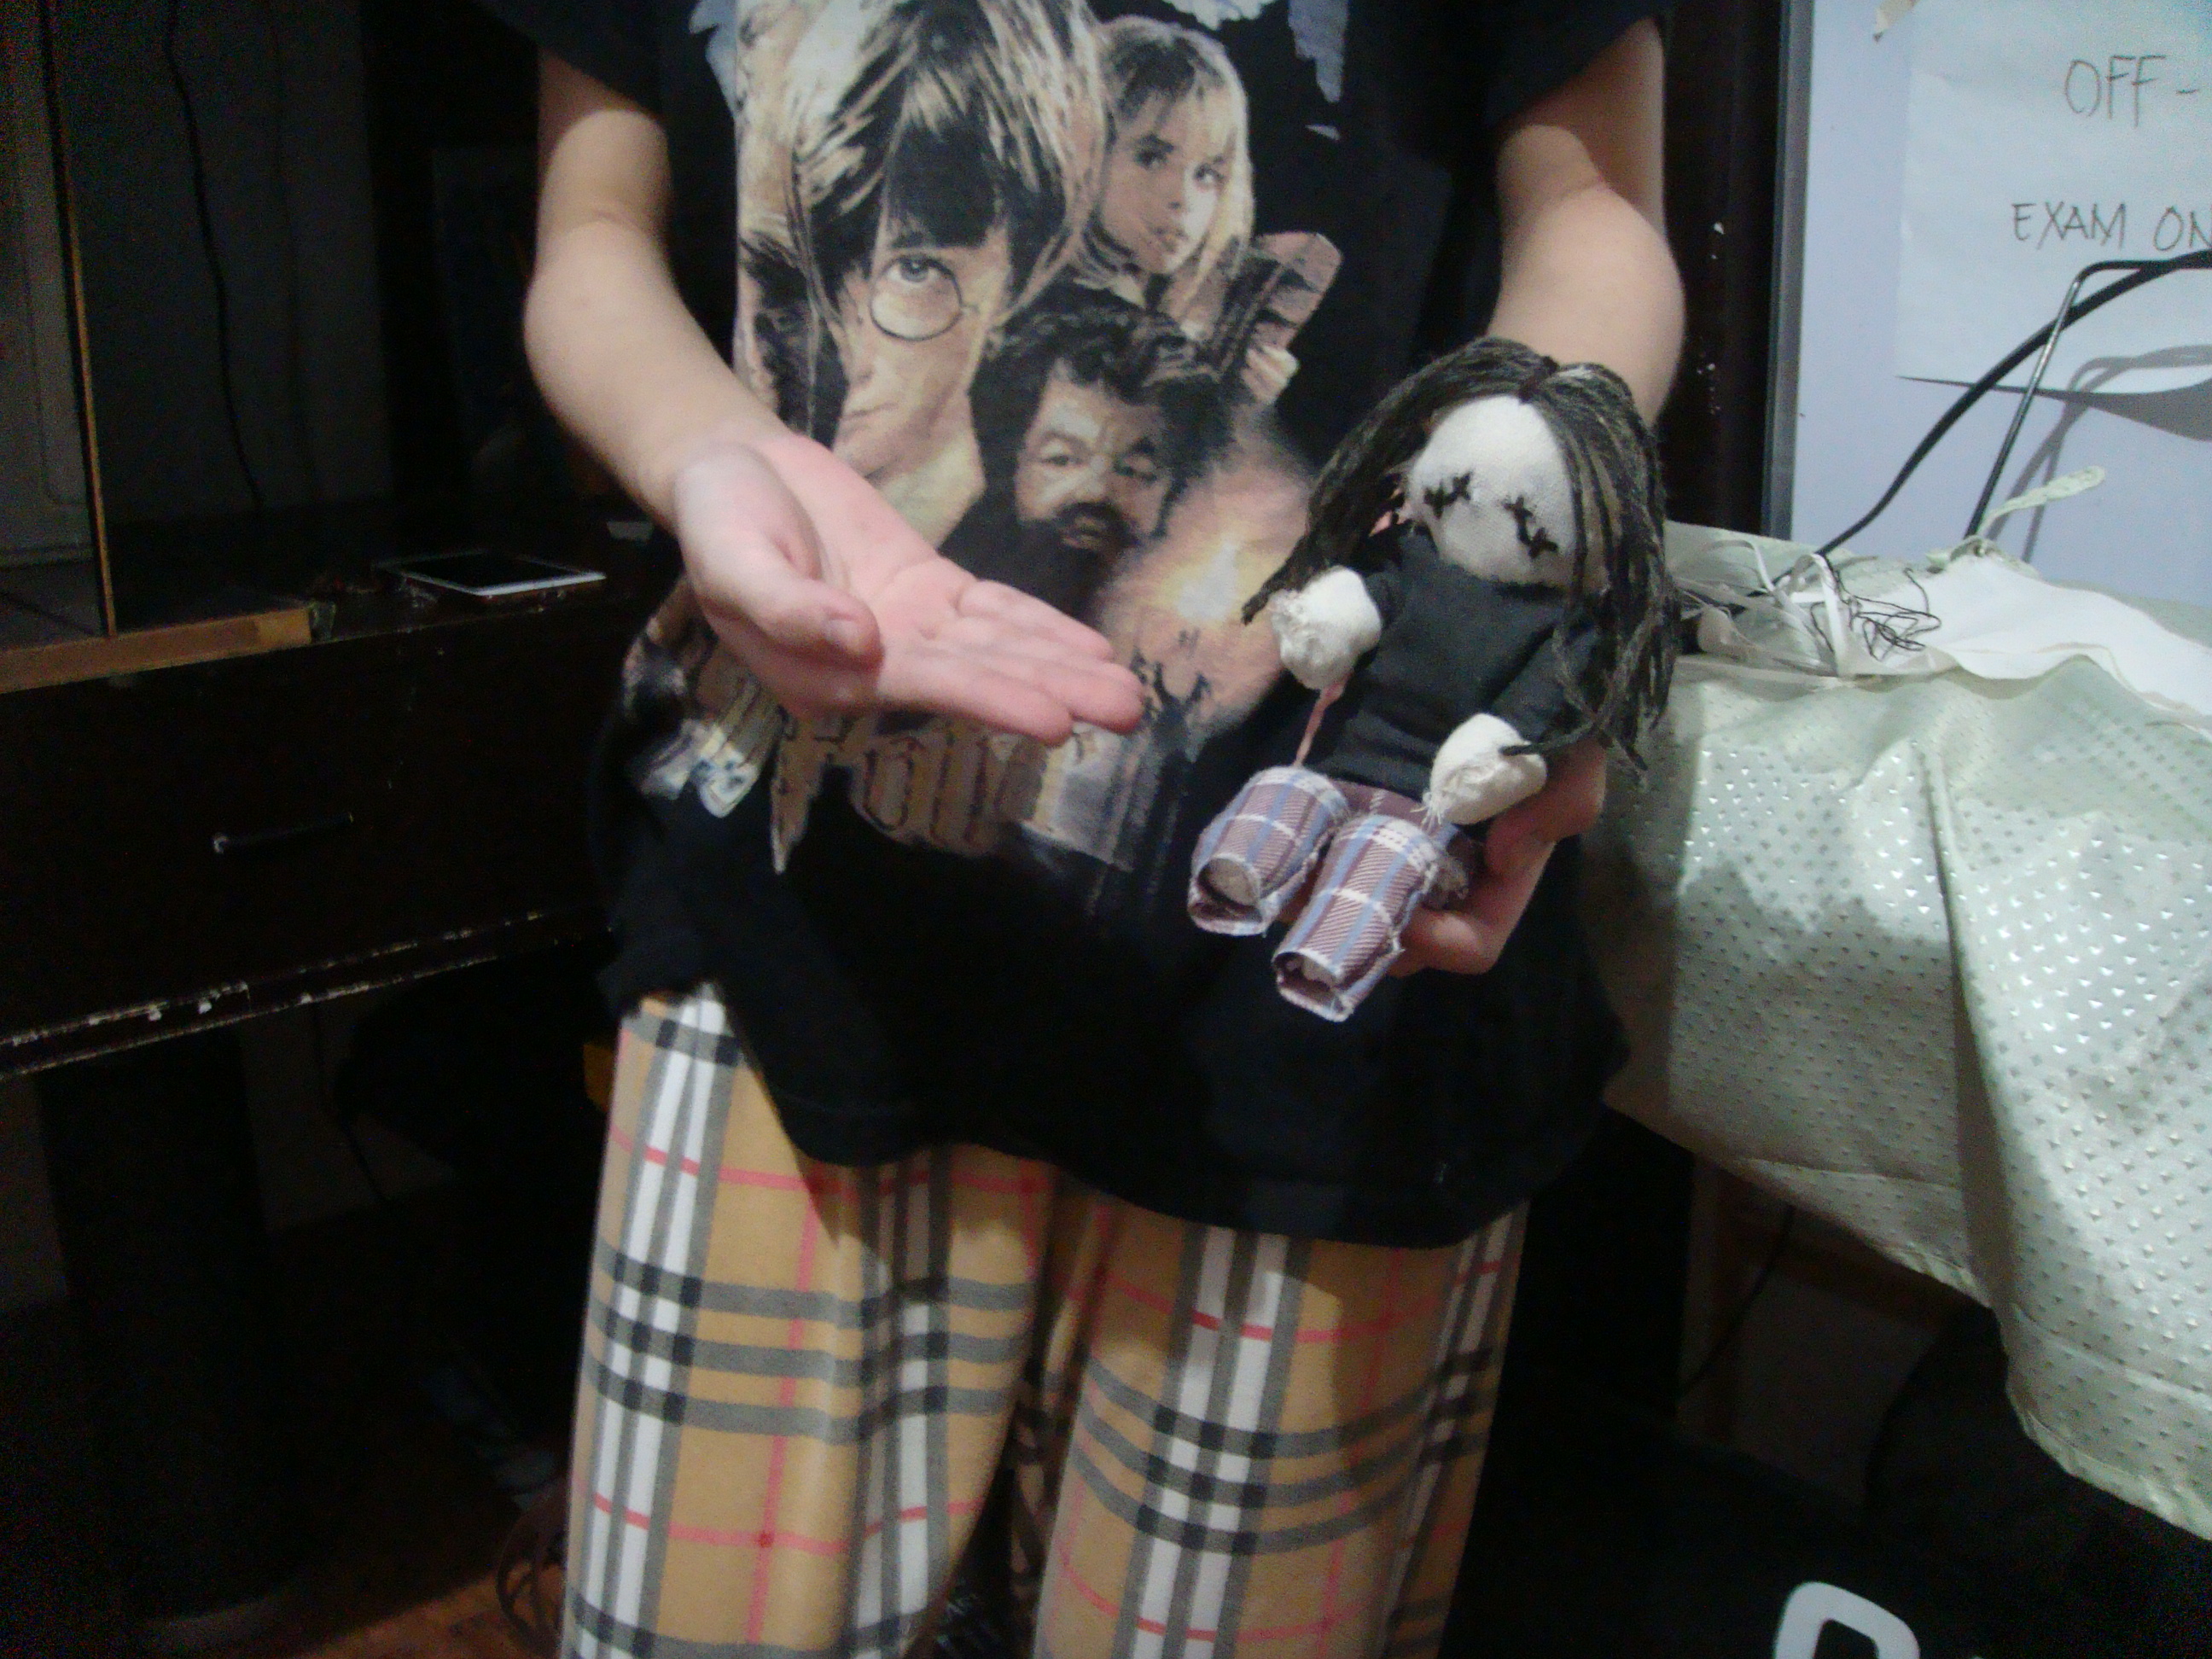
I based my doll off my actual pajama wear, and the other one is based off my actual dog plush. I find the comparison of the two dog plushies really cute ;;.
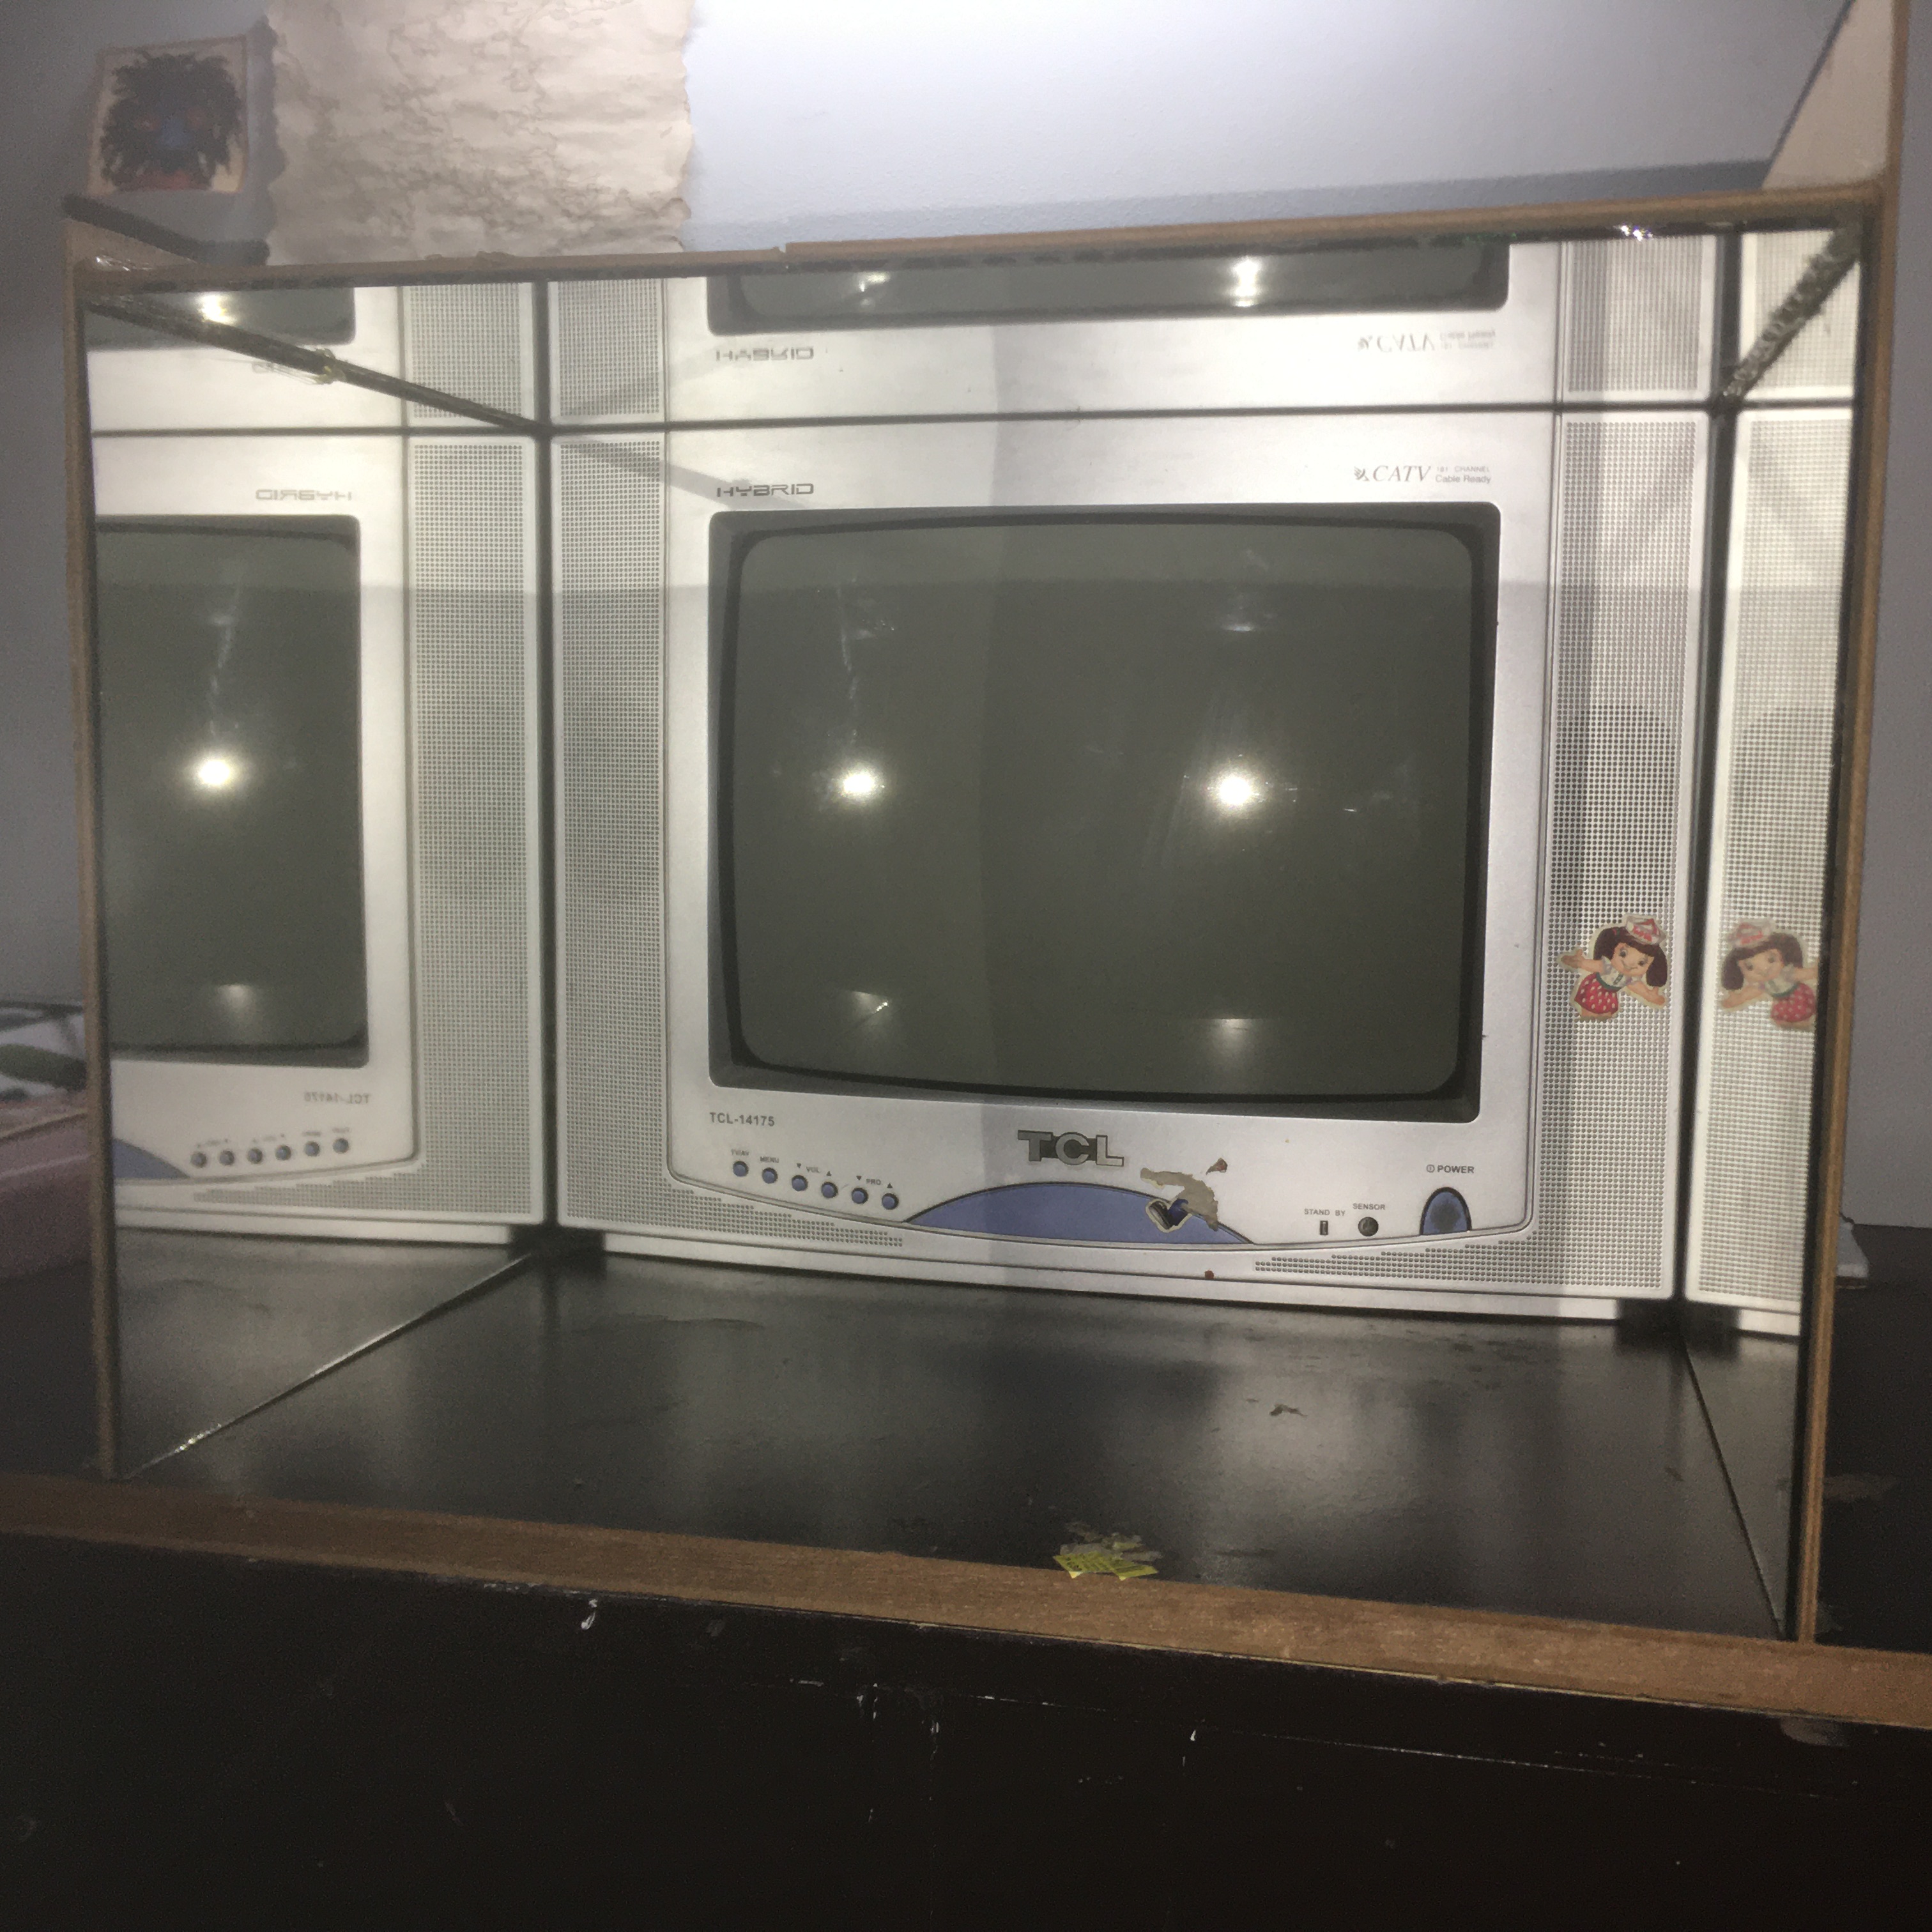
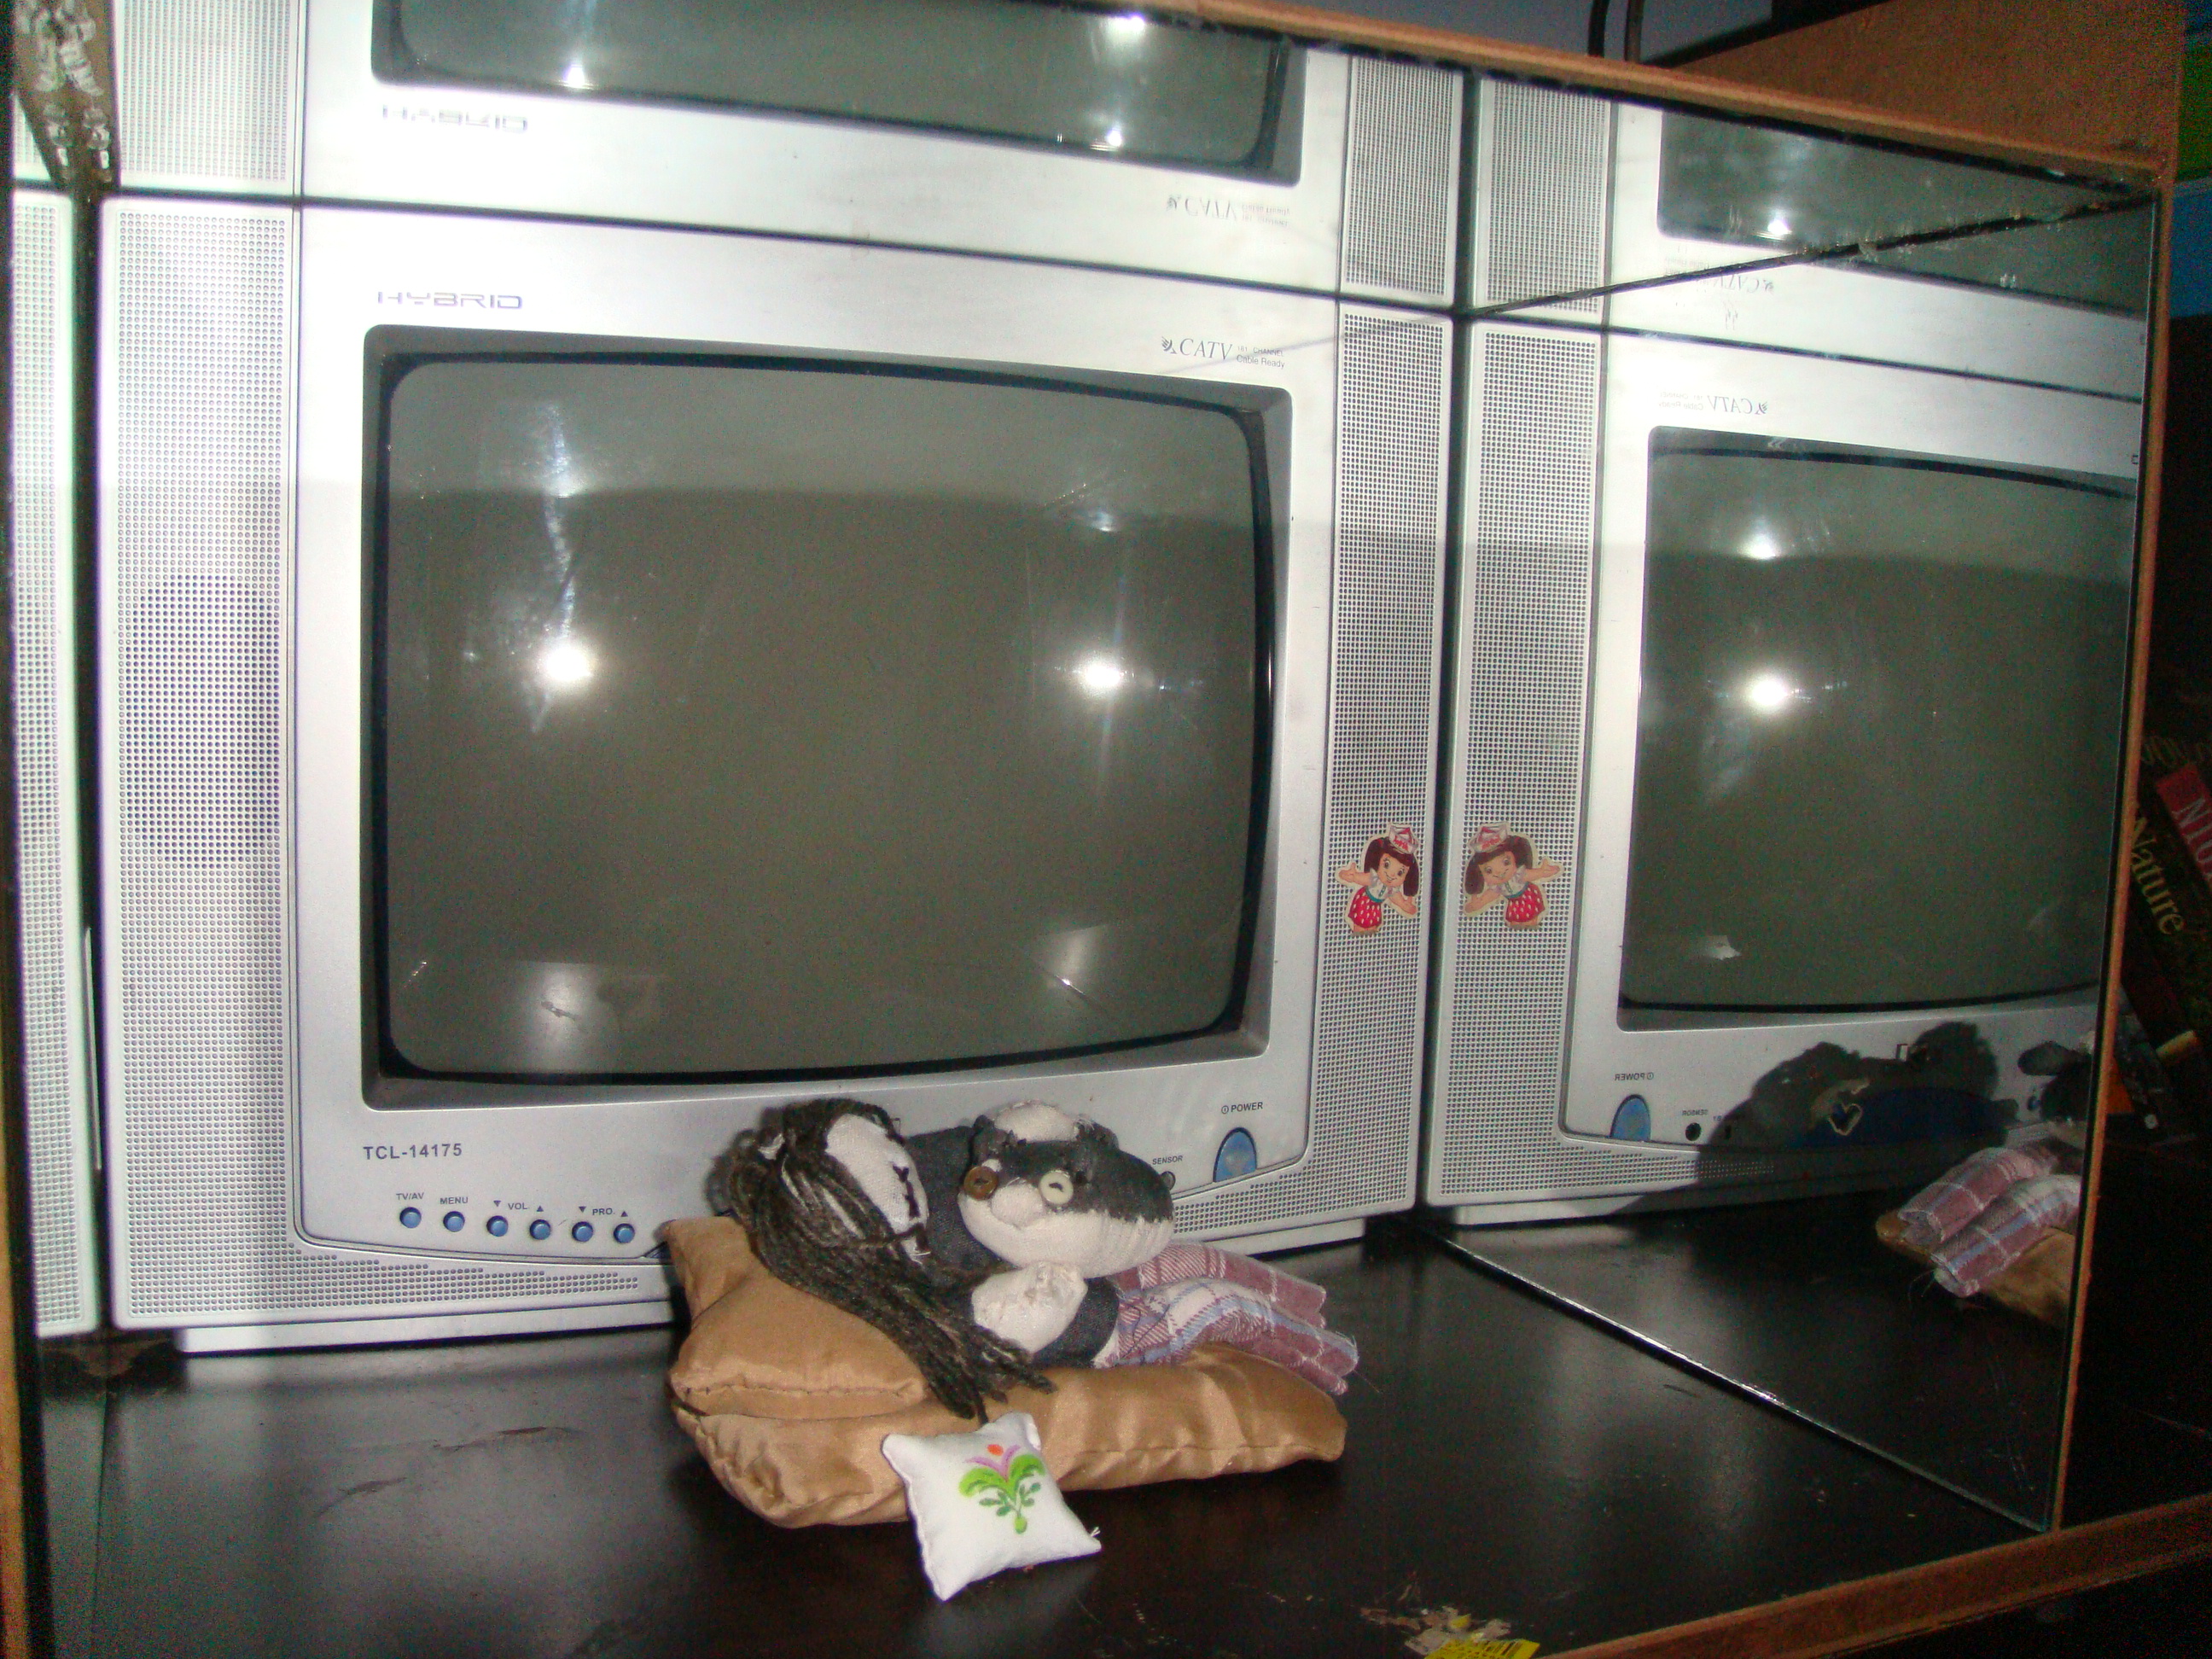
Again, my mom helped me with setting up the mirror box. We used scrap wood from an old shelf we didn't use anymore, and glued the mirror to the boards. Since I got the measurements of the TV wrong, we made the back part a hole for the TV to slide in, but that was also a major advantage since the port wasn't covered on the back which made it easy to connect to the adaptor.
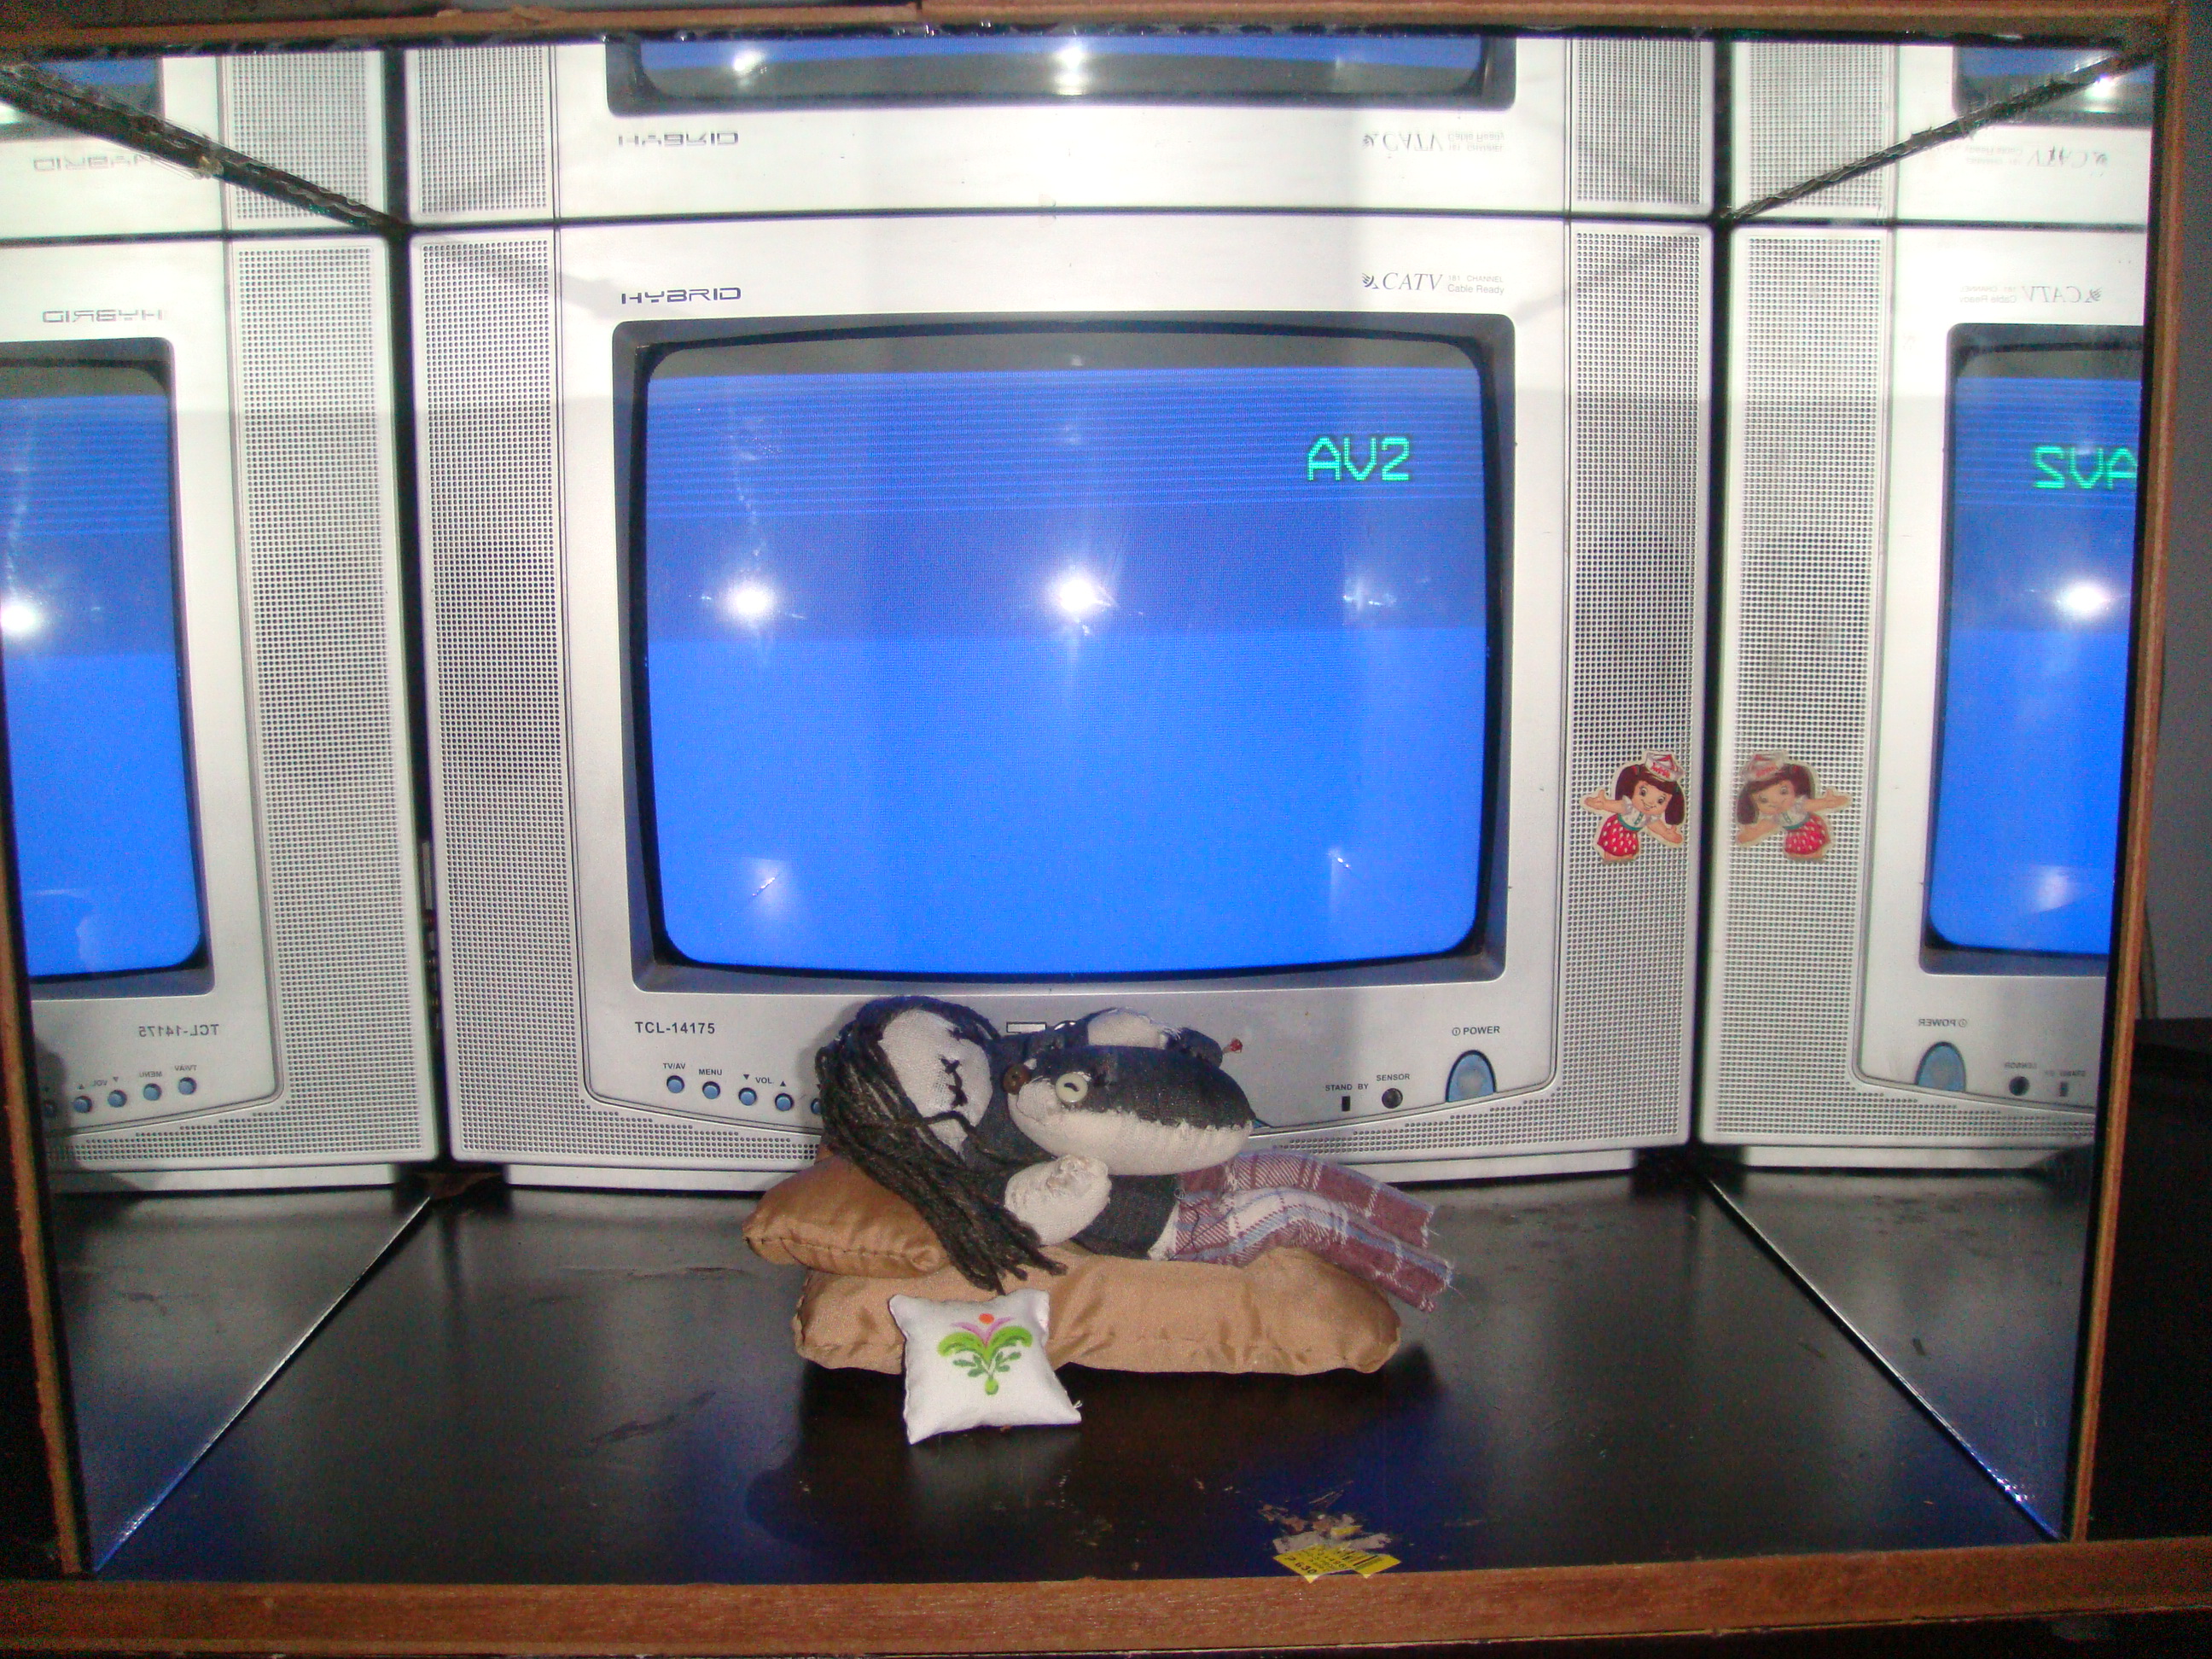
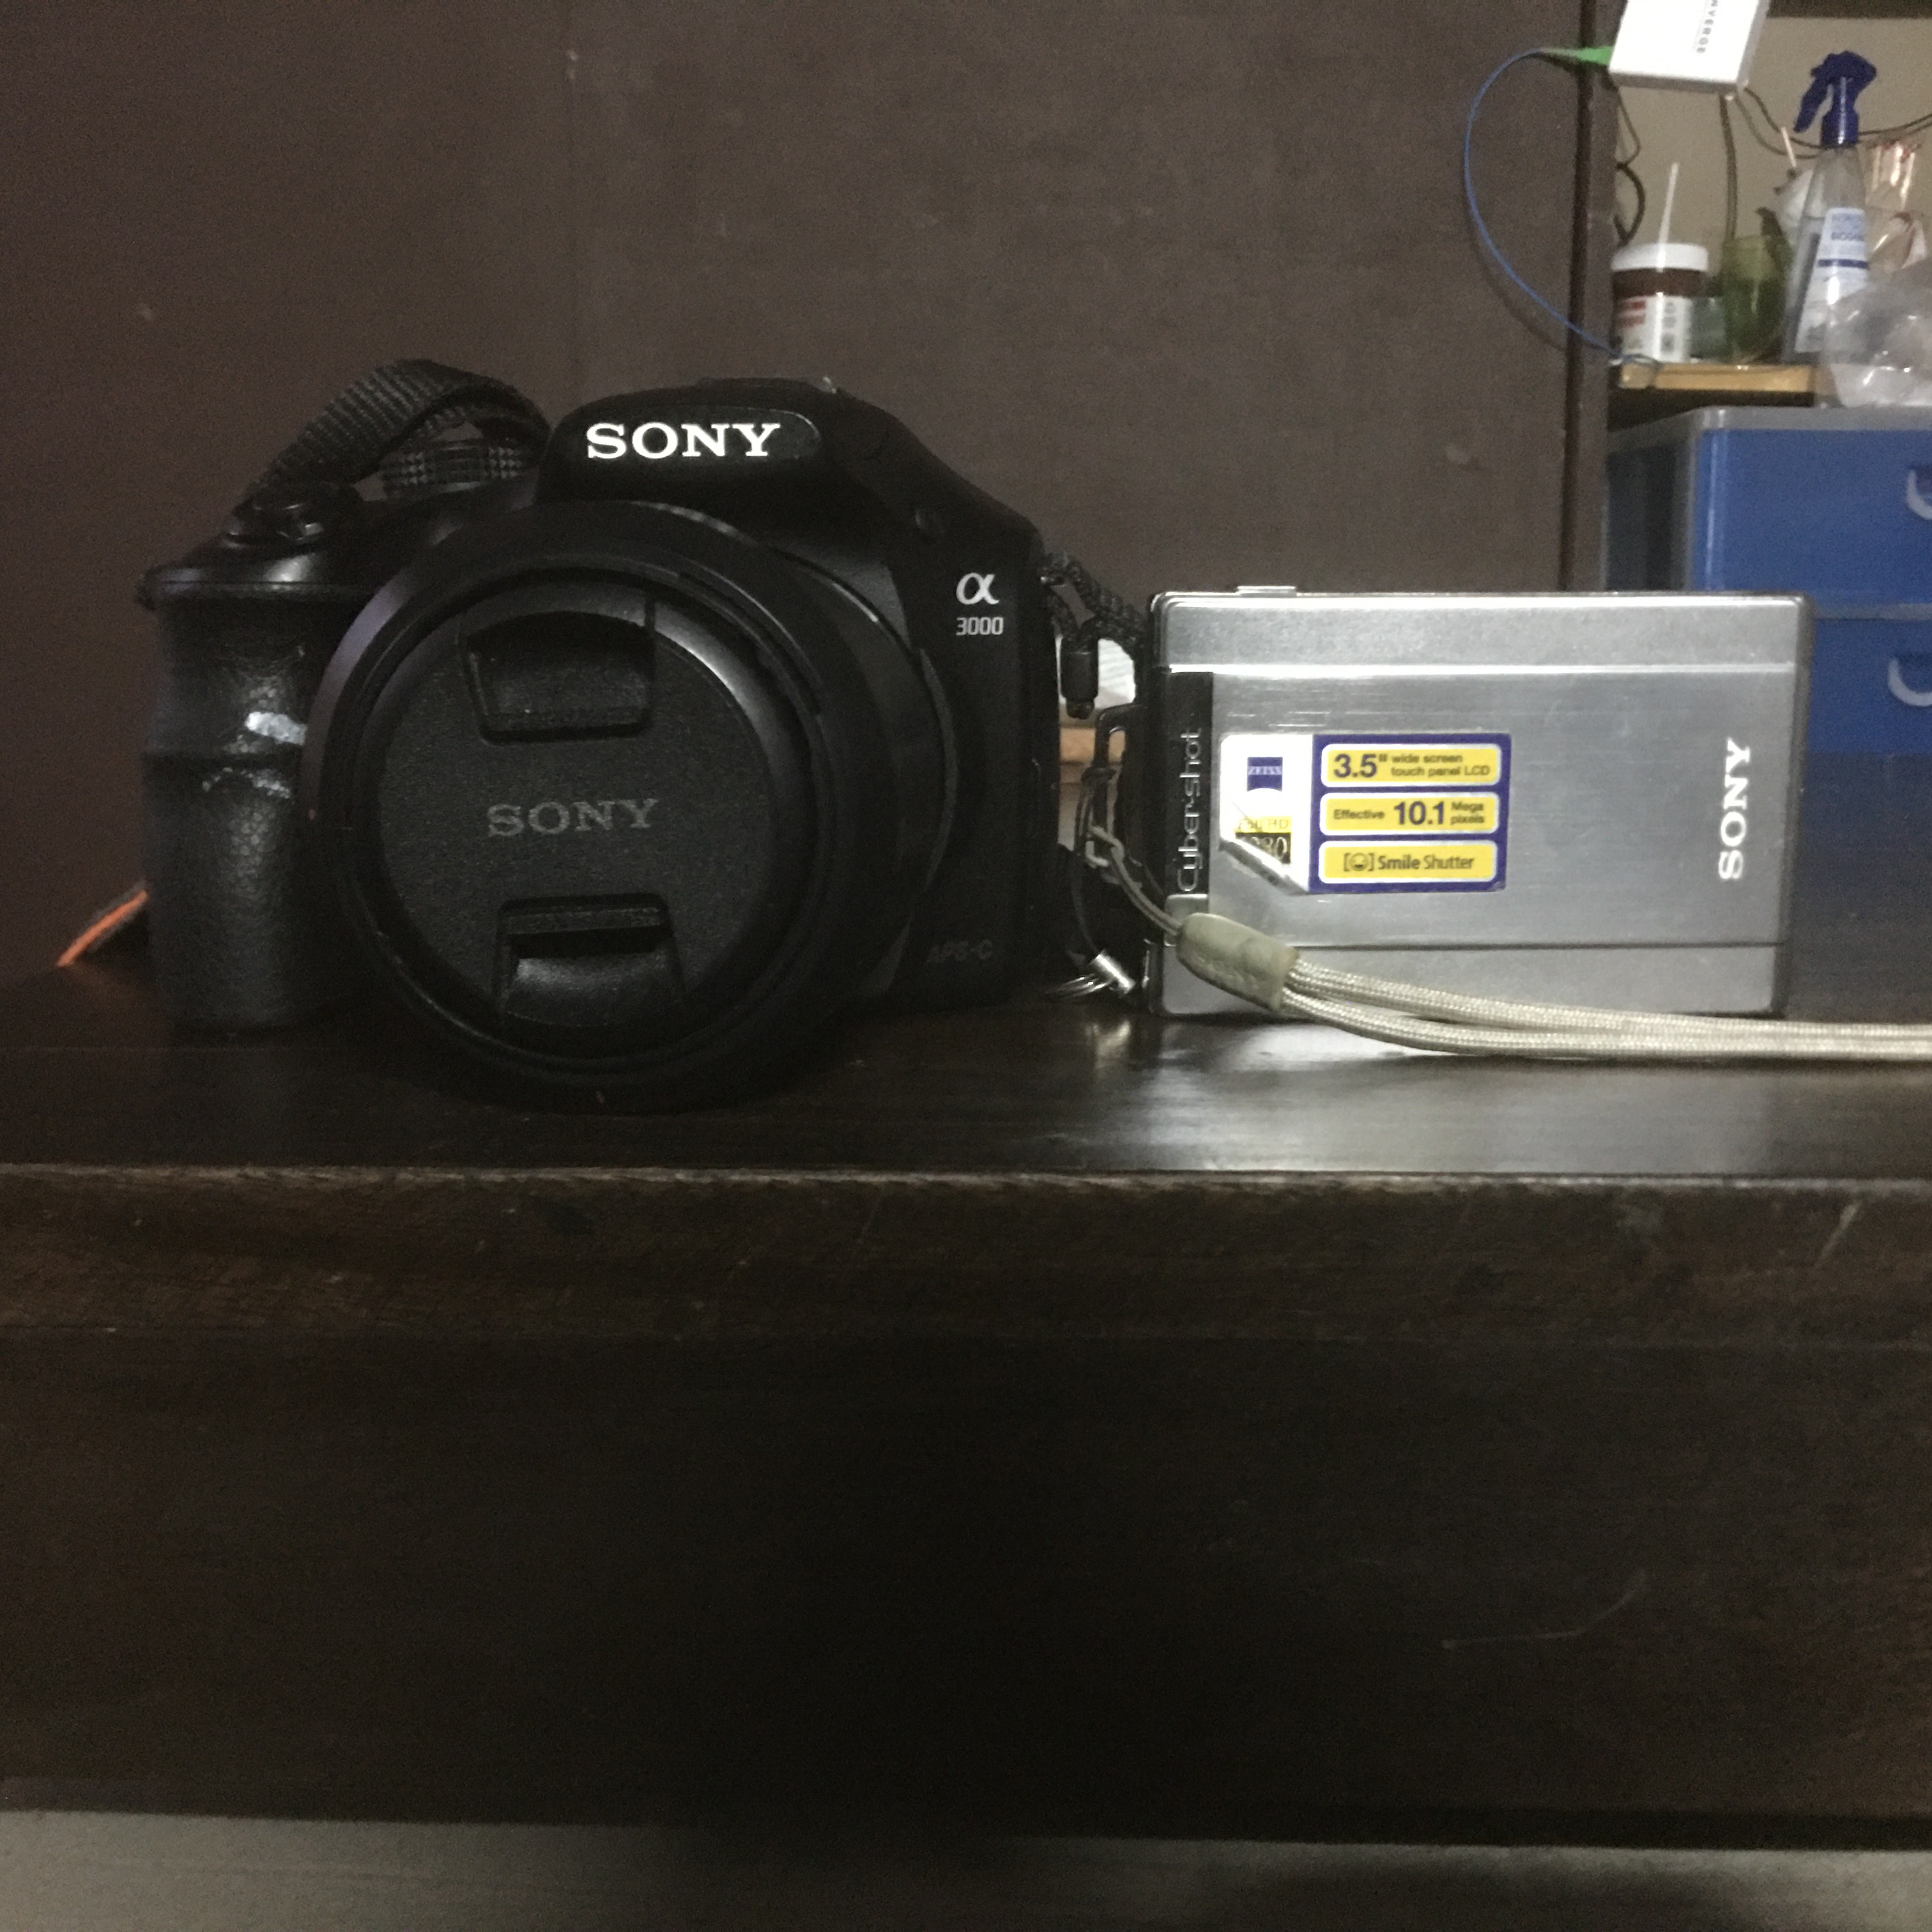

So about the playing the whole video on the CRT TV. It was a major pain to make it work. There were no cables in our local mall that had an AV to HDMI adaptor, and the one that we got online wasn't even working. Luckily we have an adaptor that connected to AV, but the other end was a weird Sony connector that only plugged in to the camera on the right.
That Sony camera was both my savior and biggest pain yet. I tried exporting the .mpg file of my video into it, since that's the only video file it supports, and it keeps crashing. From early evening to dawn, I tried many things to make it so that the camera could support my video. I compressed it till it was just a few pixels on the screen, tried different .mpg files, converted it so that the video could support old devices, etc. Nothing worked, so my very last resort was recording the video with the camera on my laptop monitor.
I still liked the end result nonetheless, though the numerous hurdles were really pushing me to the edge. Anyways, that's it! I simplified a lot of things, but that was the overall process. A big thanks to my mom and dad for helping me as much as they could in completing my project!